Baby Quilt for My New Grandson

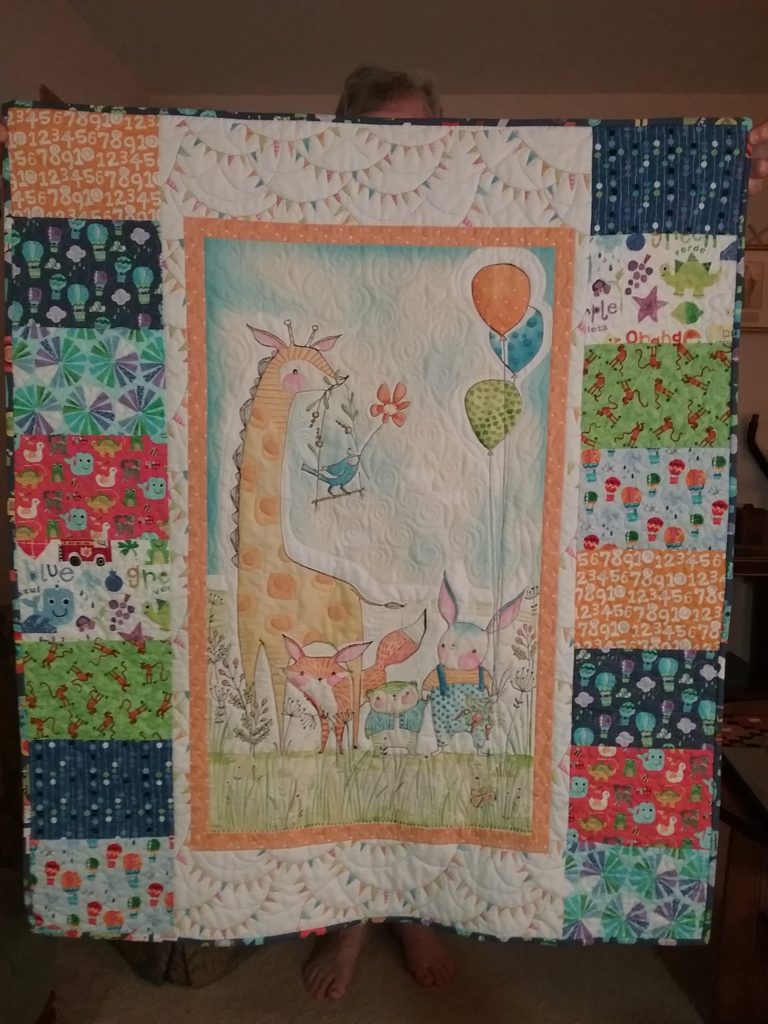
Last fall I saw a cute children’s fabric panel at a quilt show and bought it, figuring I was likely to have at least one more grandchild at some point, and I could use the panel for the basis of a baby quilt. Little did I know that a new grandchild was already on the way!

I finished the quilt before he was born this summer, but I didn’t learn until the day he was born that his middle name would be Fox. So I’m delighted to give him a quilt with a cute little fox on it:

The fabrics that surround the panel were all part of a fat quarter set I bought years ago from Hancock’s of Paducah. The panel itself was fun to quilt; I stitched along most of the lines, then put in some swirls for clouds and echoed a few motifs. I meander-quilted the blocks on the sides, but one block has a special message of love for our new little guy.


Grand Canal Table Runner/Wall Hanging

I saw a table runner online that someone made by taking a pack of 5” charm squares, dividing them into darks and lights, cutting them all in half diagonally, sewing the light triangles to the dark triangles, and then piecing them back together. It looked really cute. (I’d share the link if I could find the bookmark!)

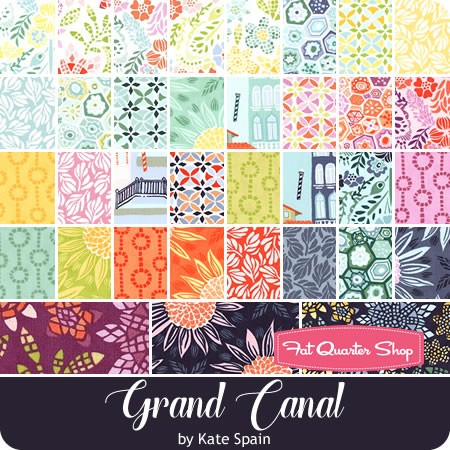
But when I tried it with a charm pack from a very pretty fabric line, Grand Canal by Kate Spain for Moda

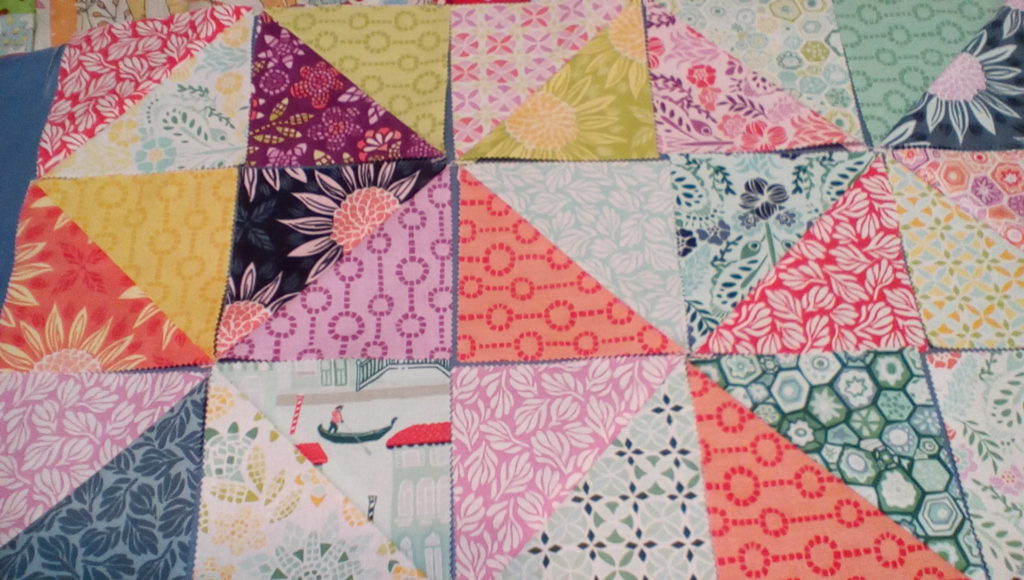
… it didn’t turn out so well. It looked like chaos to me:

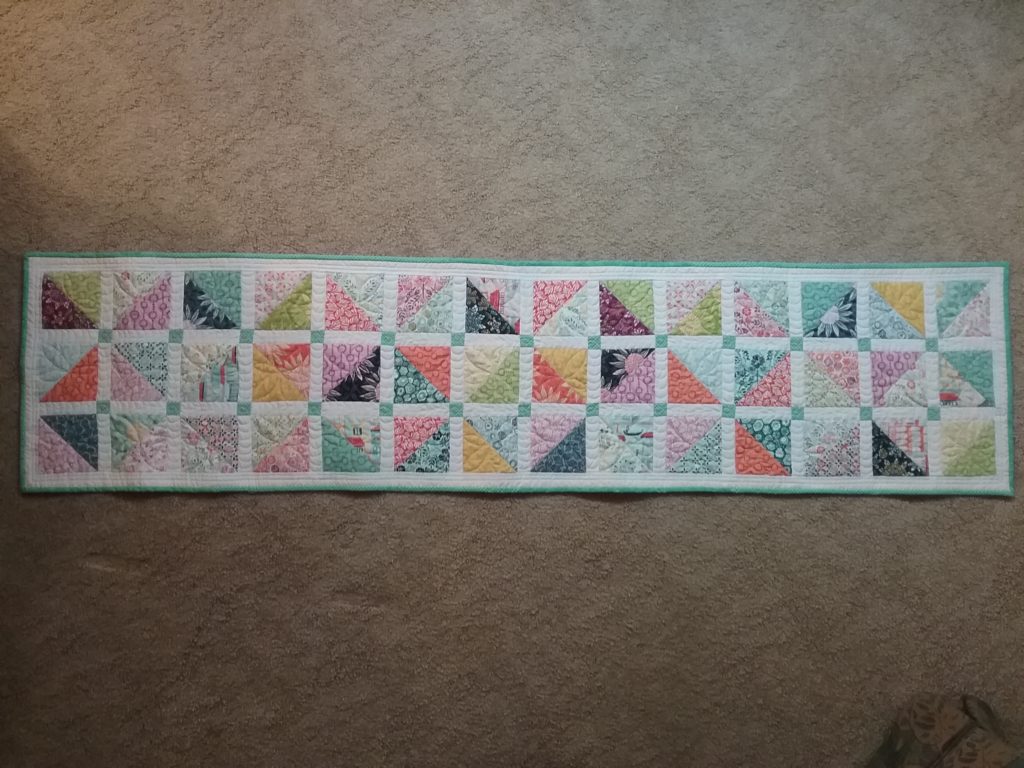
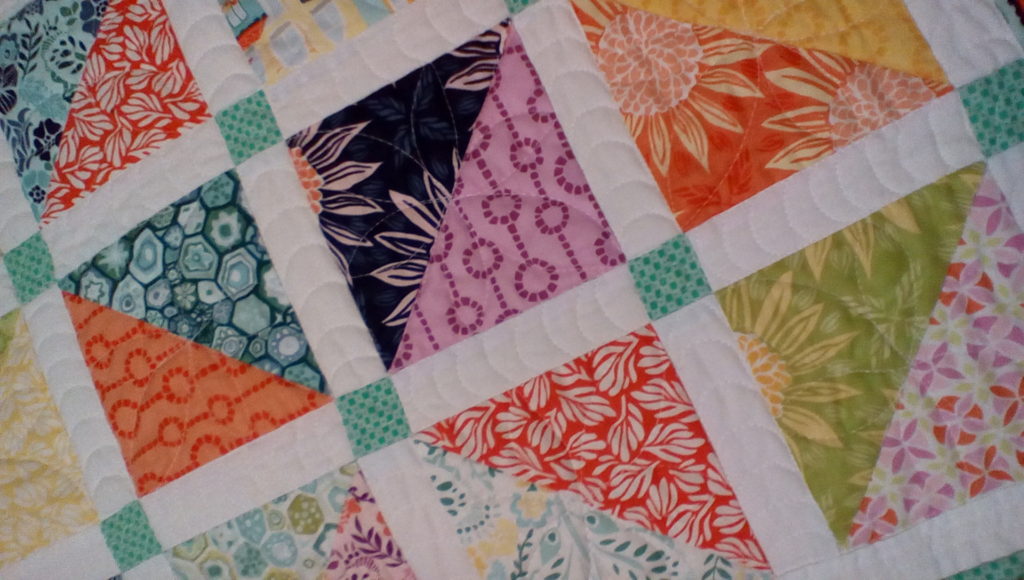
What to do? After some thought, I decided to try salvaging the project by putting sashing in between the squares made up of light/dark triangles, and some cornerstones using a lovely light green from my stash. And it completely changed it! Now I love it:

This was made from one charm pack, 1 1/2”-wide strips of white cotton scraps for the sashing, and part of a fat quarter for the cornerstones. I was surprised to find that just one charm pack plus sashing makes a table runner that’s 17″ wide and 70” long. Since that’s much longer than my table, I decided to turn it into a very long wall hanging in my sewing room. It looks really pretty there, and no one will ever spill gravy on it  🙂

Kaffe Fassett Peacock Quilt

I’ve always liked Kaffe Fassett’s quilt fabric lines, but I never thought I had the kind of artistic eye needed to use them in a way that would look good; they’re so bright and busy that they intimidated me.

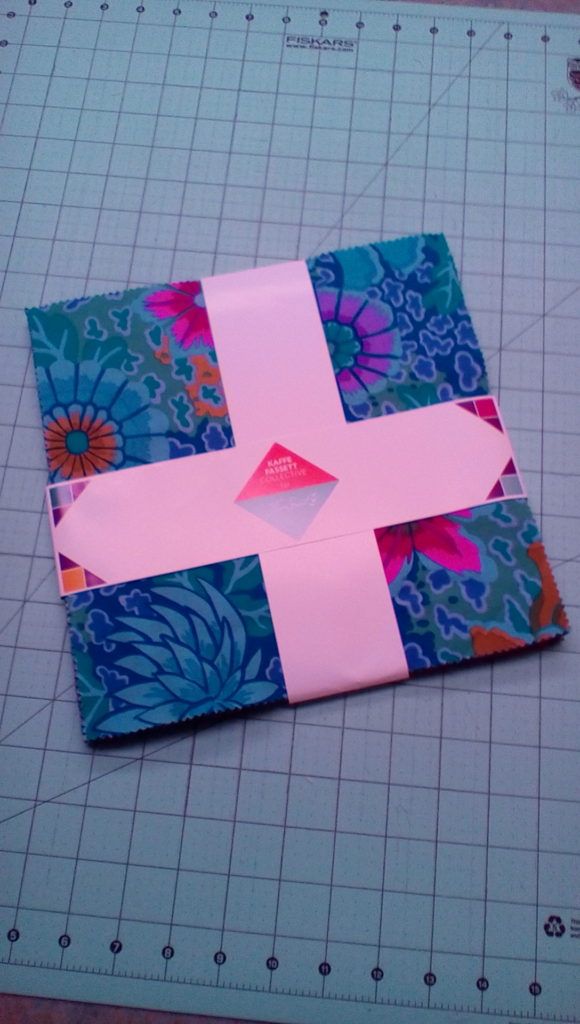
Then, last fall at the Quilt Expo in Madison, WI, I saw a Kaffe quilt hanging in a vendor booth that was both stunning and easily made. Right there and then, I decided that I wanted to make a quilt like that, just as soon as I could find a good deal on a Kaffe layer cake.

Before long, Missouri Quilt Co. came to the rescue with a special deal on Kaffe’s Peacock layer cake. I bought it and eagerly awaited its arrival. Once it arrived, I was not disappointed. Oh, the possibilities of a fresh new layer cake!

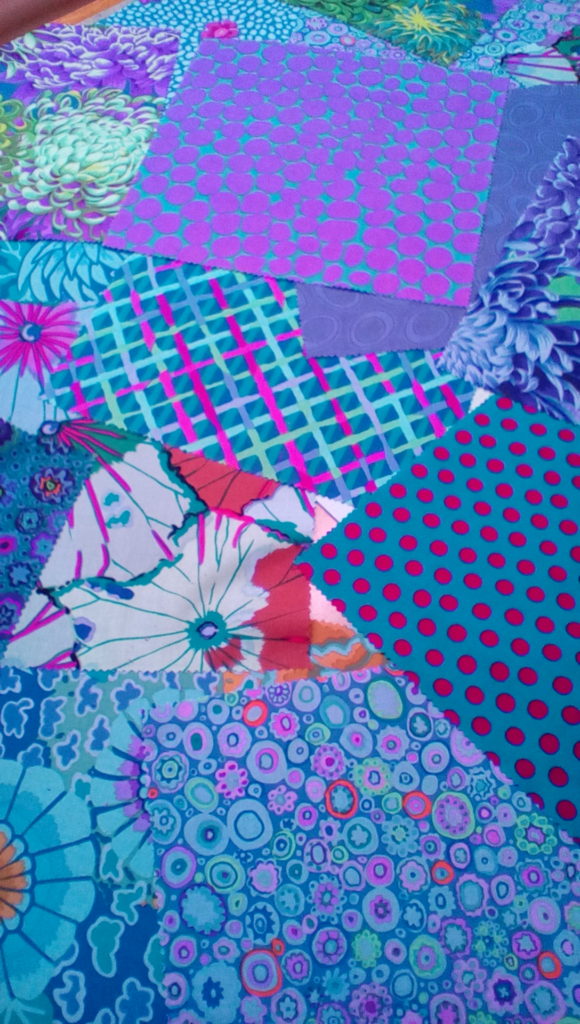
I cut into it that very weekend (which is so not like me!). I put a favorite video on for background music and started cutting these luscious squares in half. Some were not perfectly square, however, so I had to be careful and cut them one at a time.

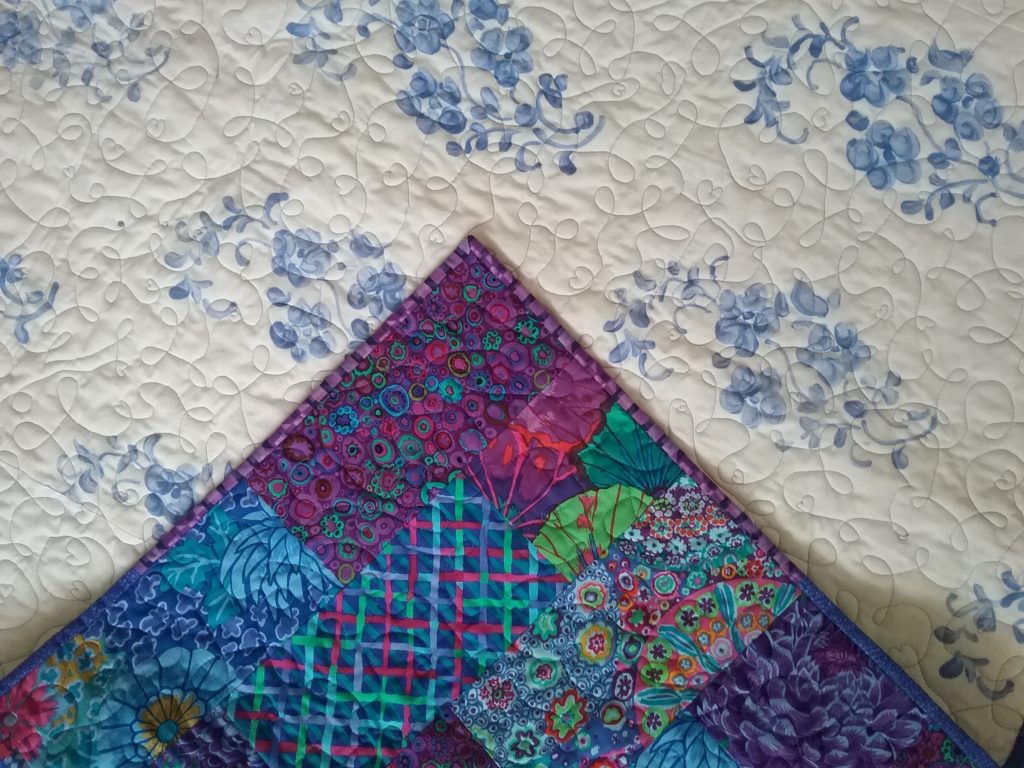
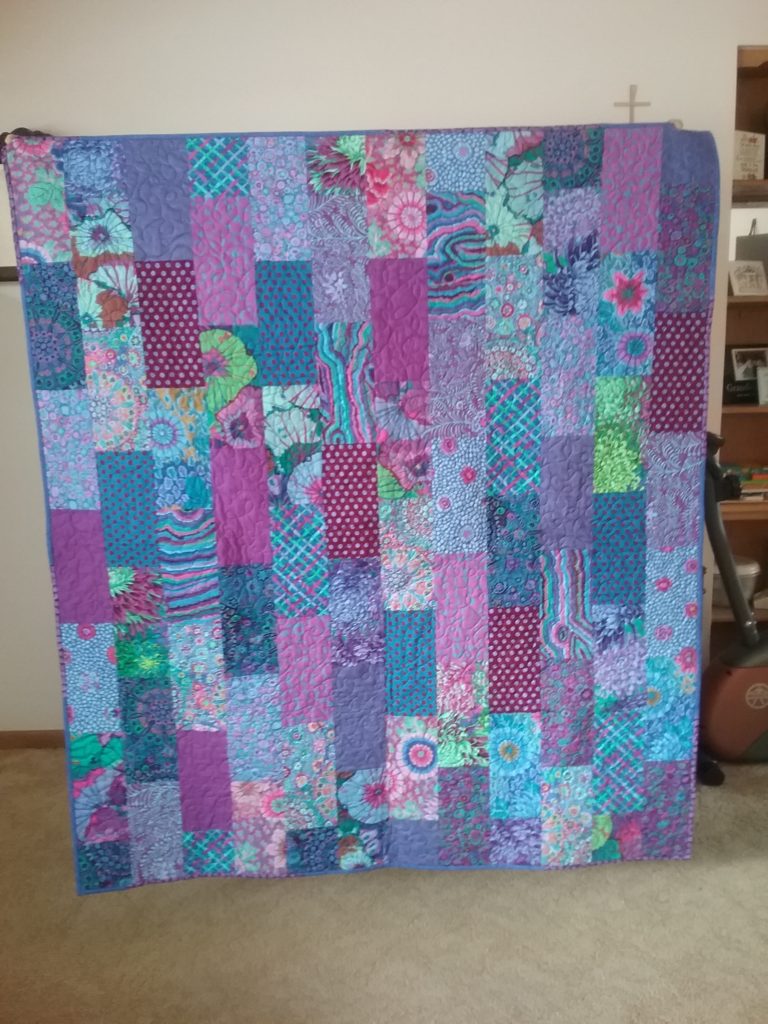
Once they were all cut in half, I began sewing them end to end, cutting some in half again (crossways), using the traditional Bricks pattern. I laid them out in 12 columns of 6 ½ rectangles each. In a matter of hours, the 52” X 60” top was done.

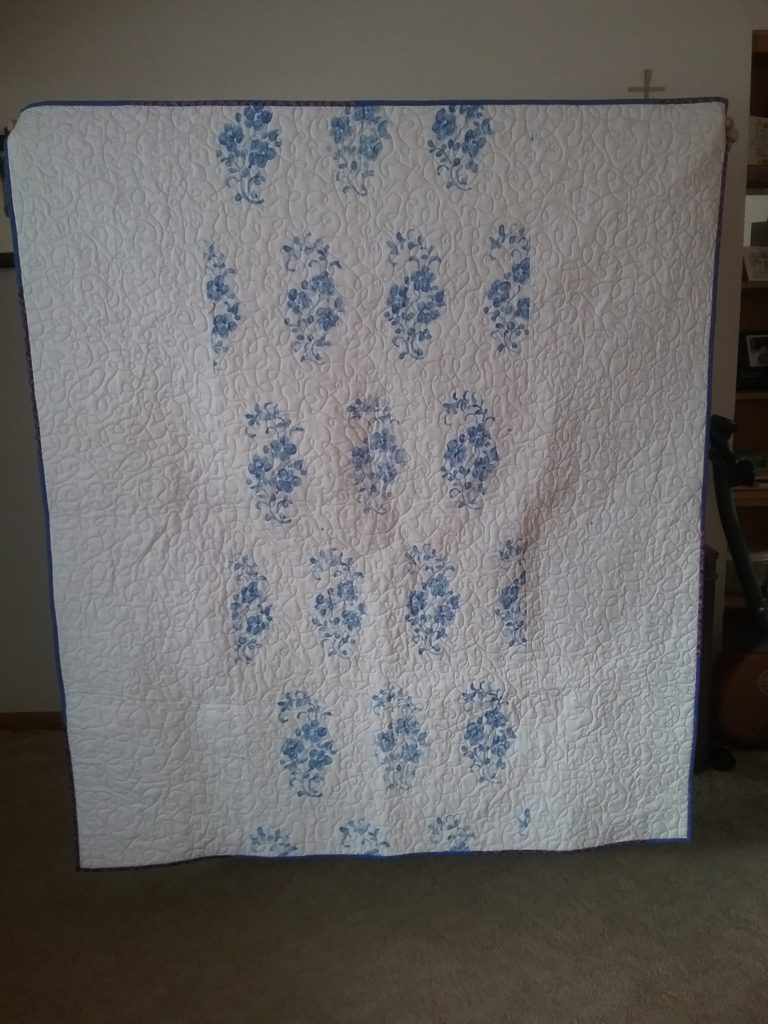
I had a long leftover piece of an Italian sheet that I’d used for quilt backing a few years ago. I sewed large bleached muslin rectangles to either side of it to make a back for my new Kaffe quilt.

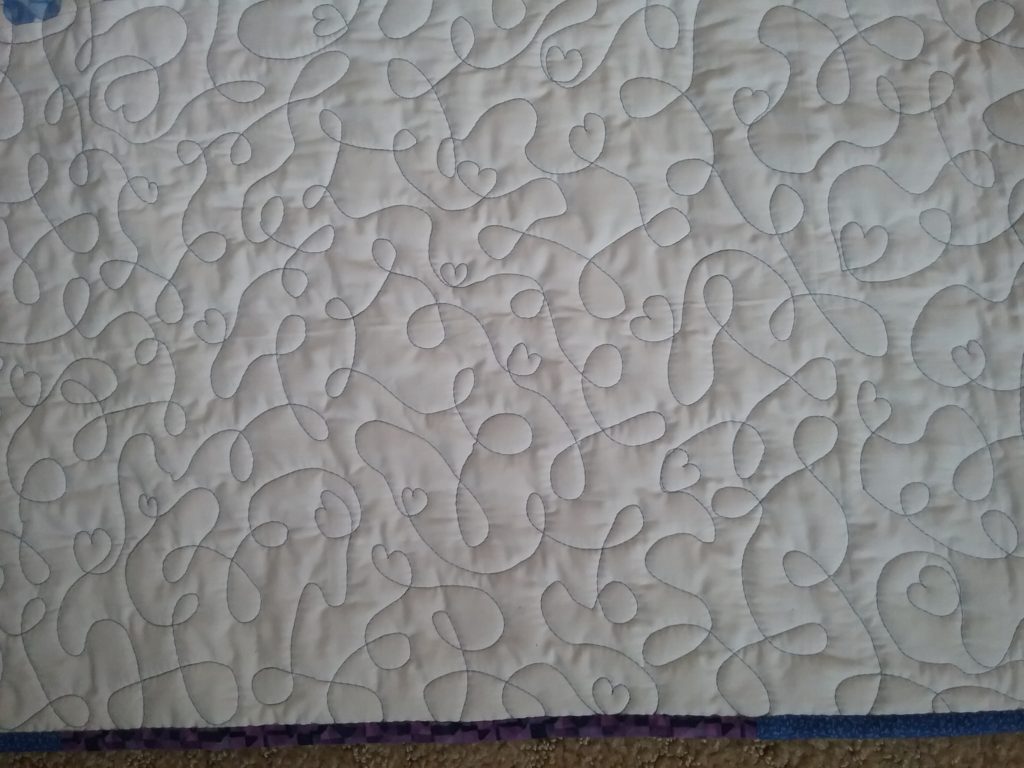
After layering the top and the backing with silk batting in between, I quilted it using delft blue Aurifil thread in a meandering design with hearts sprinkled in.

The binding was made out of coordinating fabrics from my stash. I love this quilt!


Biscuits and Gravy Table Runner Tutorial

A few months ago, I was at a quilt show when a table runner caught my eye in a vendor’s booth. I asked the vendor for permission to take a photo of the runner so I could make it at home. She said yes, so I took the photo and bought a set of charm squares from the fabric line she used, Biscuits and Gravy, from her.
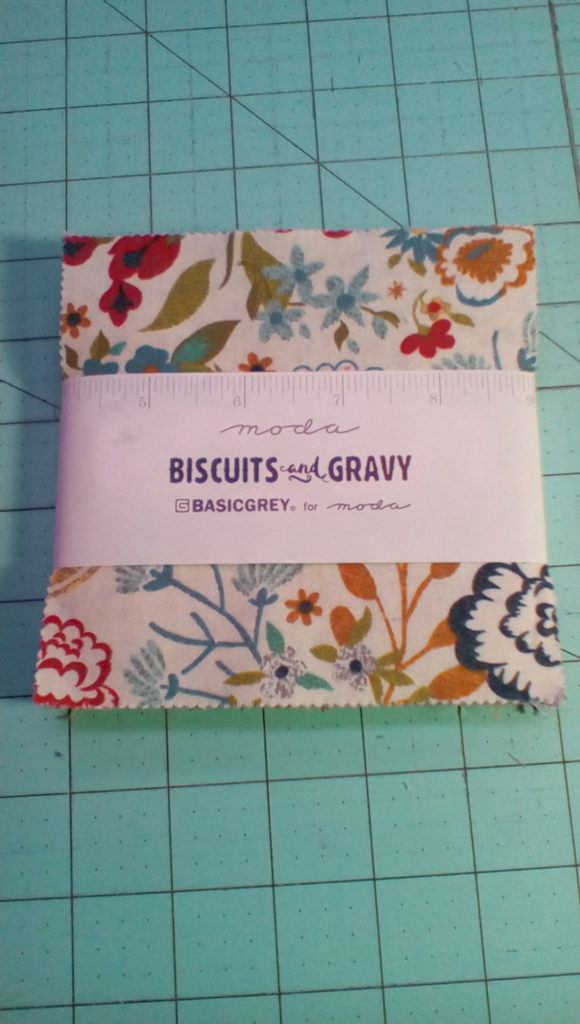
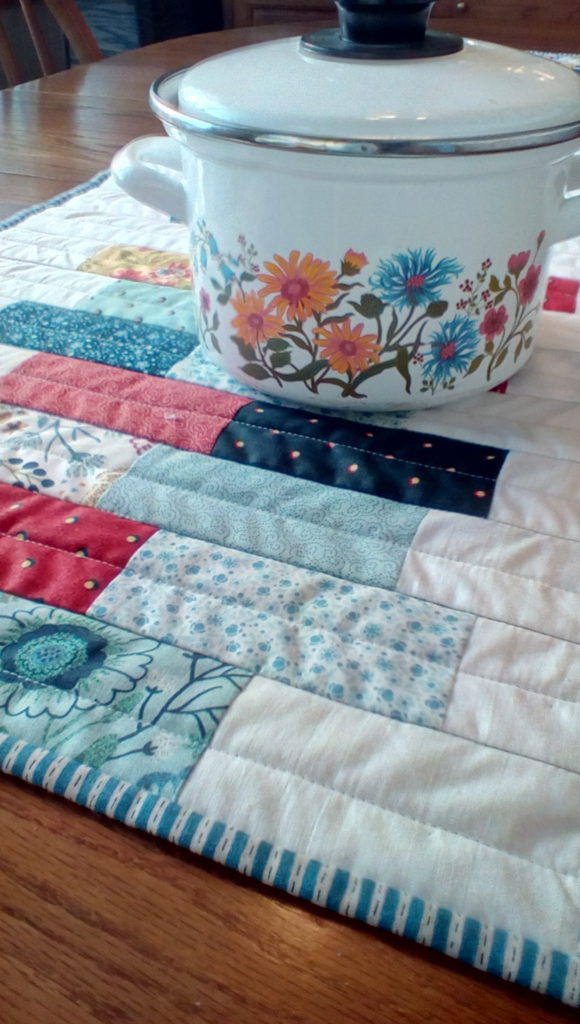
But I forgot that when taking a photo with my dumbphone, I have to click save. Since I neglected to do that, I was forced to use my failing memory to recall just how the table runner looked. I don’t know if my runner turned out just like hers, but I’m happy with it as it is. You really can’t go wrong with charm packs!
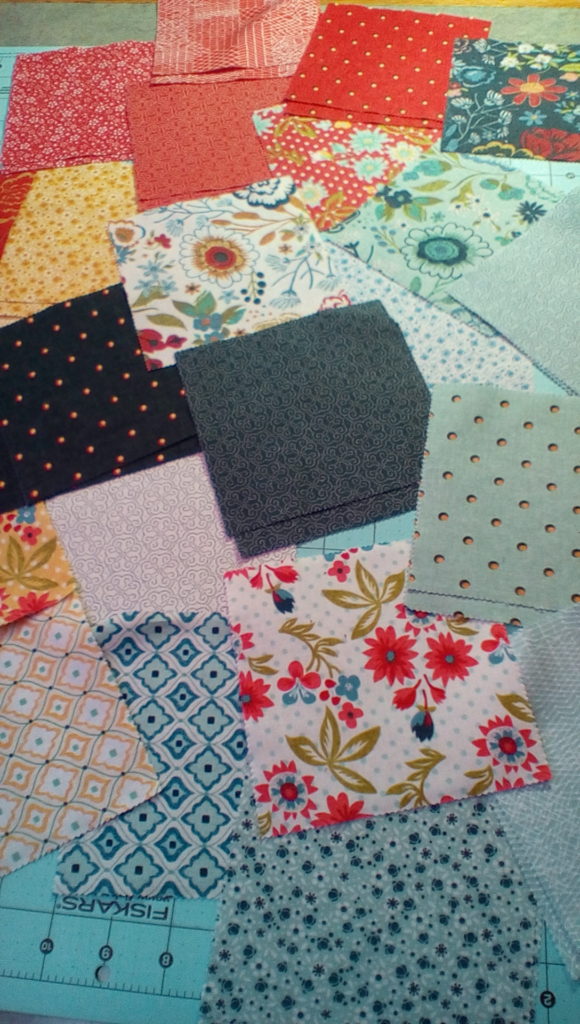
I designed this runner to fit our table: 17″ X 47″. To get that size, I used 24 of my favorite squares from the pack of 42. I love these prints! So homey.
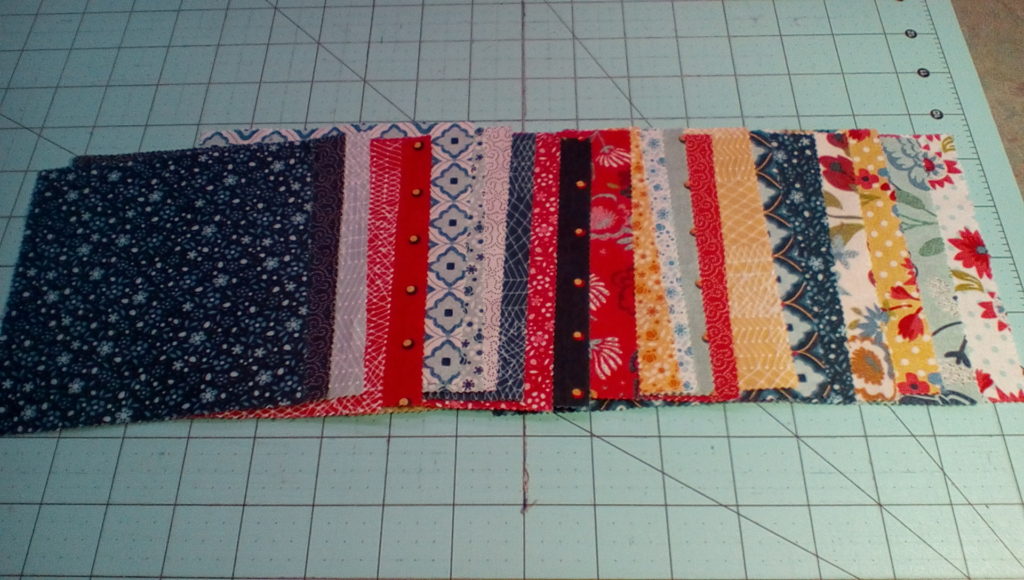
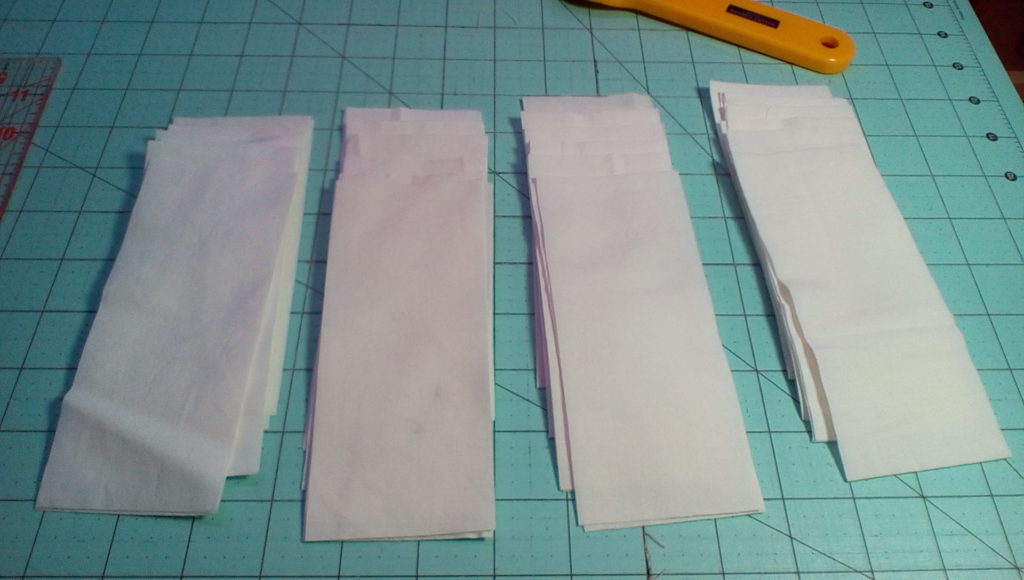
To make a runner like this one, choose 24 of your favorite prints and cut them each in half so that you have 48 rectangles that measure 2 1/2″ X 5″. You should end up with two stacks like this:
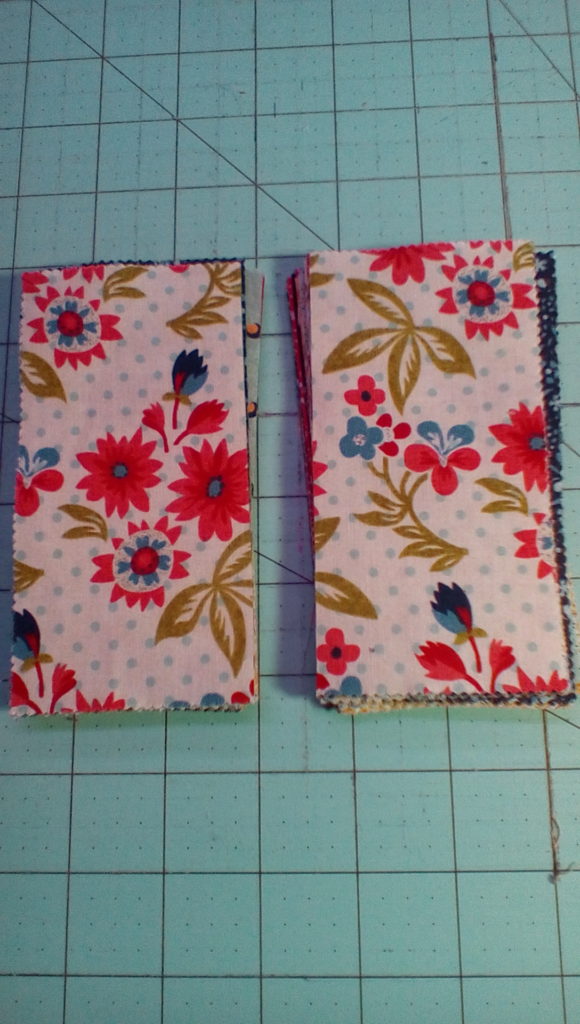
Take the bottom piece of fabric from the right-hand stack and put it on top. In a minute you’ll be piecing these together, end to end. By moving that one piece from the bottom to the top, you can just pair these up, one from each pile, and be assured that you’ll be getting varied pairs:
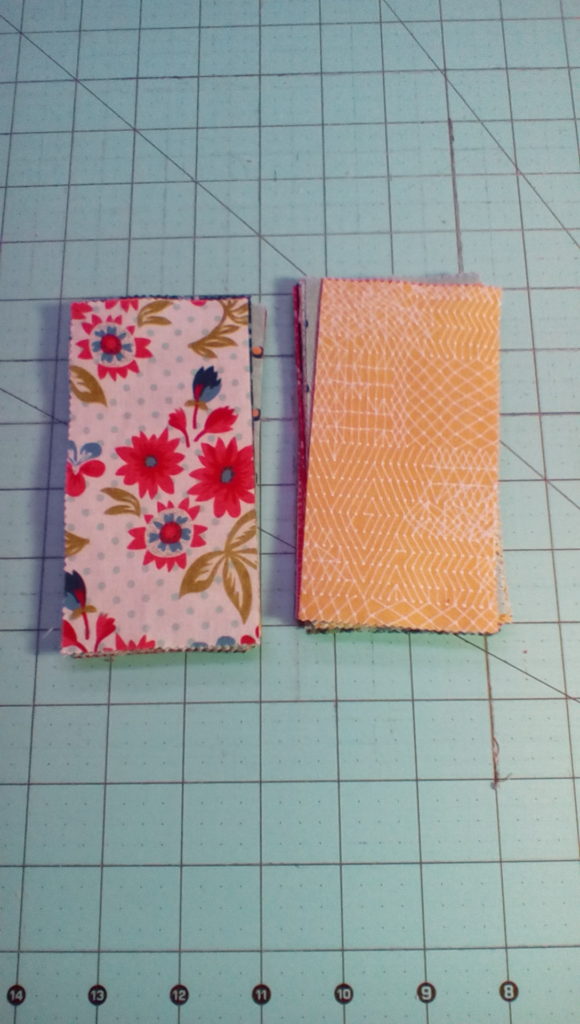
Next, cut 48 rectangles, 2 1/2″ X 6″, from a solid color. I used unbleached muslin scraps from my stash, along with some white scraps:
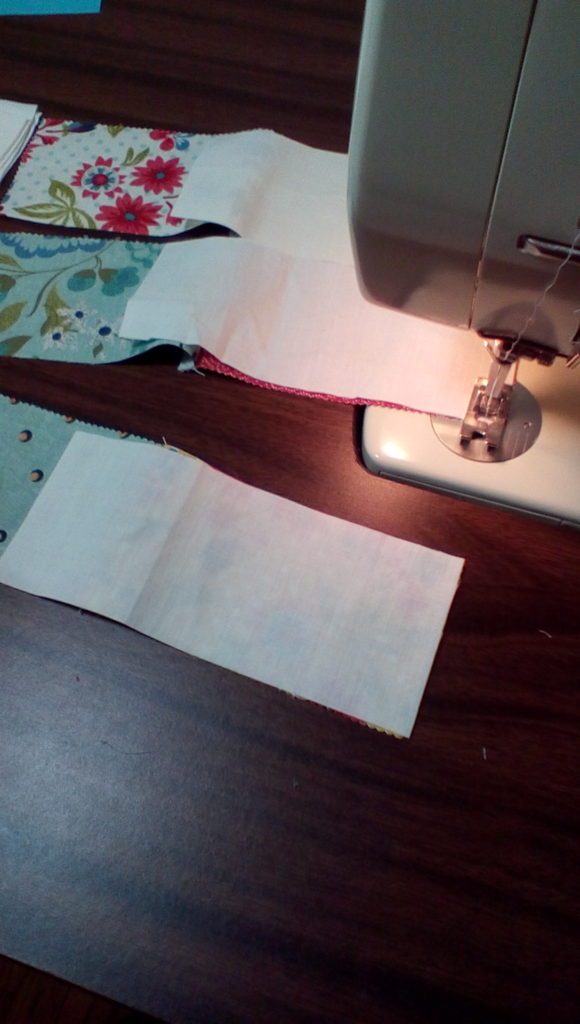
Sew all of the pairs of your print rectangles together, end to end; then sew the solid rectangles to them, one on each end, so that you end up with 24 long strips with two prints in the middle and a solid on each end:
Press all seams toward the prints. Now stagger the rows in a way that pleases you, and sew them together. Don’t worry that the ends are uneven; that’s how they’re supposed to be:
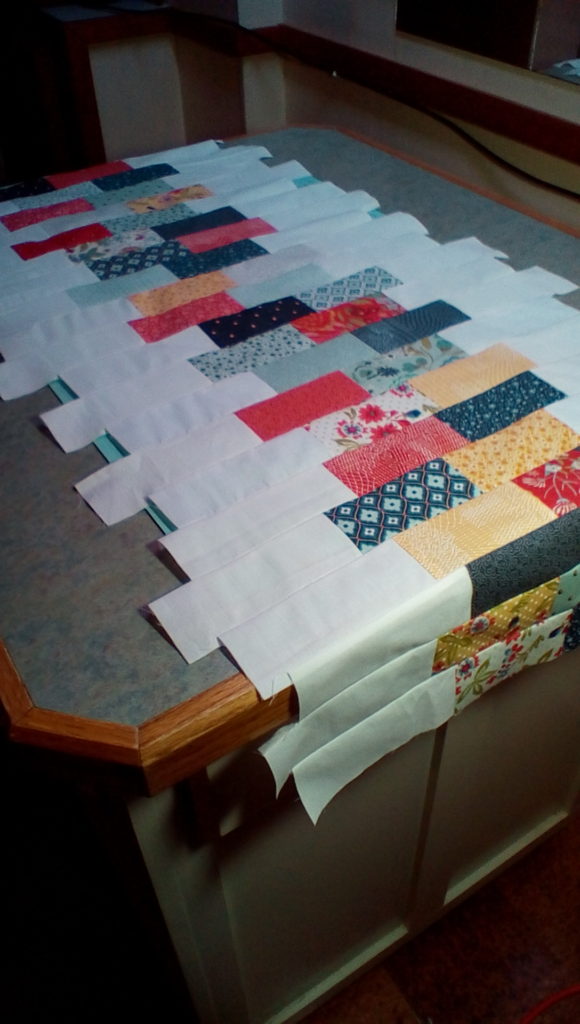
Put a pin on the shortest strip on each side:
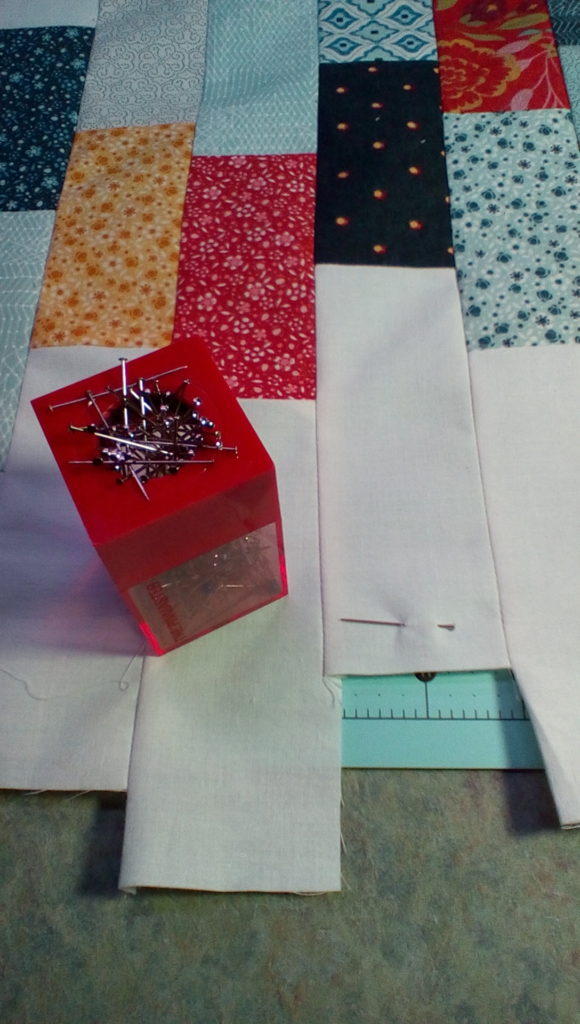
Align a long ruler with the shortest piece, the one you marked with a pin. Slide one of the horizontal marks on your ruler to match up to one of the seams so your corners will be square:
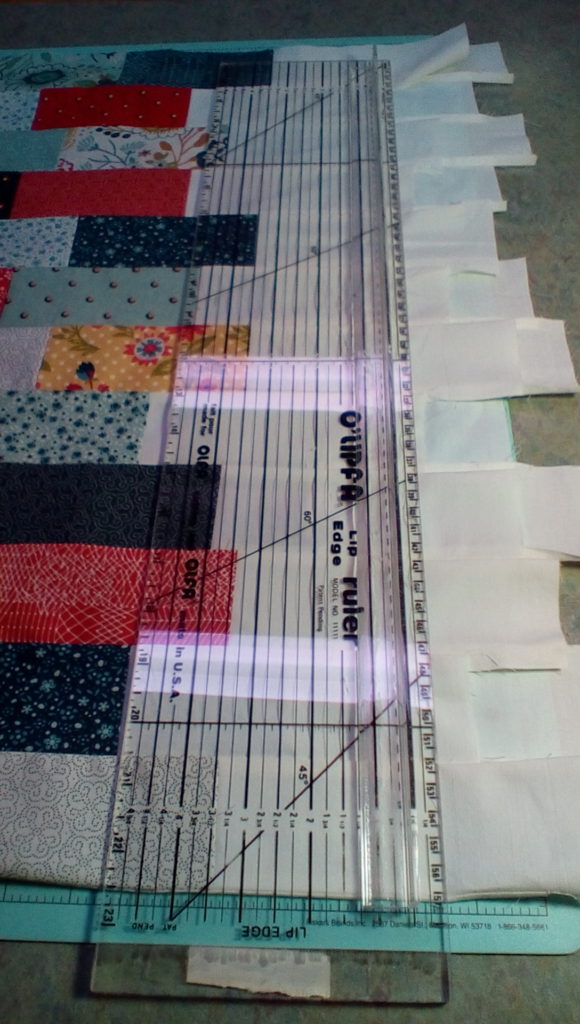
Trim each side. You should end up with a nice even edge on each side:
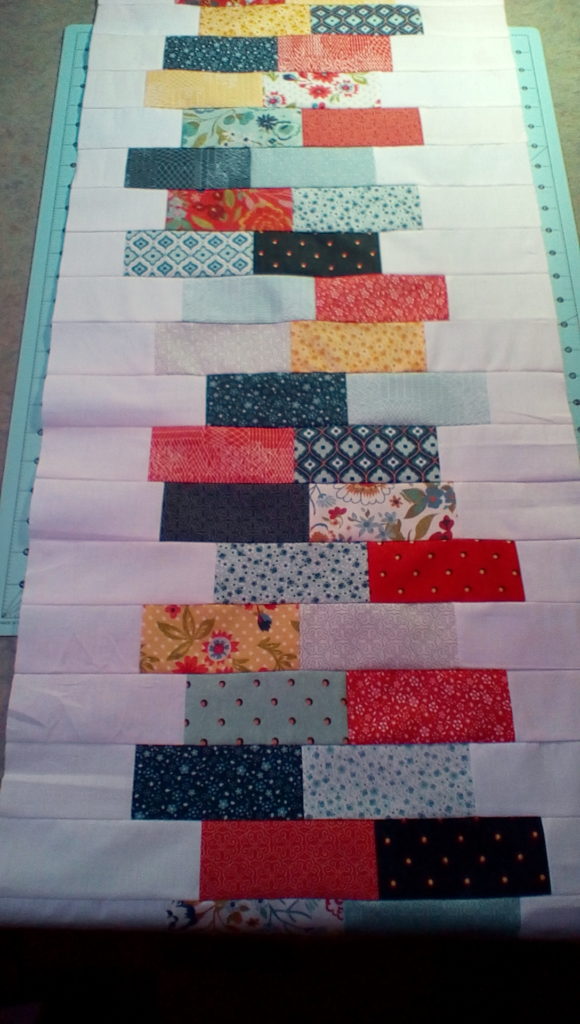
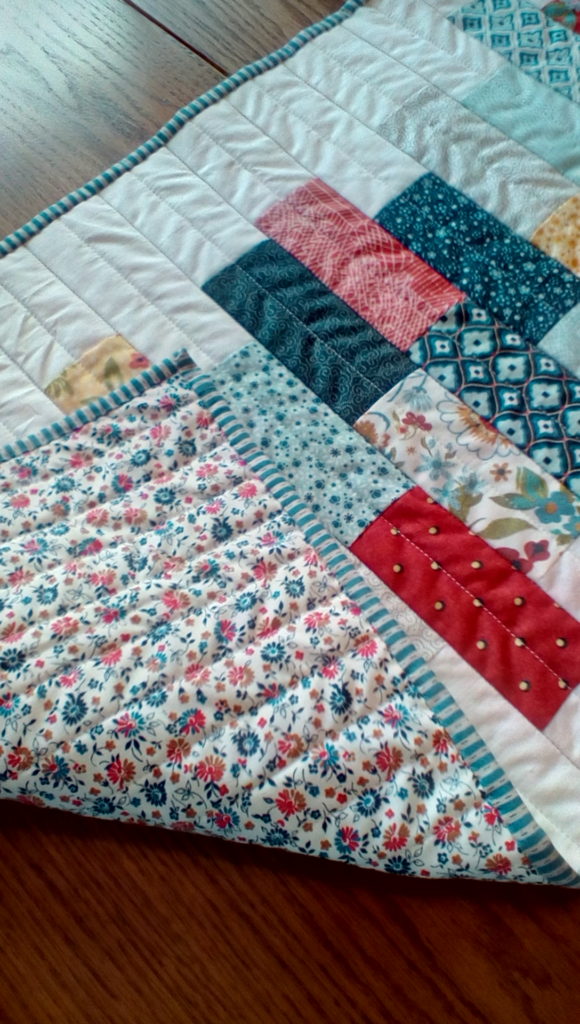
Quilt as desired. After much debate, I ended up just using a straight stitch in the ditches and in between them. I used a print from my stash for the backing, and a wonderful stripe for the binding:
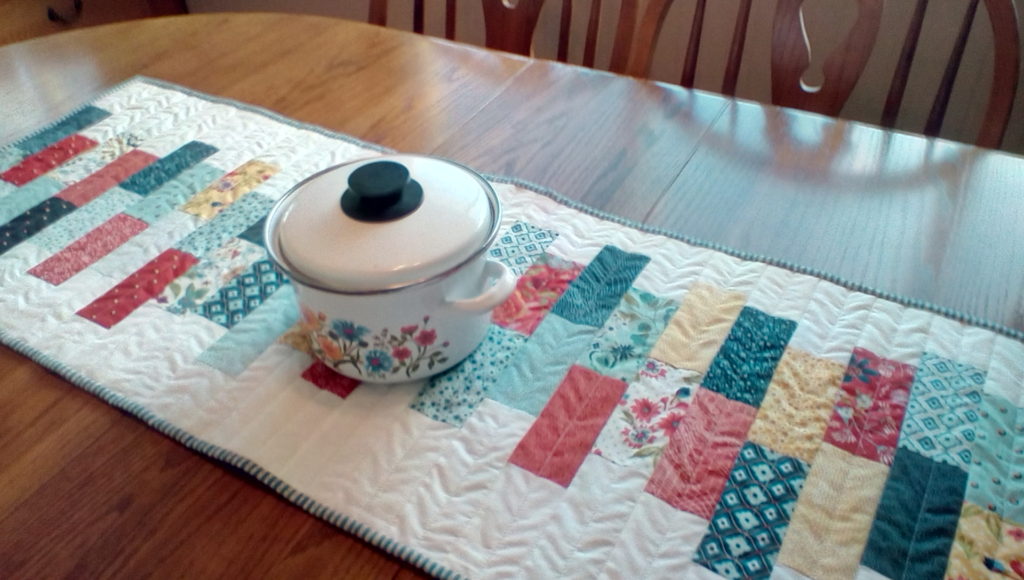
There’s nothing like a new table runner to brighten up the kitchen!


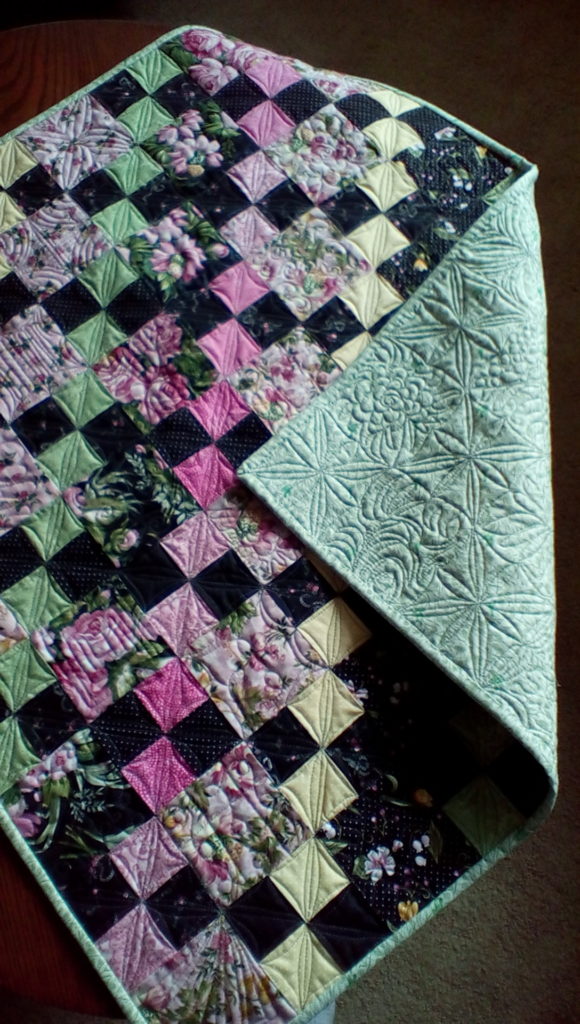
Black and Pink Table Topper

I was at a quilter’s garage sale last year when I spotted some plastic bags filled with precut fabric squares, coordinated to go together. They were so cute, and only $1 per bag, so I bought two. How could I go wrong?

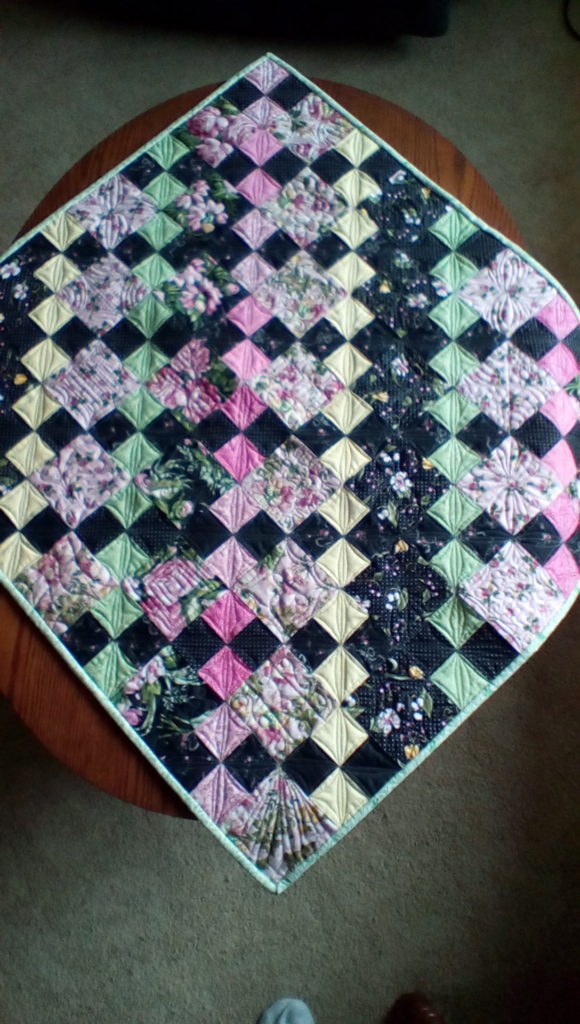
It took me a little while to come up with an arrangement I liked, but by making some four-patches to break up the monotony of just squares, I quickly put them all together in a way that I like.

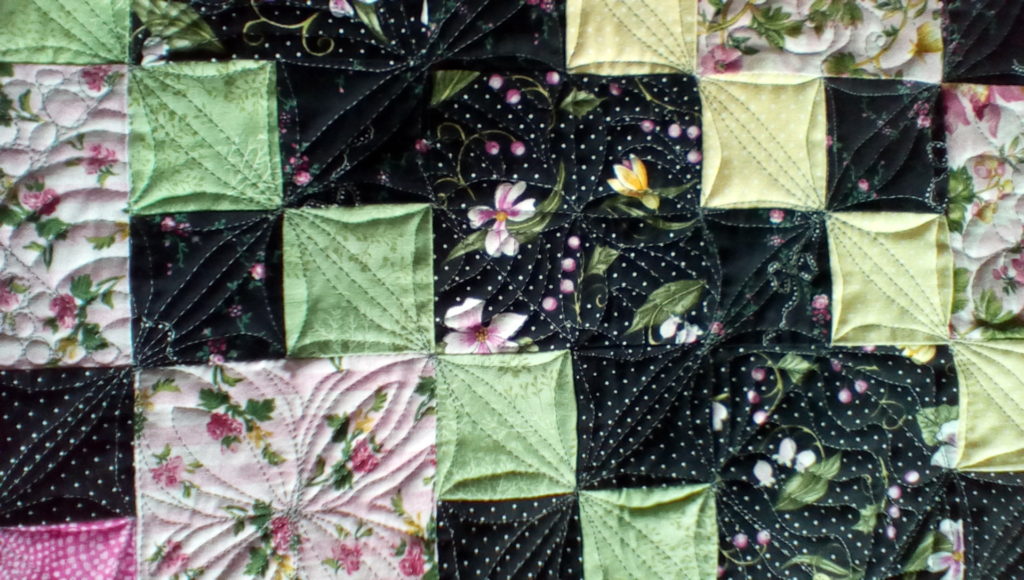
I free-motion quilted this piece using my beloved supermachine; it’s backed and bound with a light green bird print that had been in my stash for years. I still love it and was happy to find a use for some of it.

P.S. I didn’t need yet another table topper. I just can’t stop quilting!