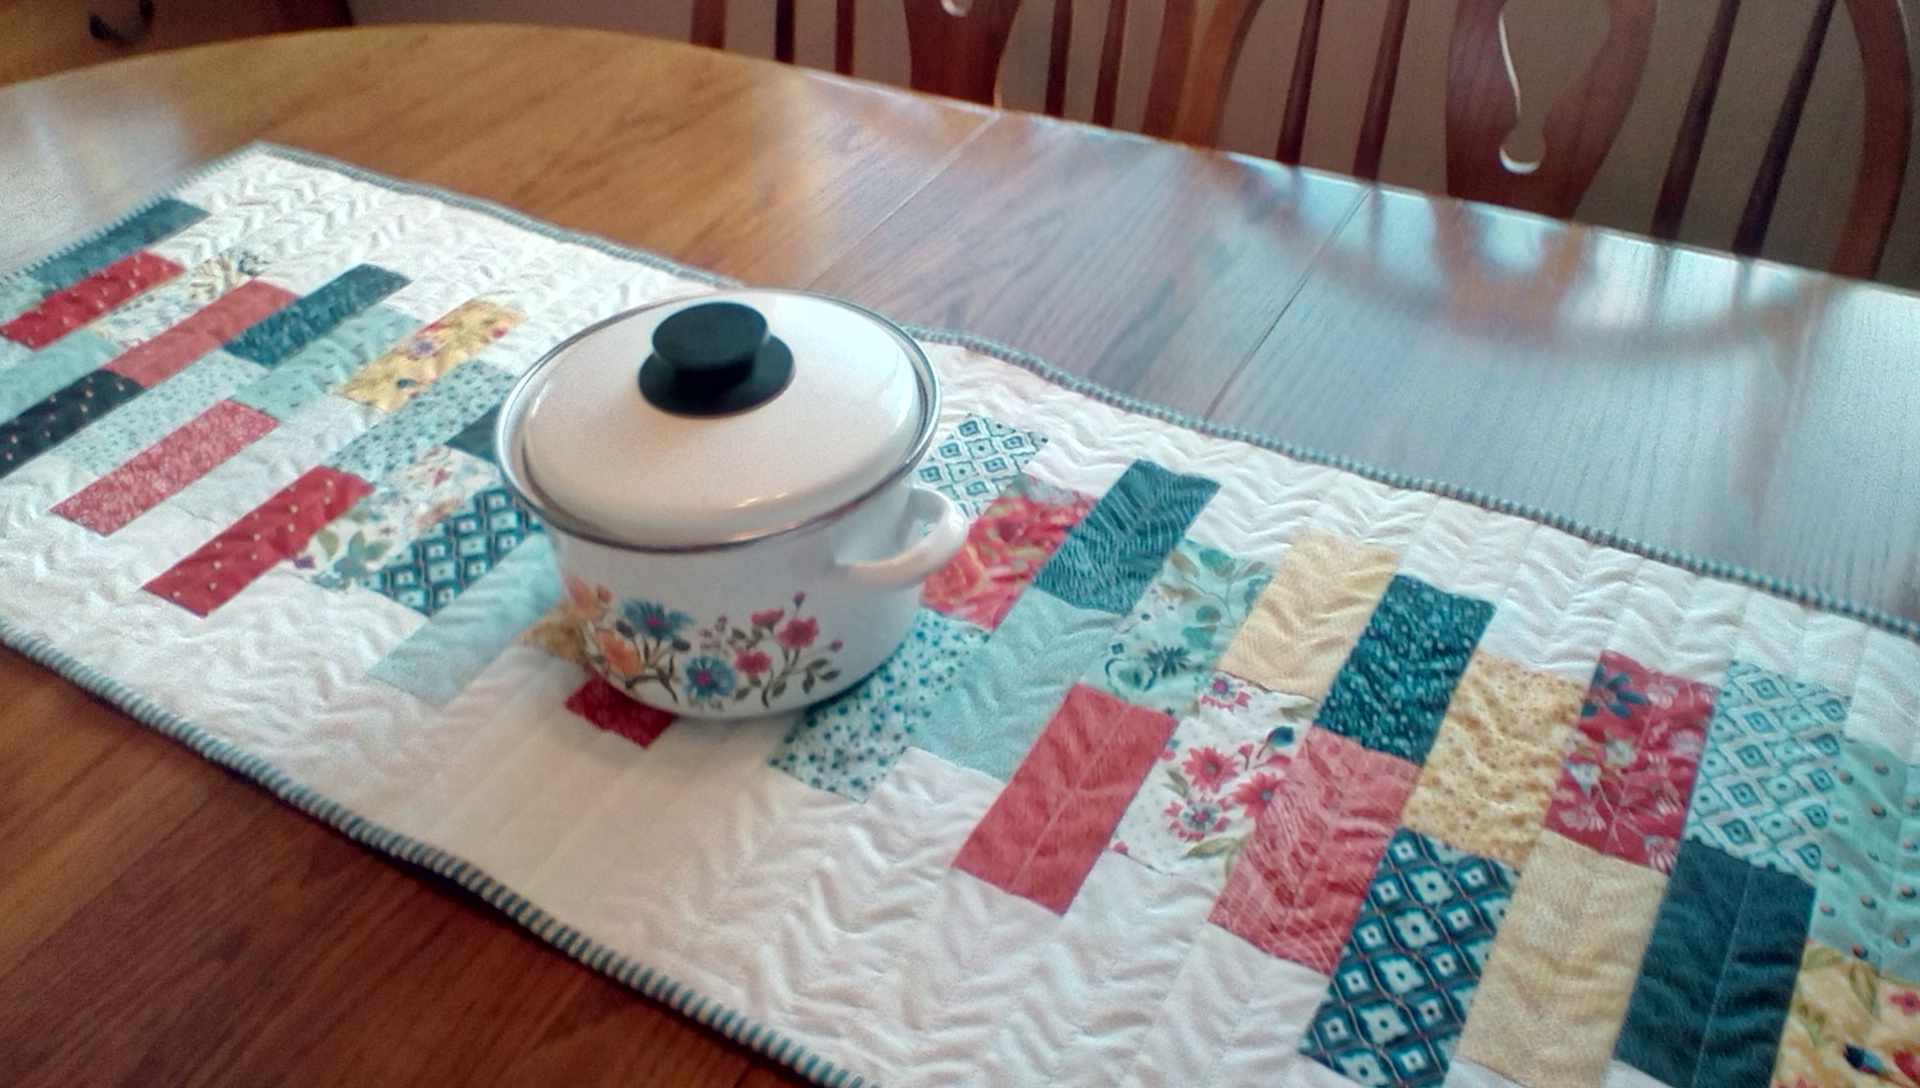
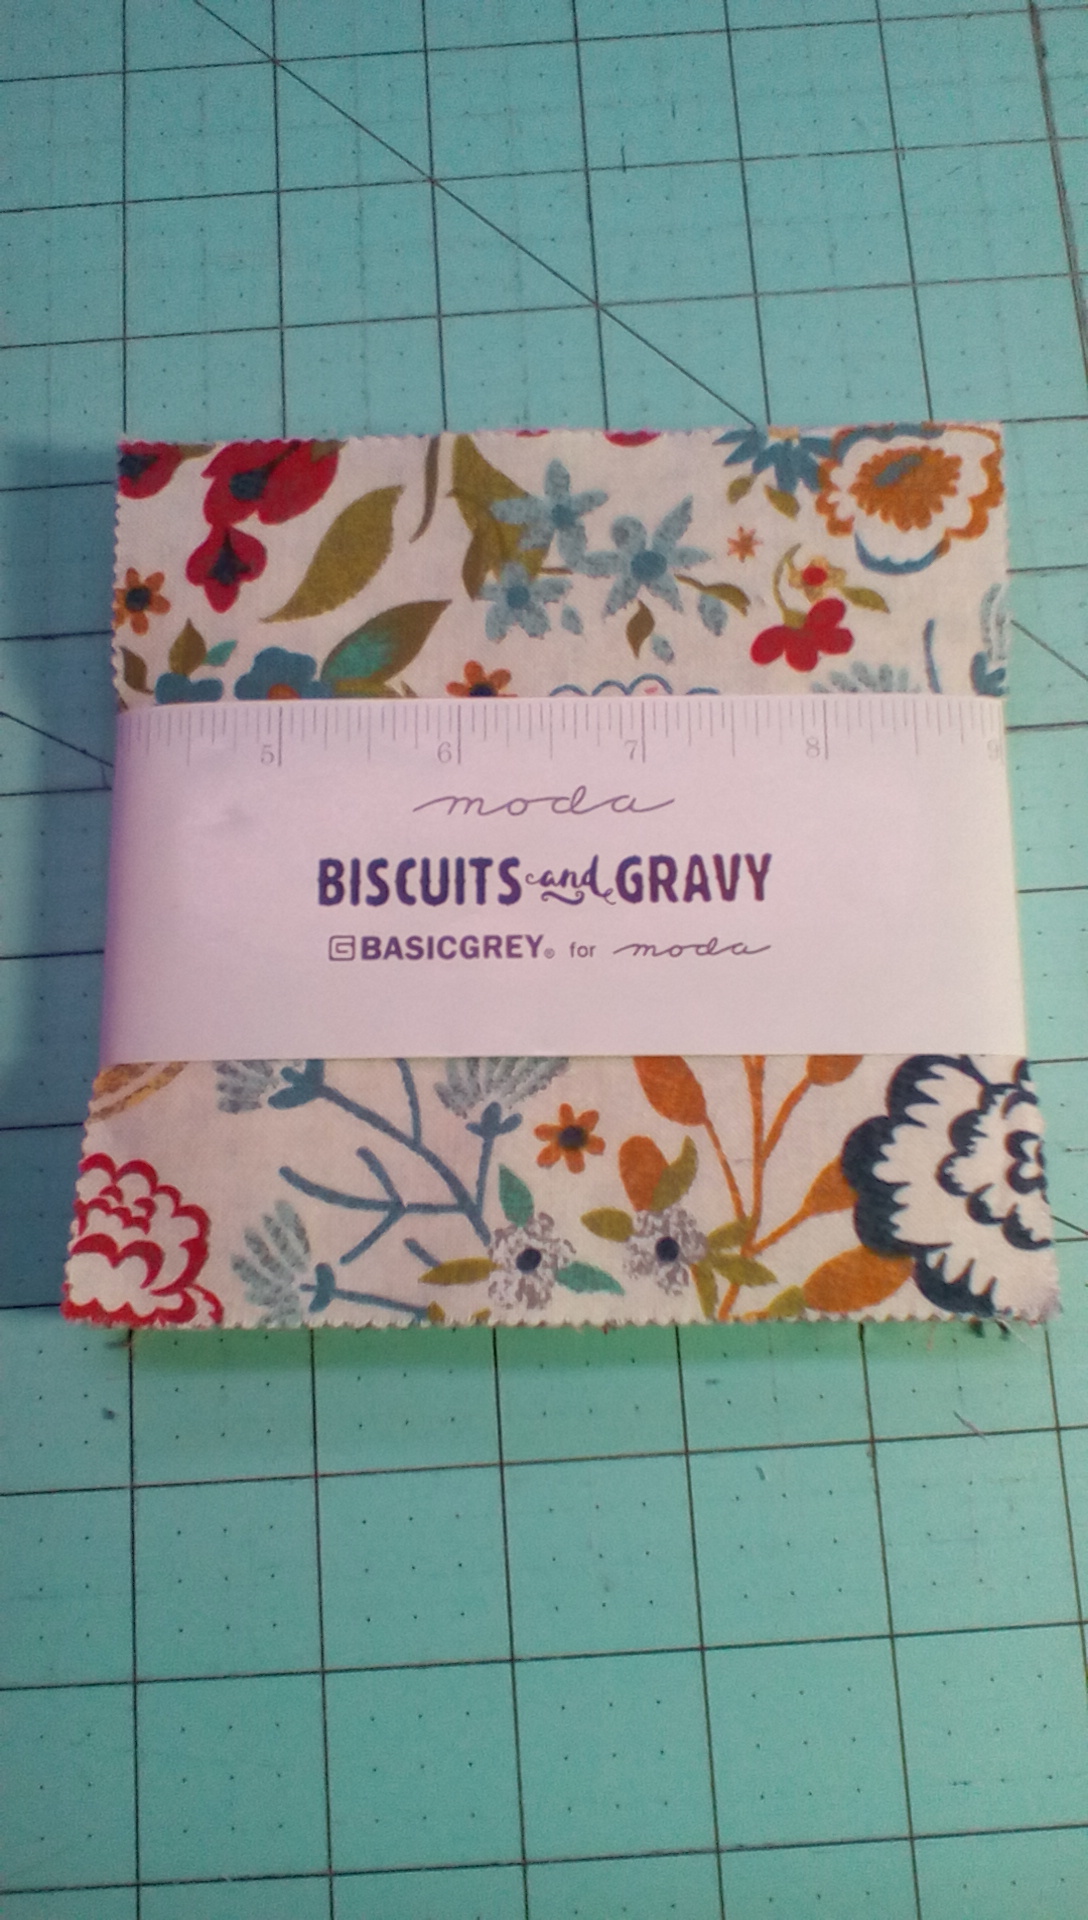
A few months ago, I was at a quilt show when a table runner caught my eye in a vendor’s booth. I asked the vendor for permission to take a photo of the runner so I could make it at home. She said yes, so I took the photo and bought a set of charm squares from the fabric line she used, Biscuits and Gravy, from her.
But I forgot that when taking a photo with my dumbphone, I have to click save. Since I neglected to do that, I was forced to use my failing memory to recall just how the table runner looked. I don’t know if my runner turned out just like hers, but I’m happy with it as it is. You really can’t go wrong with charm packs!
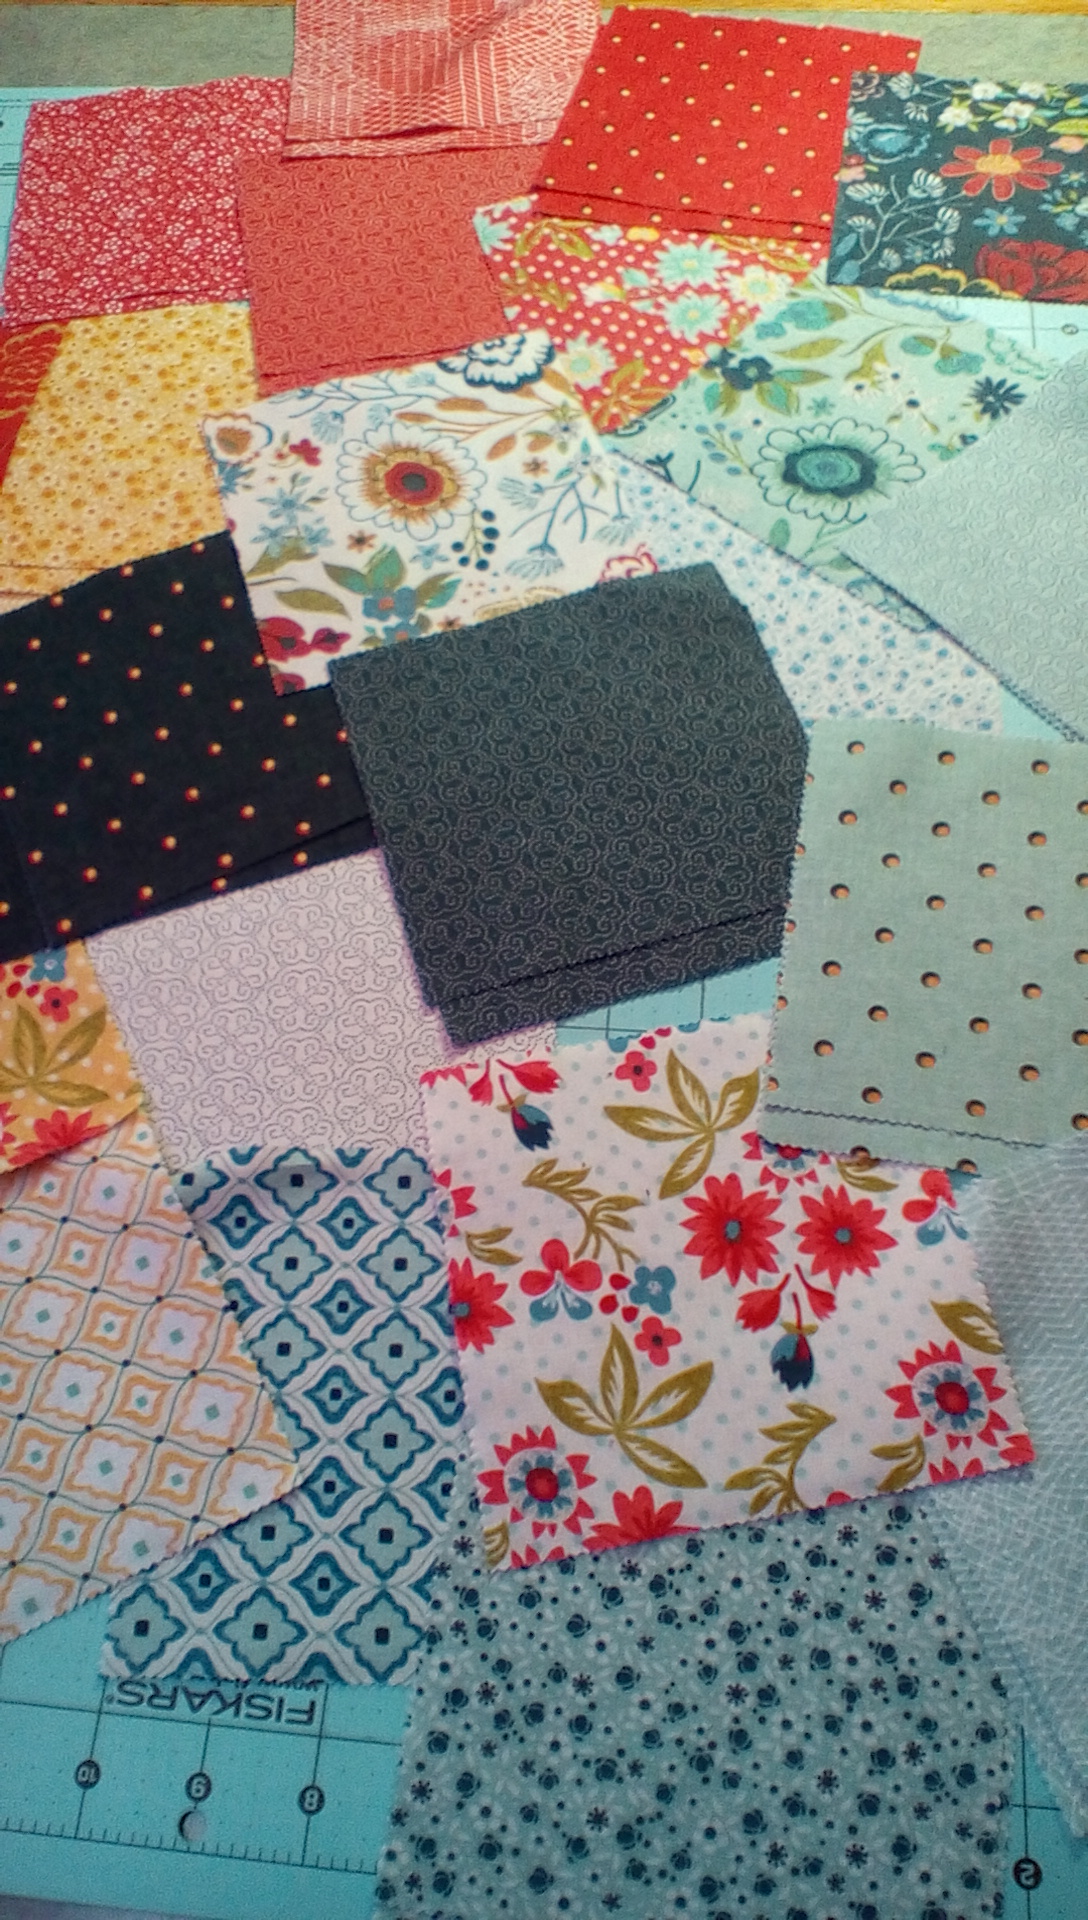
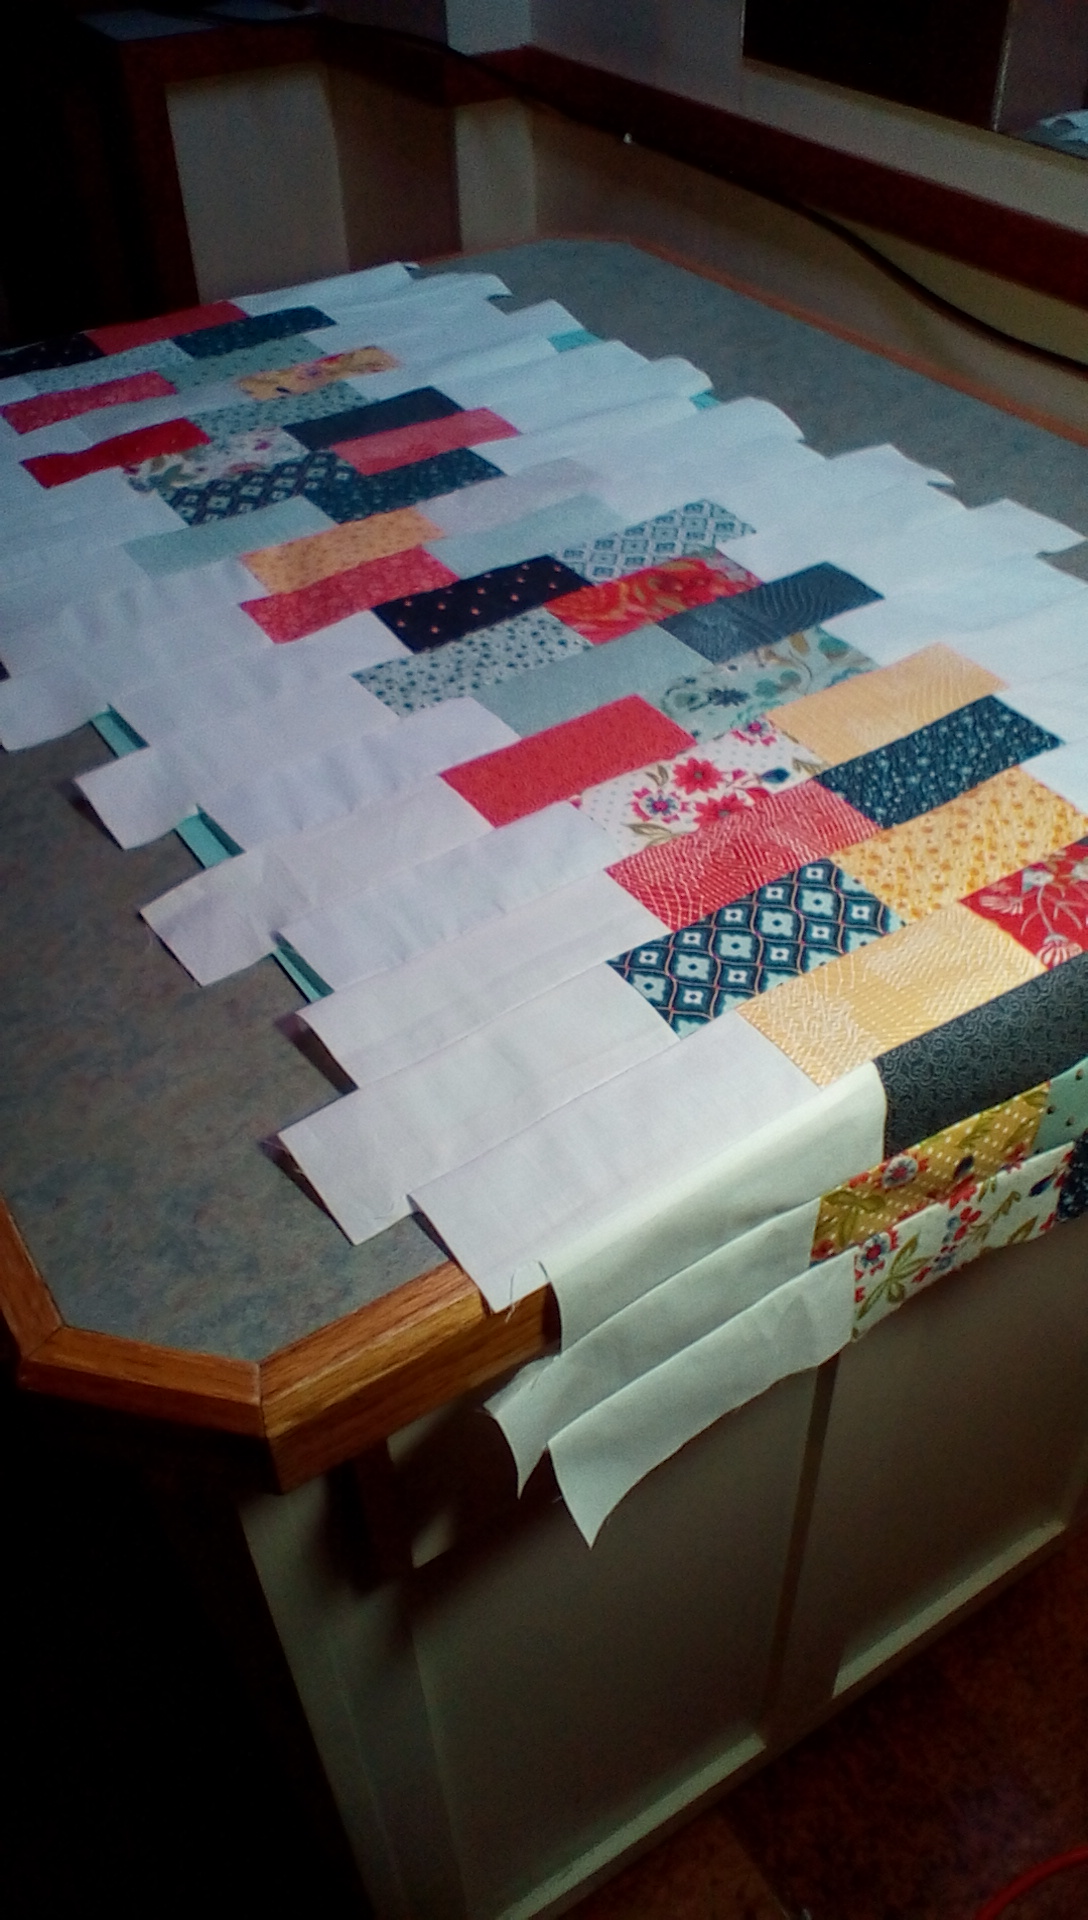
I designed this runner to fit our table: 17″ X 47″. To get that size, I used 24 of my favorite squares from the pack of 42. I love these prints! So homey.
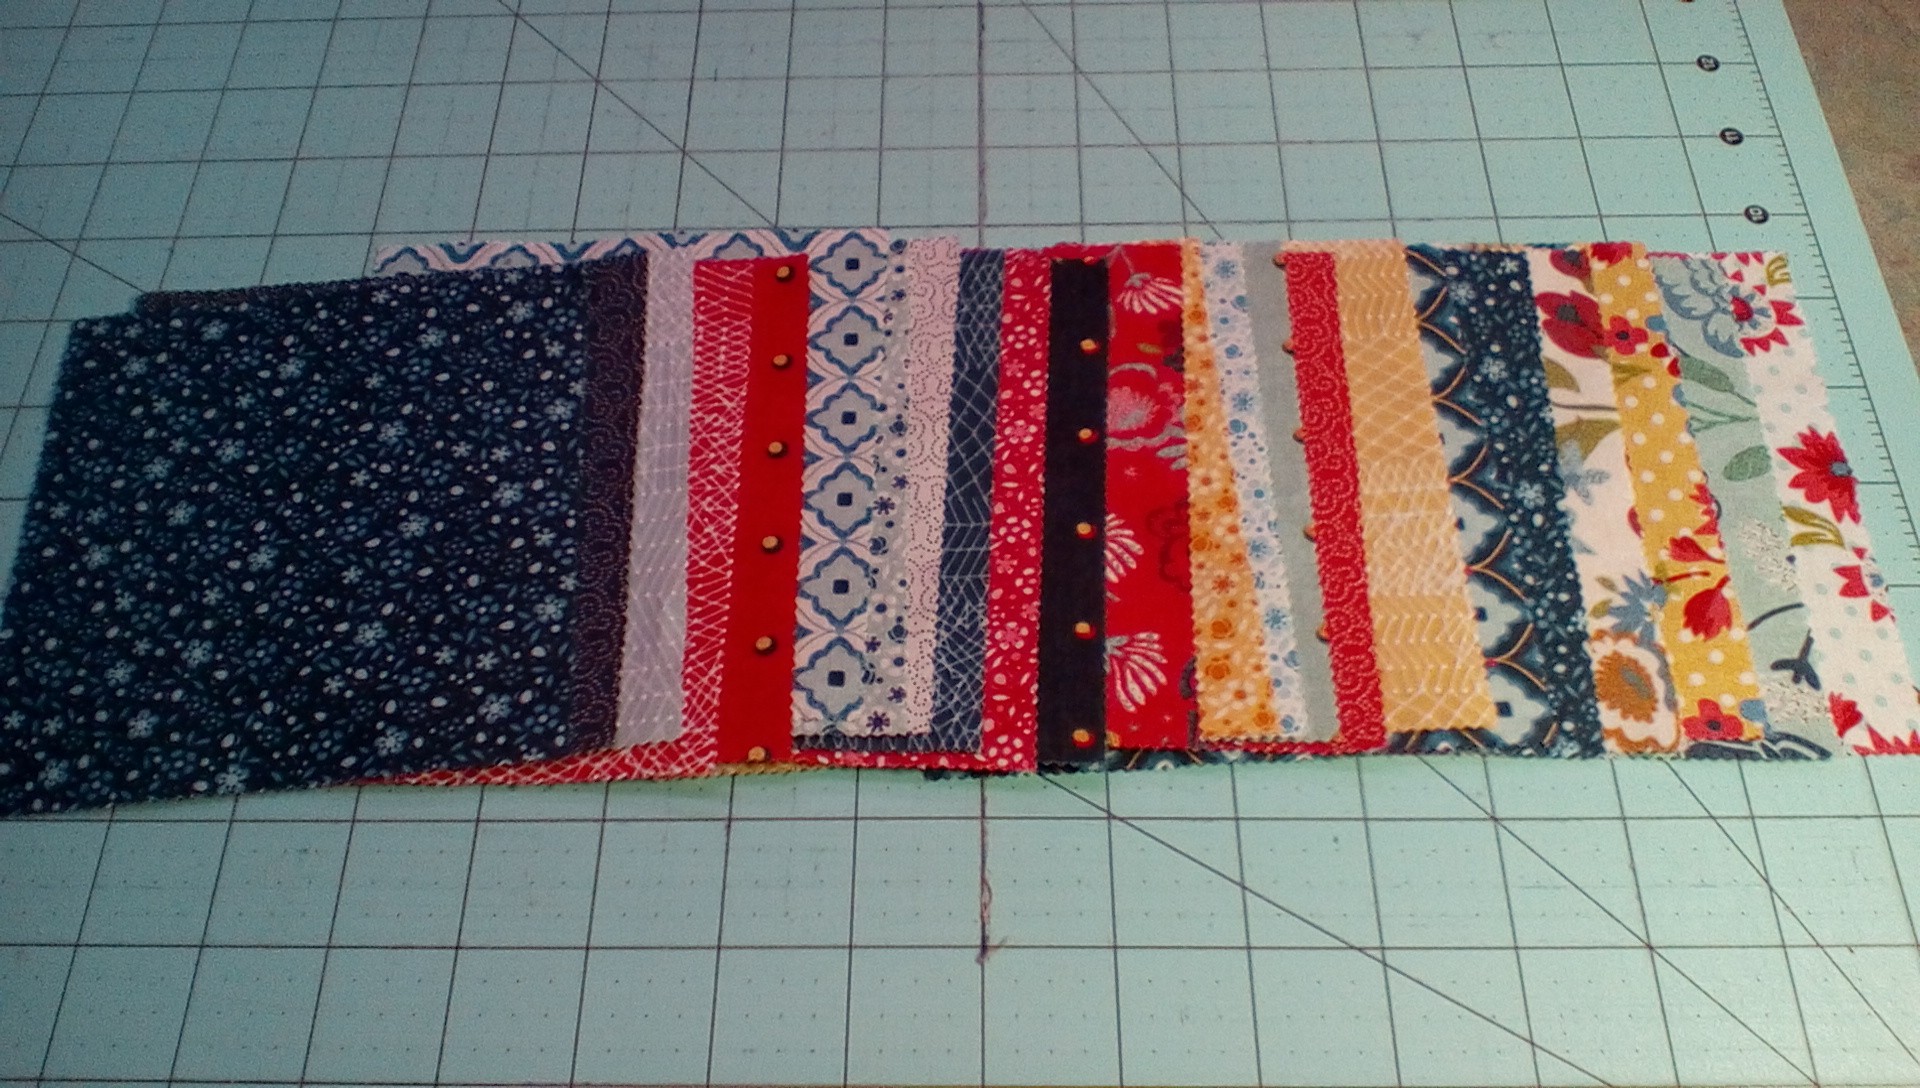
To make a runner like this one, choose 24 of your favorite prints and cut them each in half so that you have 48 rectangles that measure 2 1/2″ X 5″. You should end up with two stacks like this:
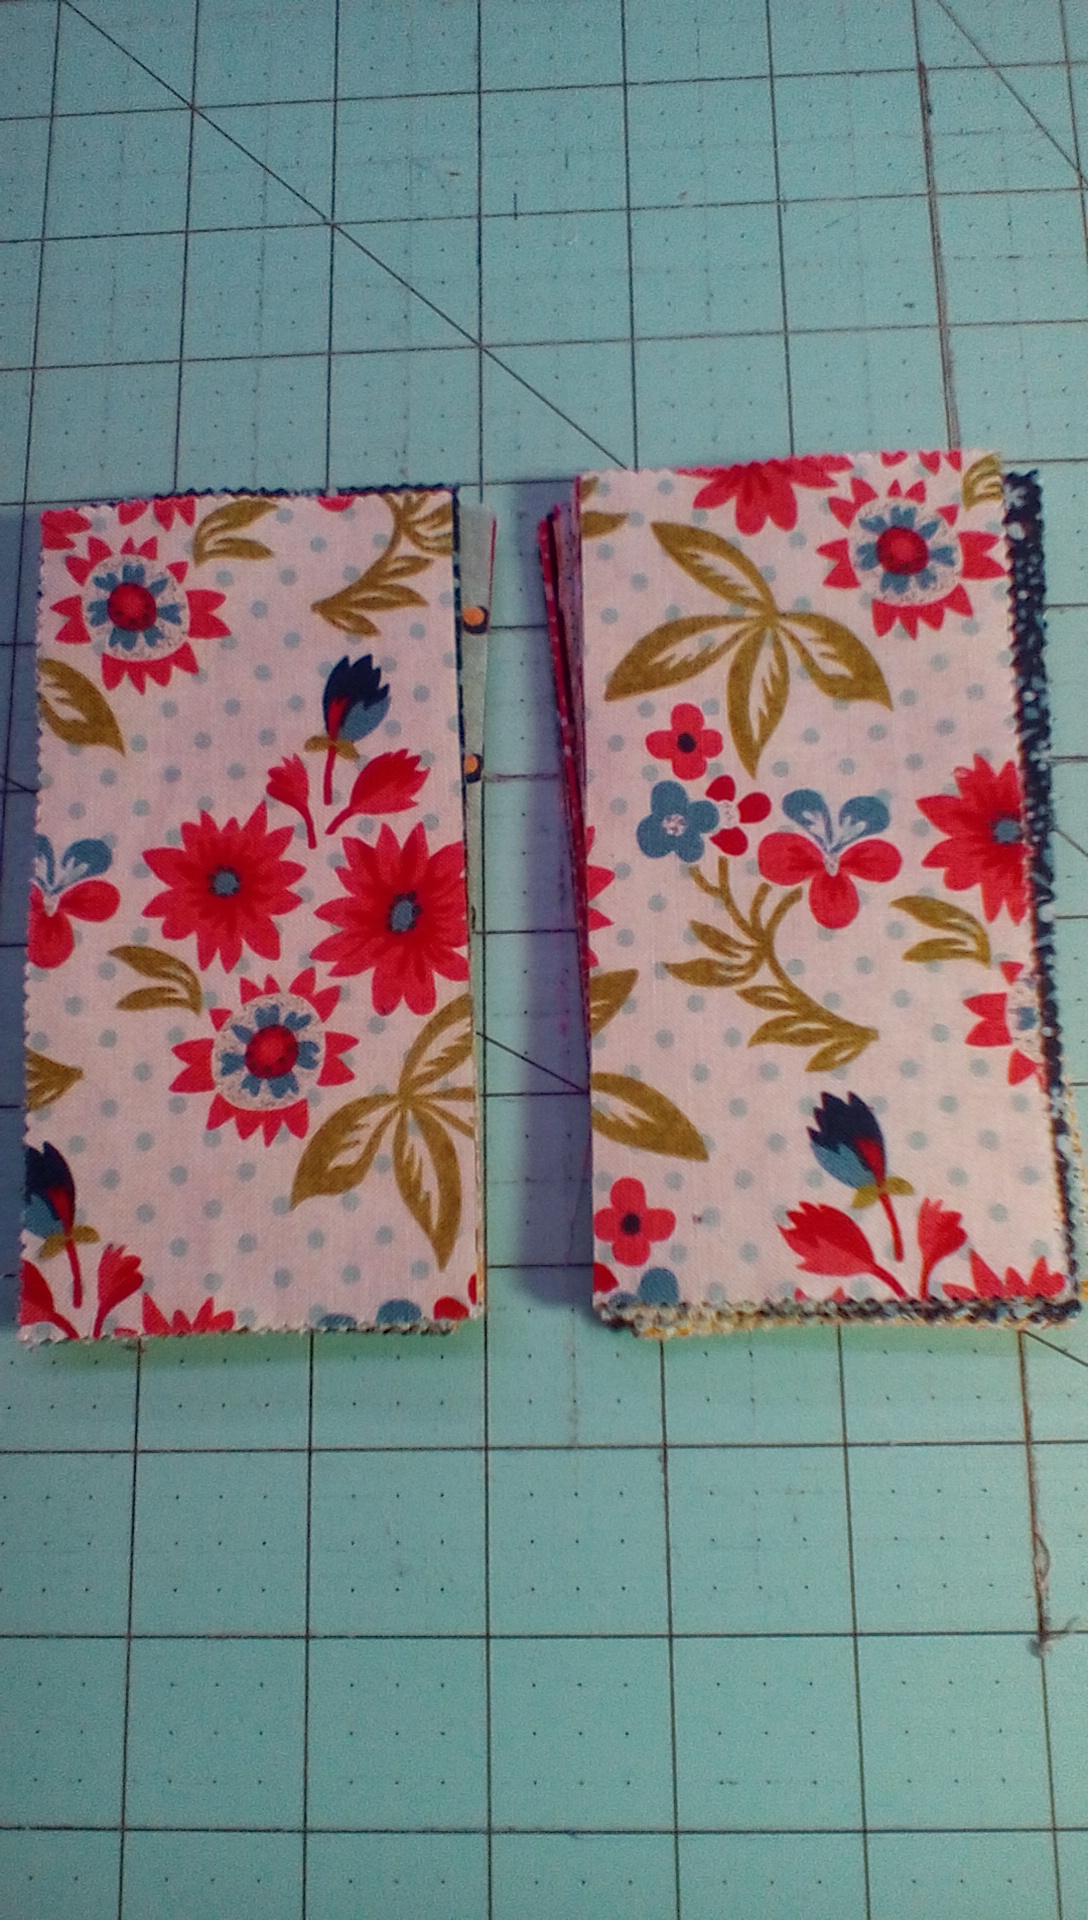
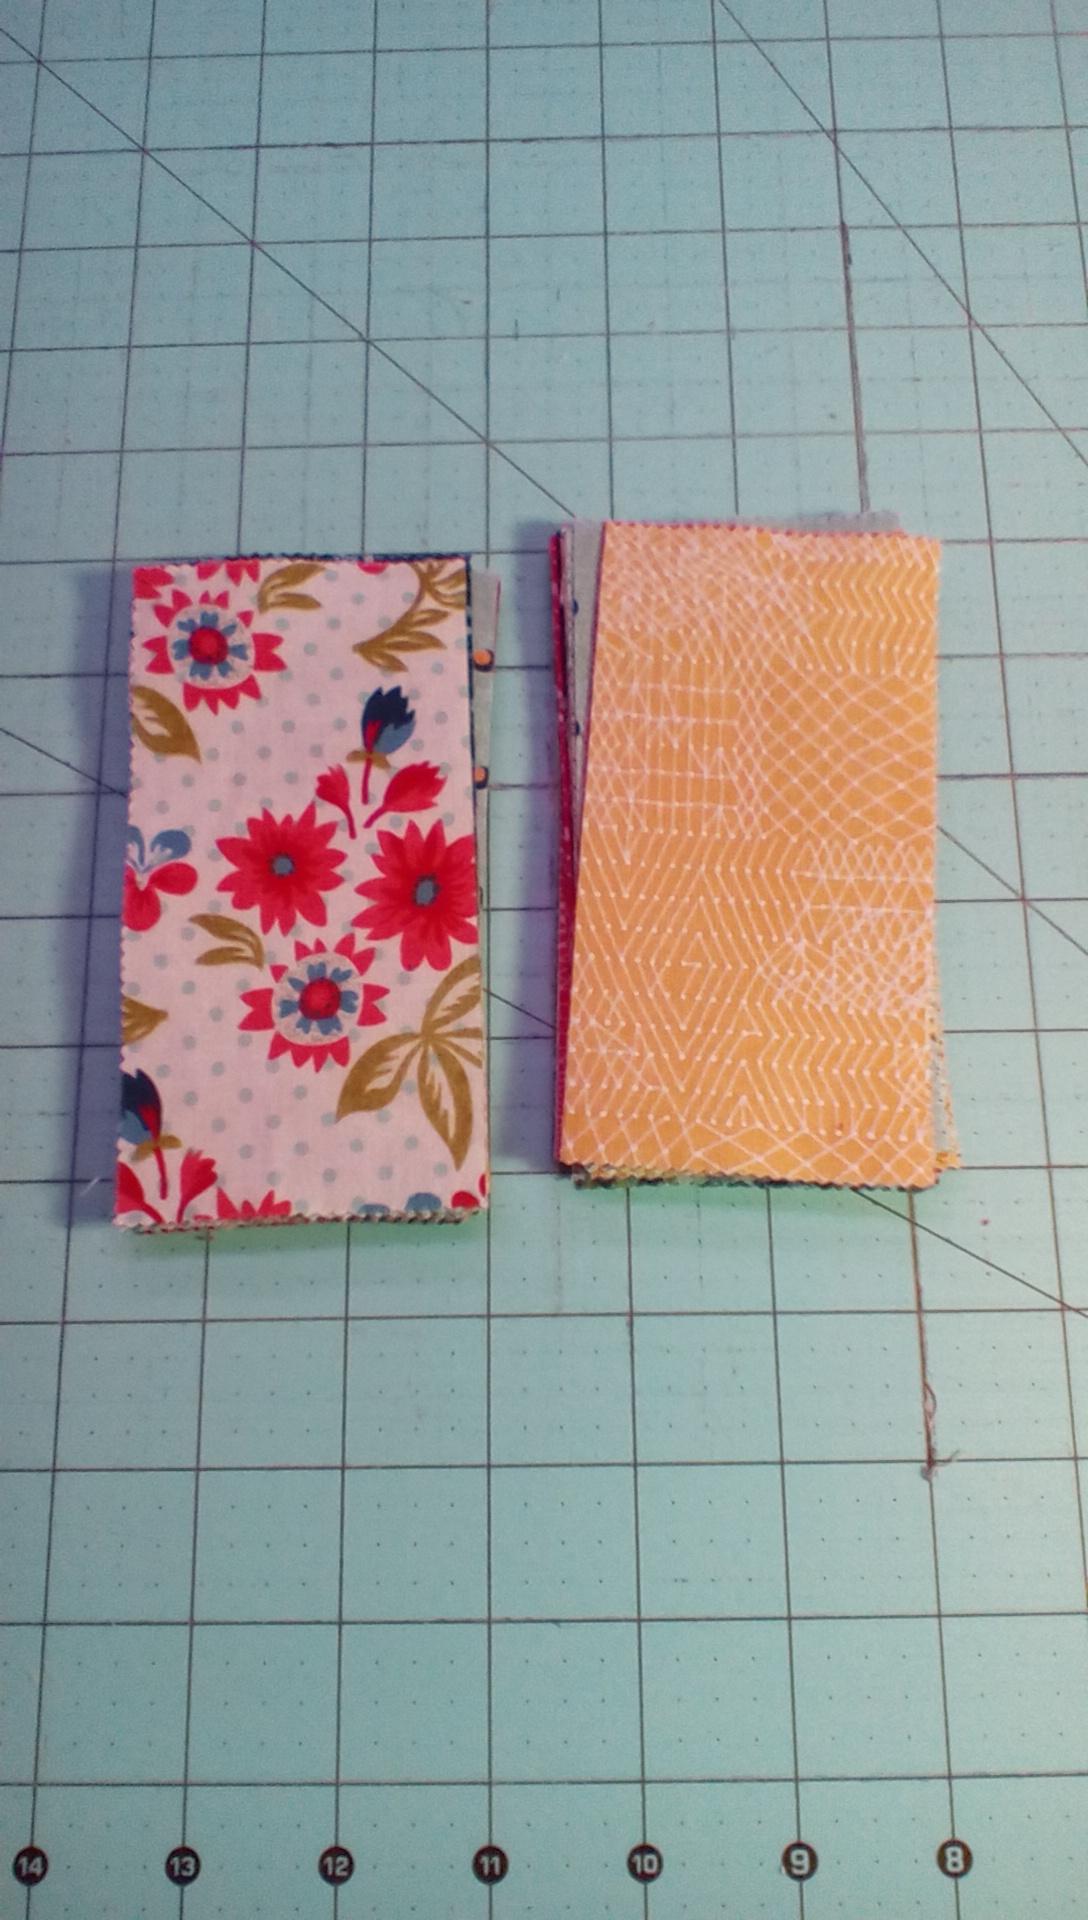
Take the bottom piece of fabric from the right-hand stack and put it on top. In a minute you’ll be piecing these together, end to end. By moving that one piece from the bottom to the top, you can just pair these up, one from each pile, and be assured that you’ll be getting varied pairs:
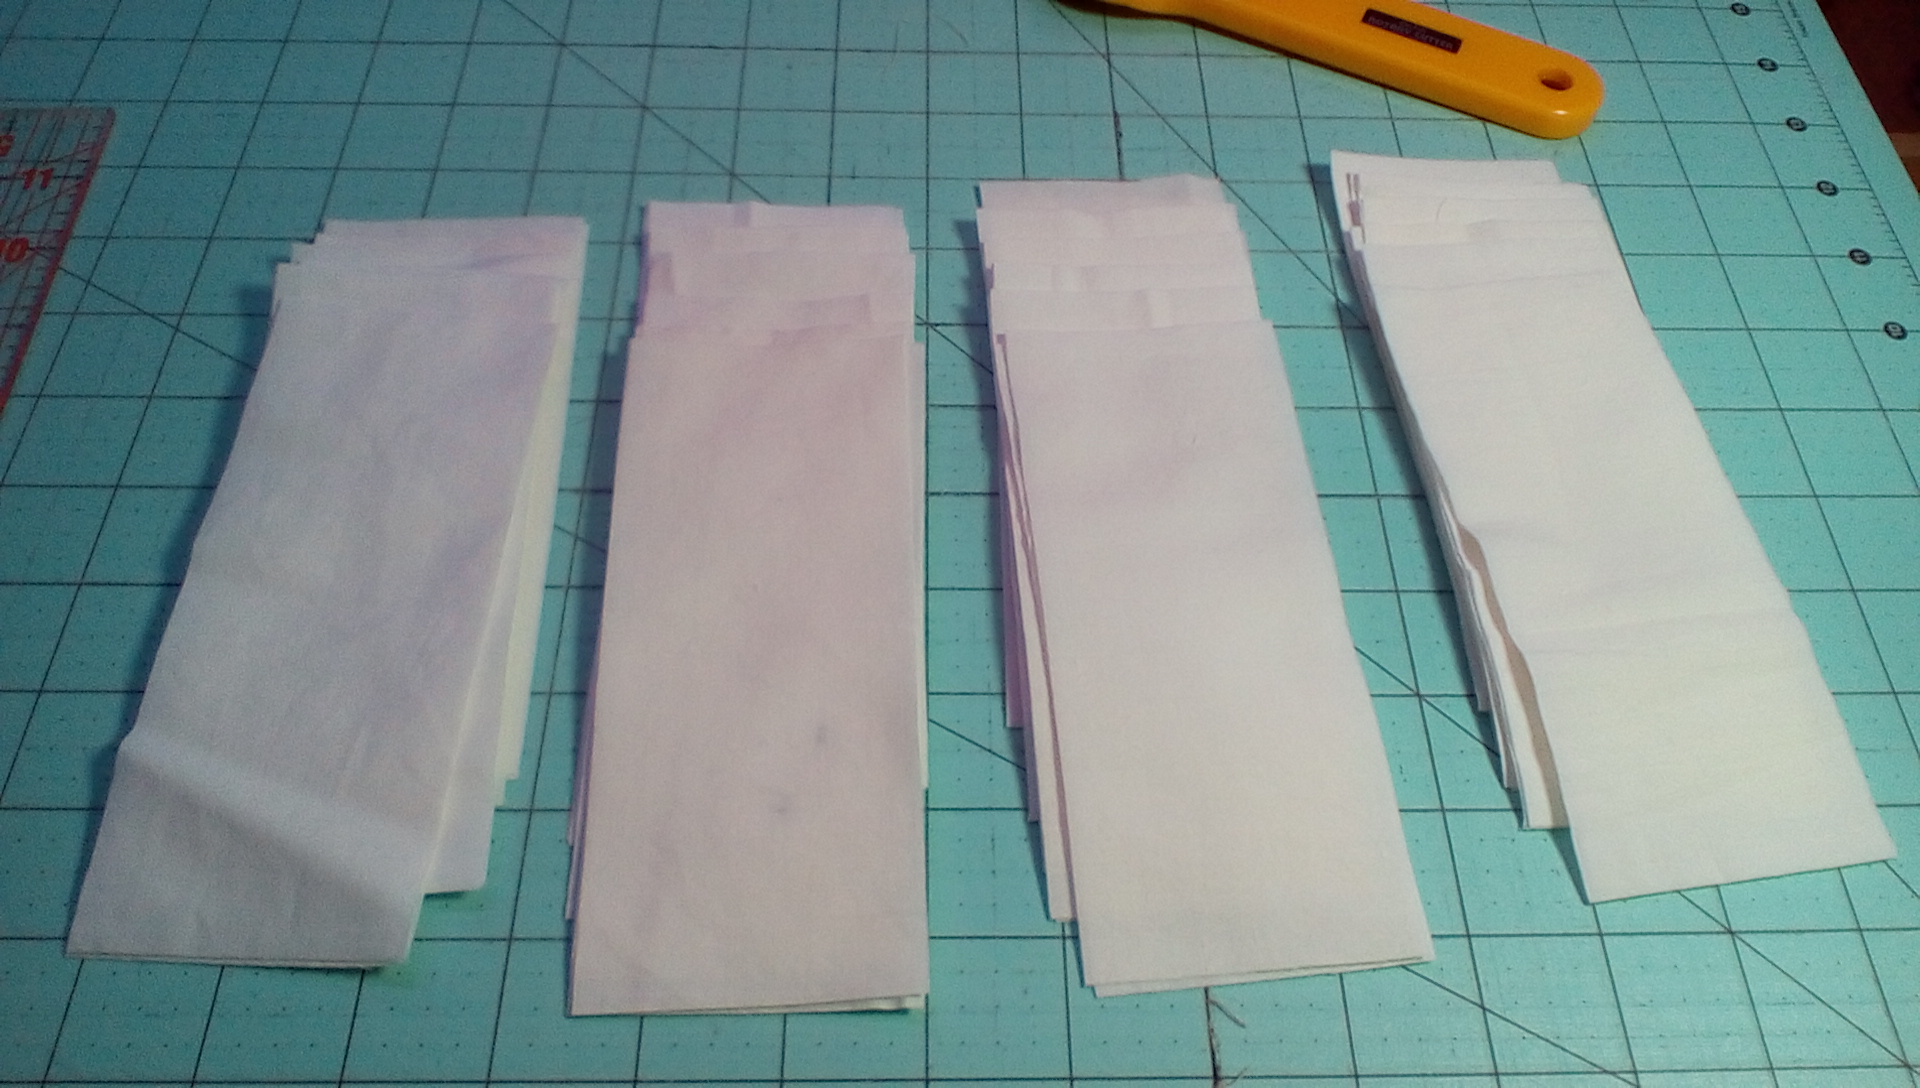
Next, cut 48 rectangles, 2 1/2″ X 6″, from a solid color. I used unbleached muslin scraps from my stash, along with some white scraps:
Sew all of the pairs of your print rectangles together, end to end; then sew the solid rectangles to them, one on each end, so that you end up with 24 long strips with two prints in the middle and a solid on each end:

Press all seams toward the prints. Now stagger the rows in a way that pleases you, and sew them together. Don’t worry that the ends are uneven; that’s how they’re supposed to be:
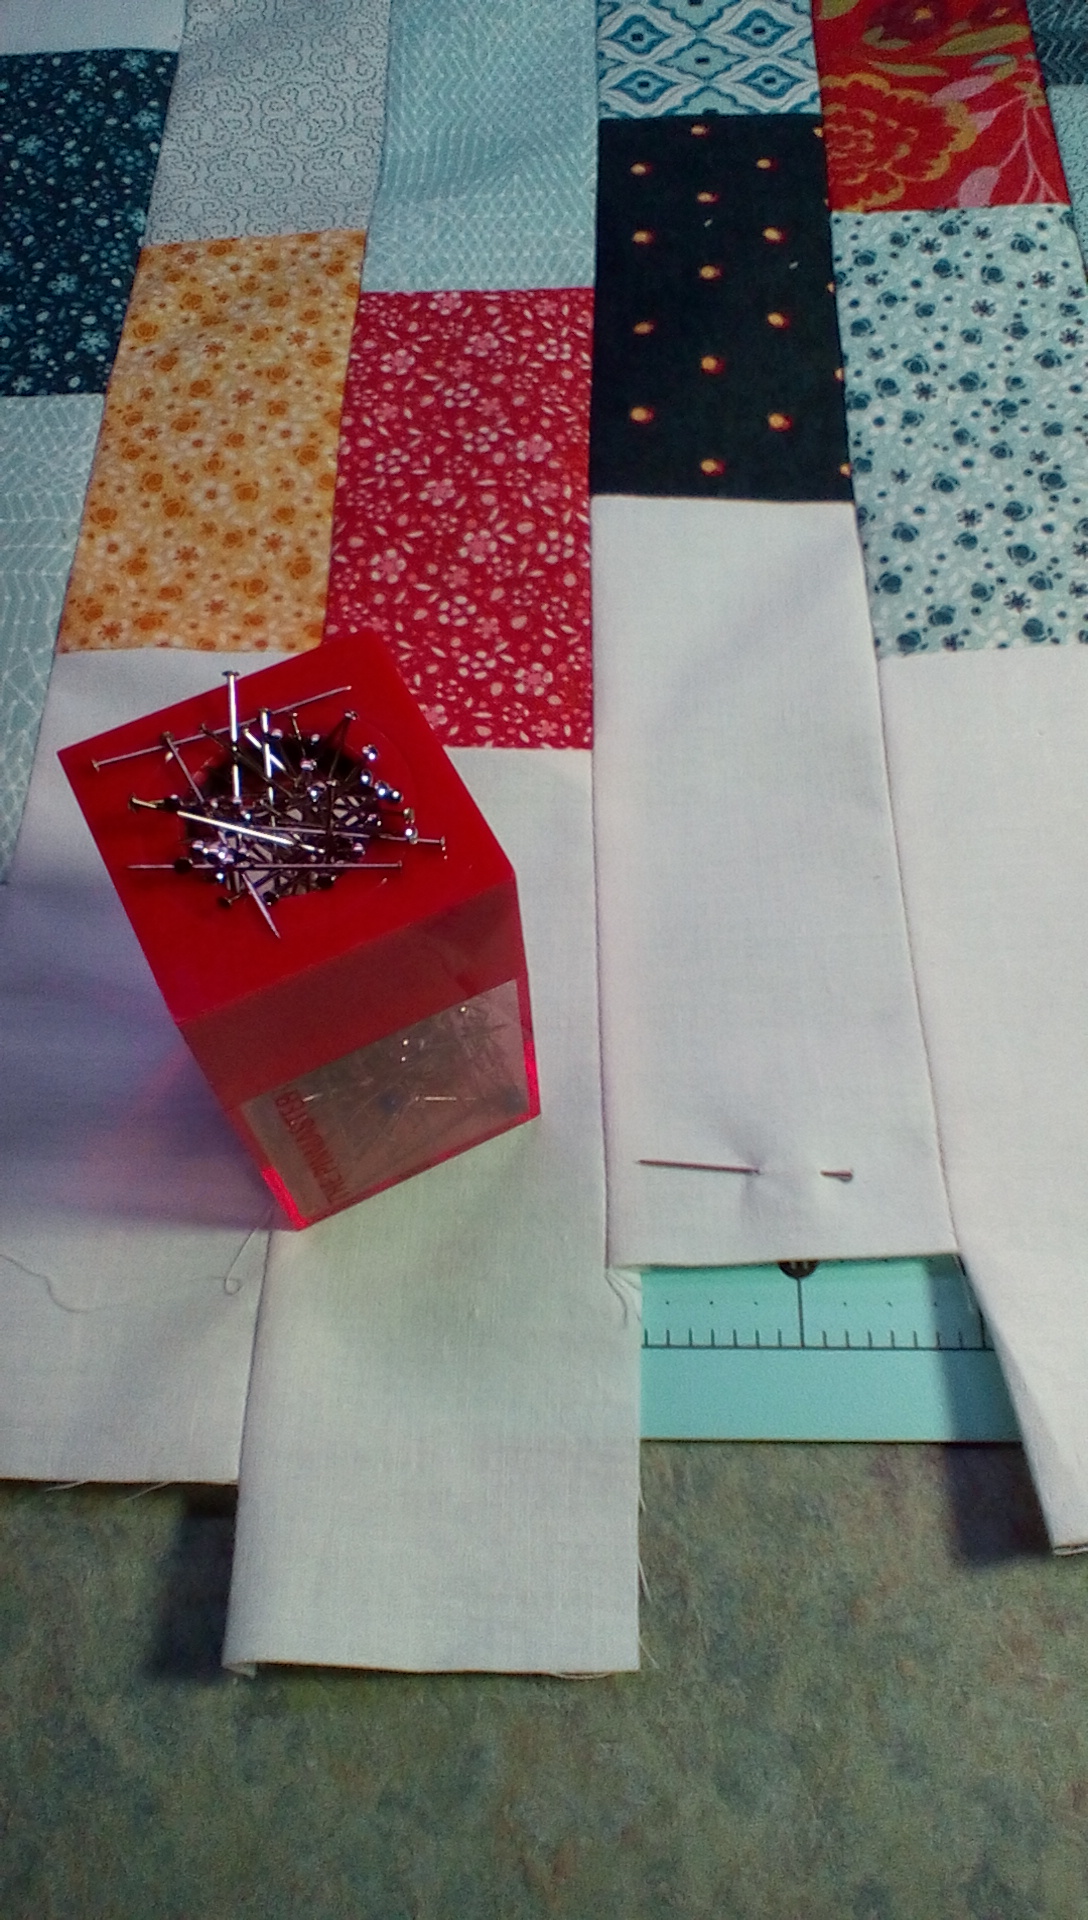
Put a pin on the shortest strip on each side:
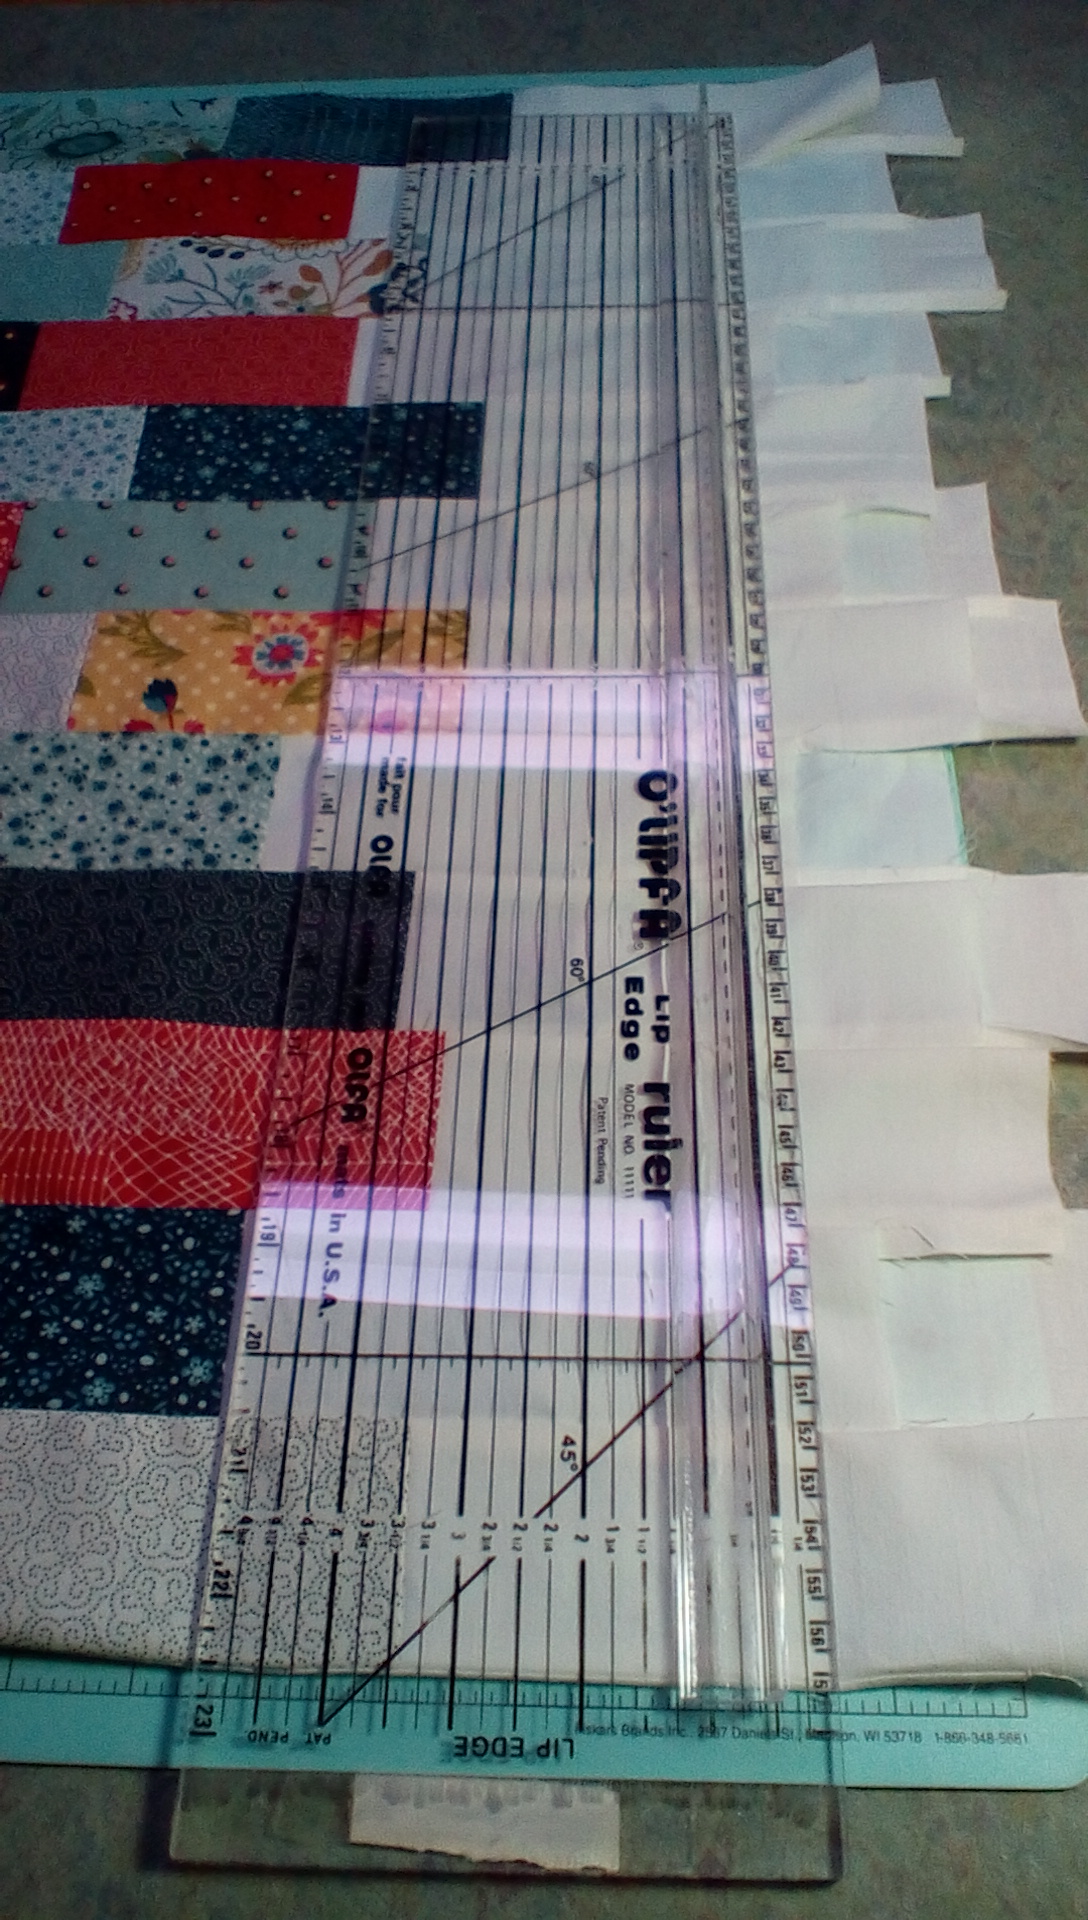
Align a long ruler with the shortest piece, the one you marked with a pin. Slide one of the horizontal marks on your ruler to match up to one of the seams so your corners will be square:
Trim each side. You should end up with a nice even edge on each side:
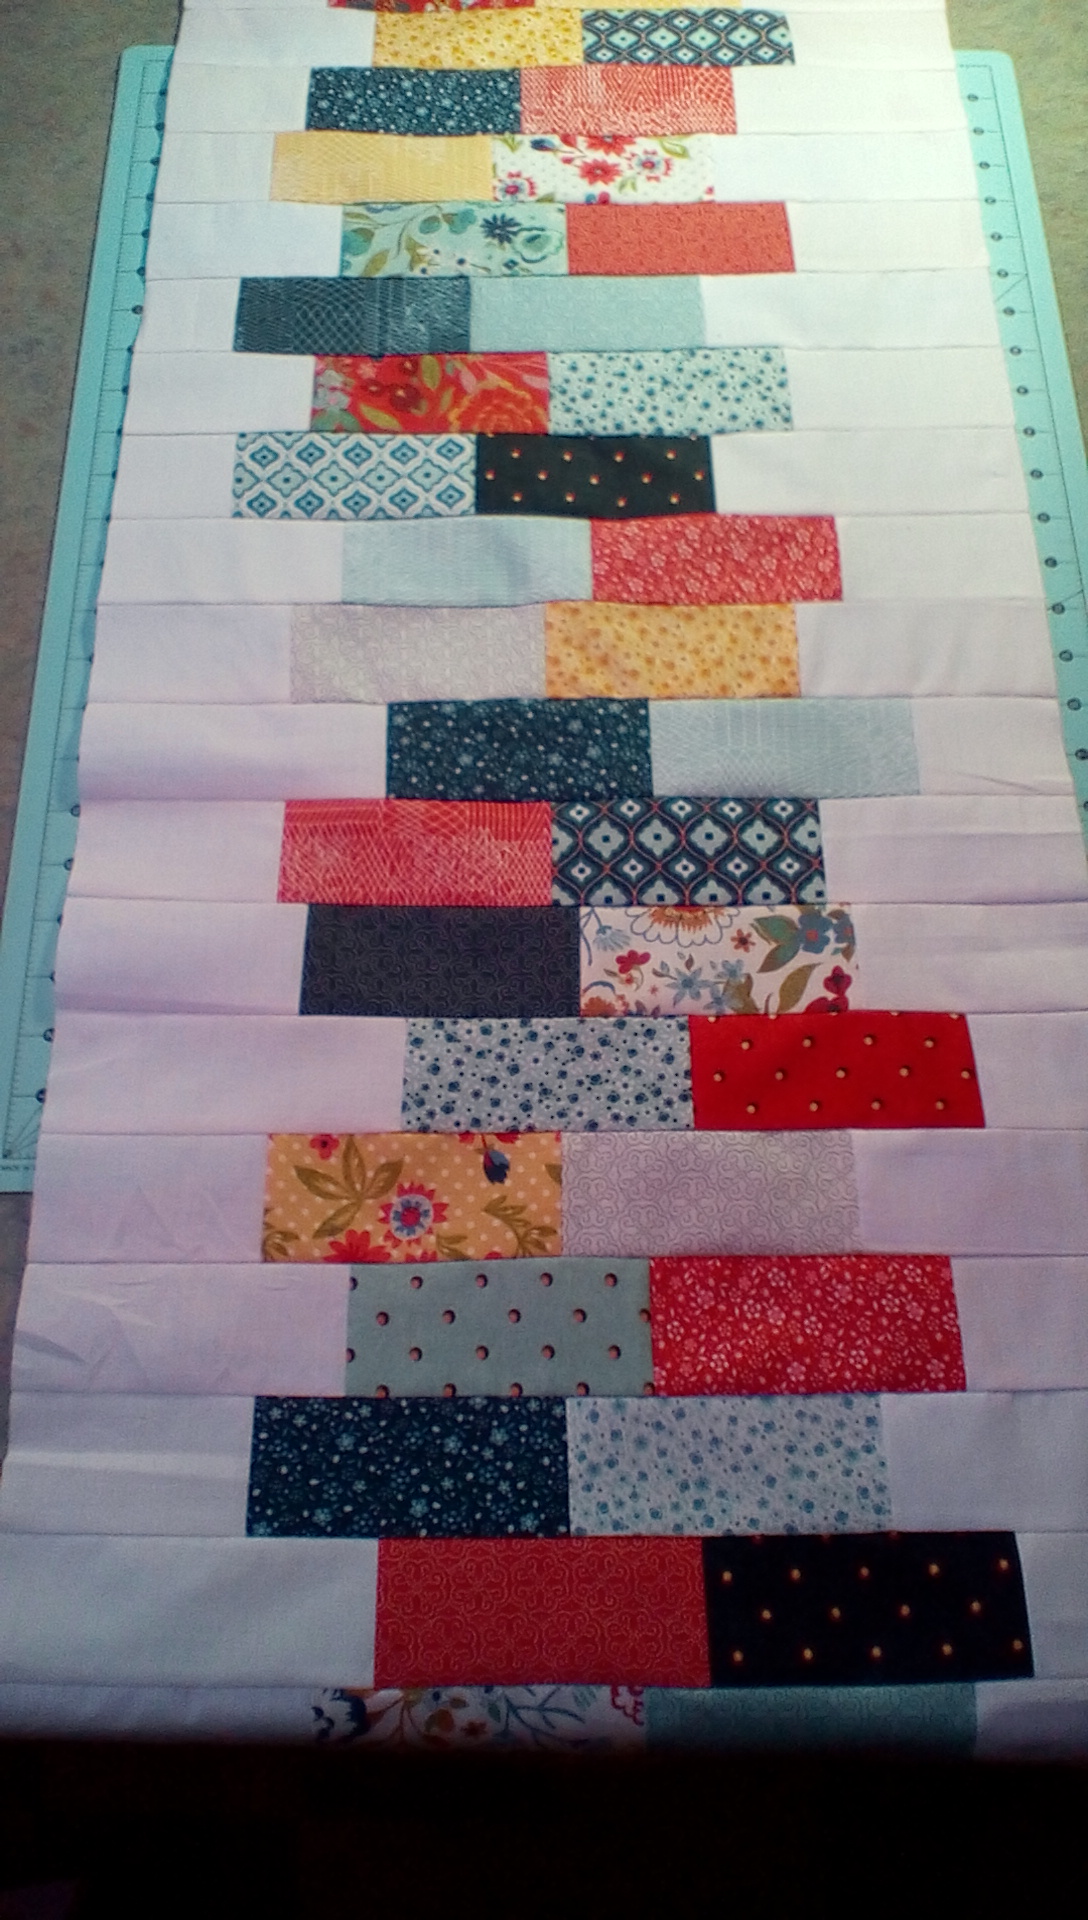
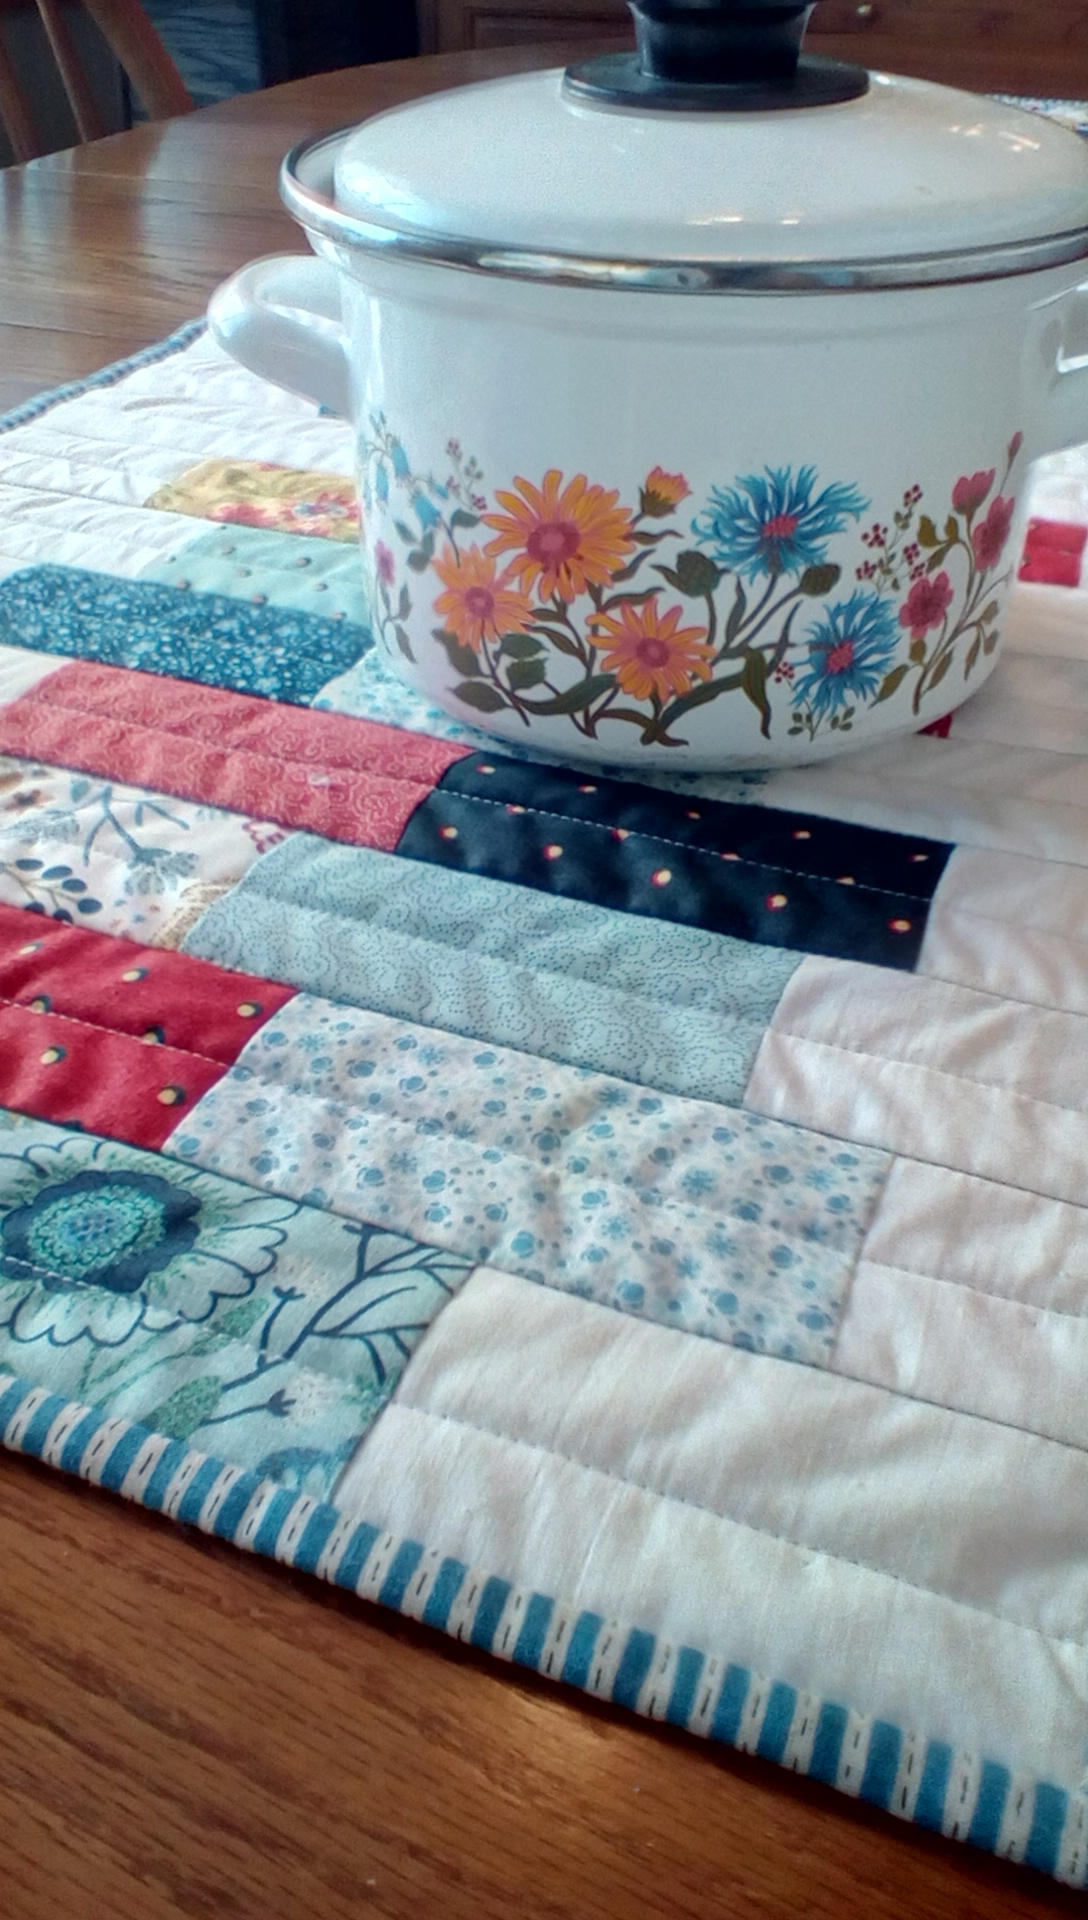
Quilt as desired. After much debate, I ended up just using a straight stitch in the ditches and in between them. I used a print from my stash for the backing, and a wonderful stripe for the binding:
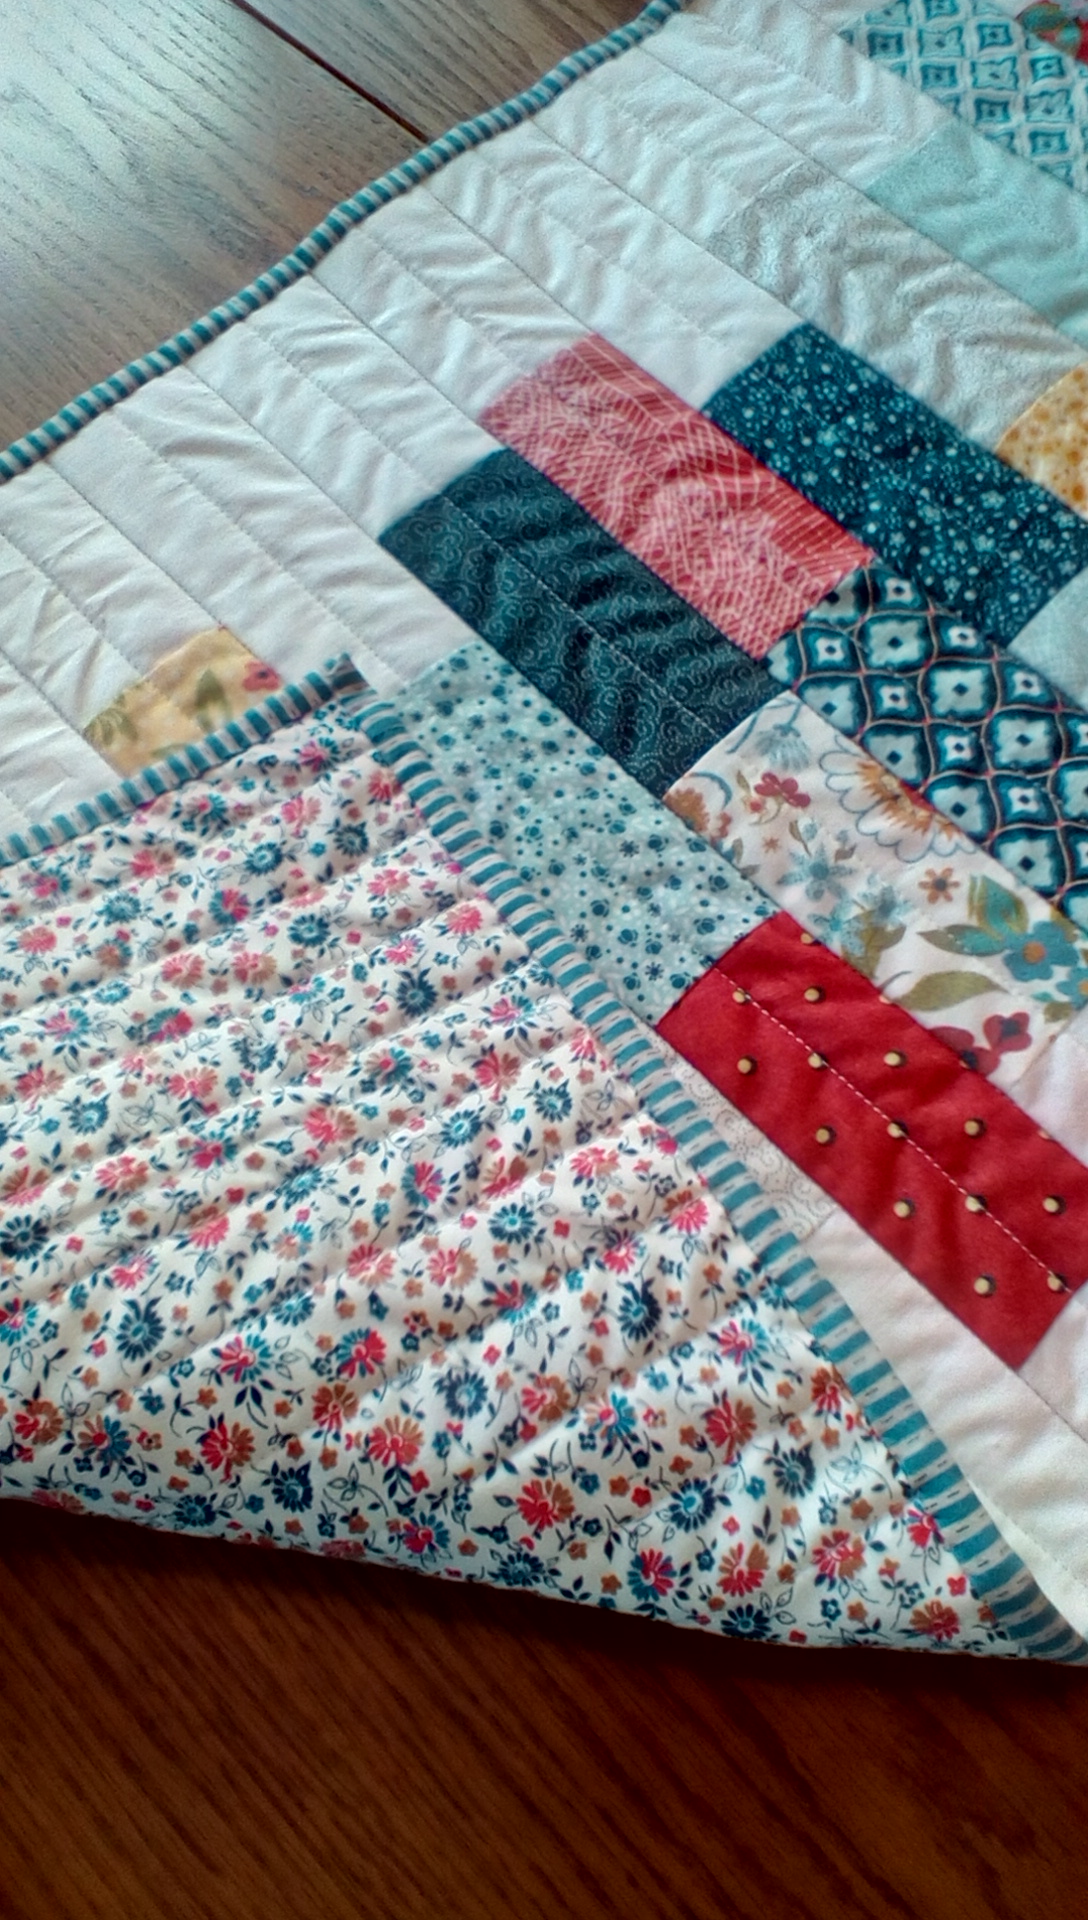
There’s nothing like a new table runner to brighten up the kitchen!