60-Degree Triangle Table Runner #3

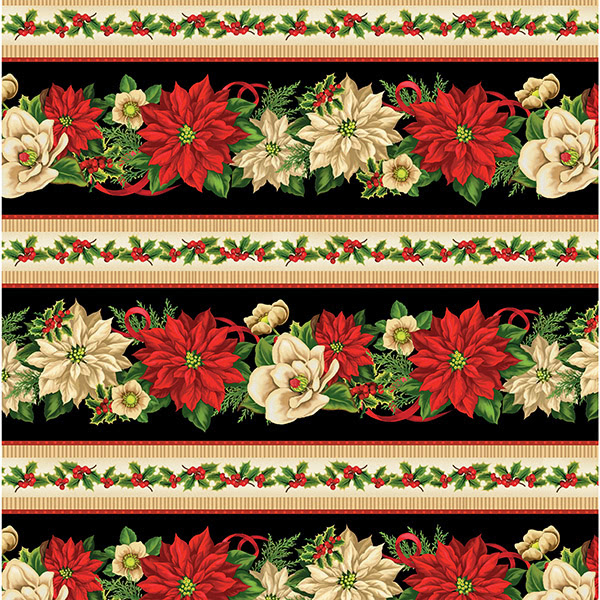
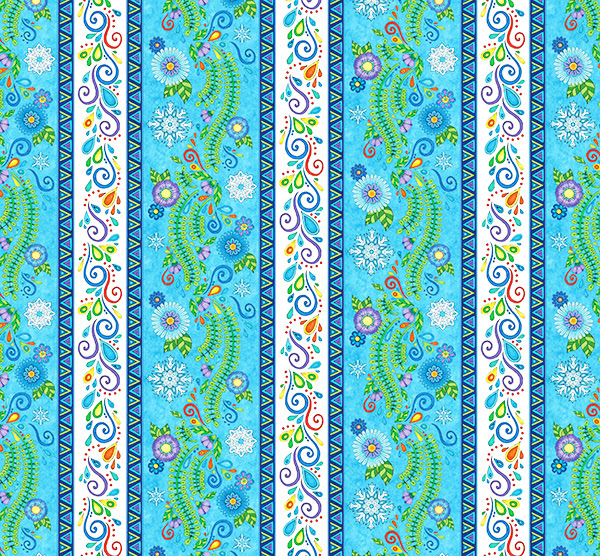
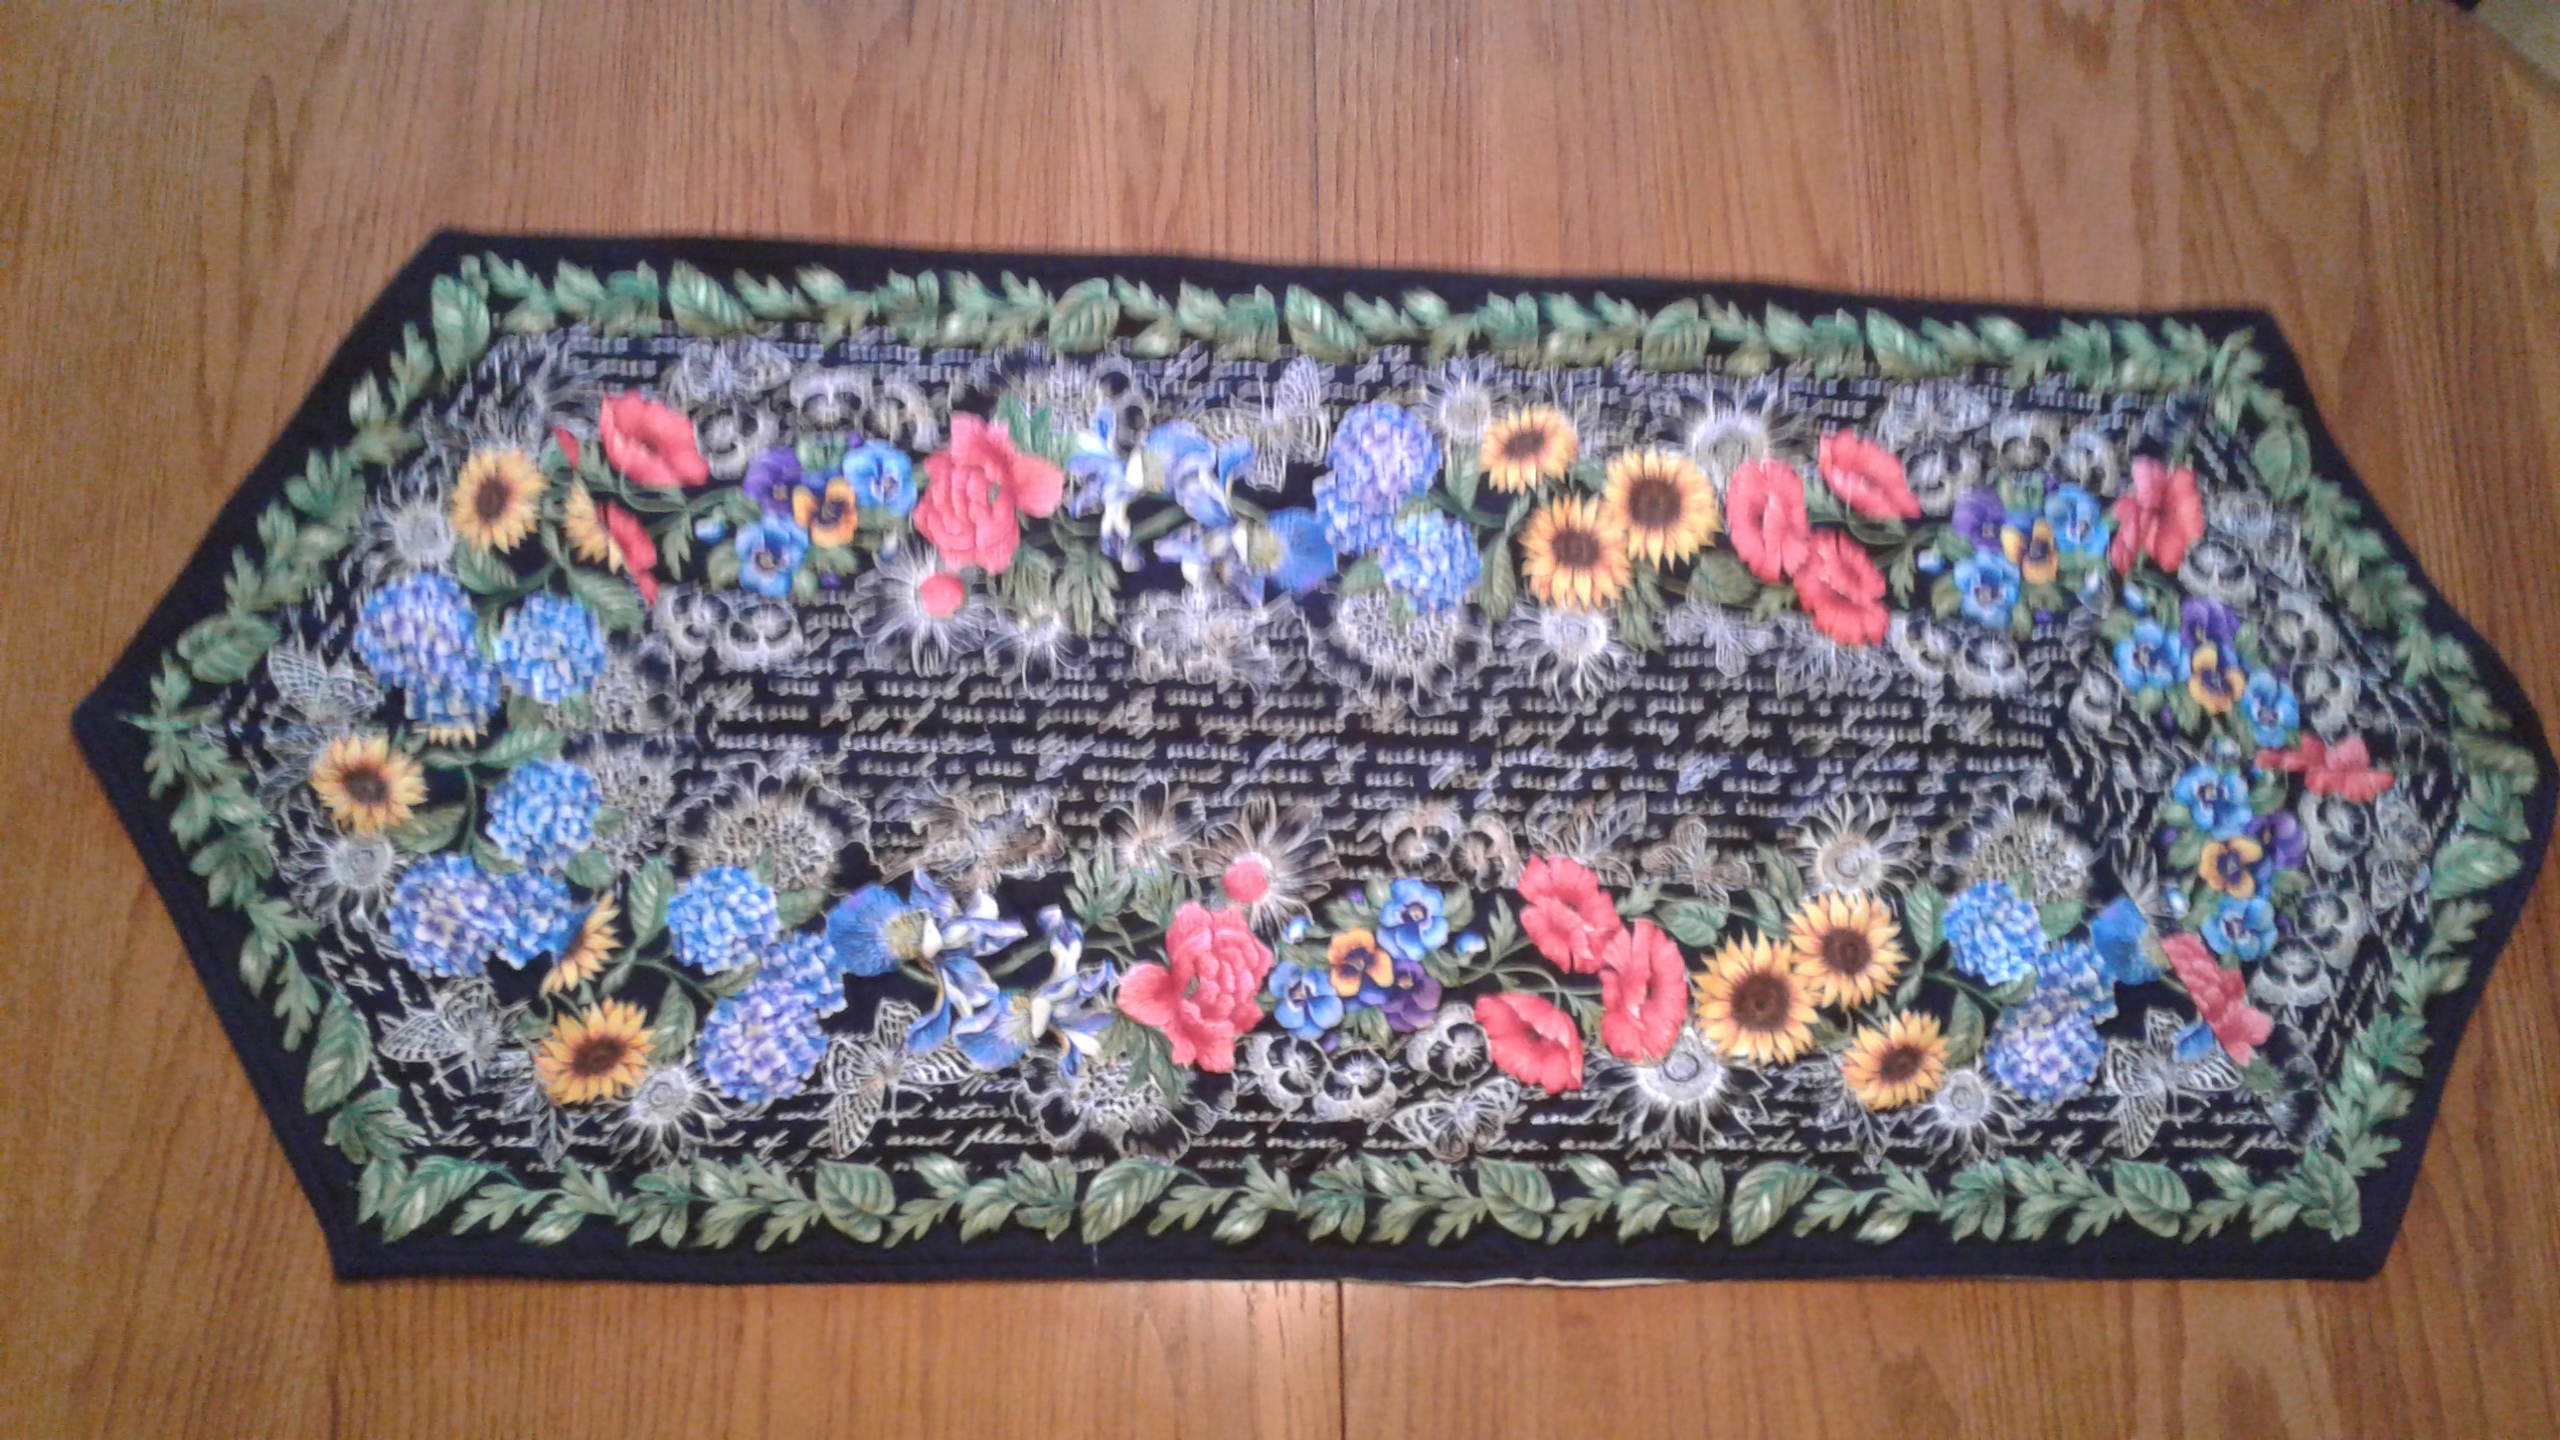
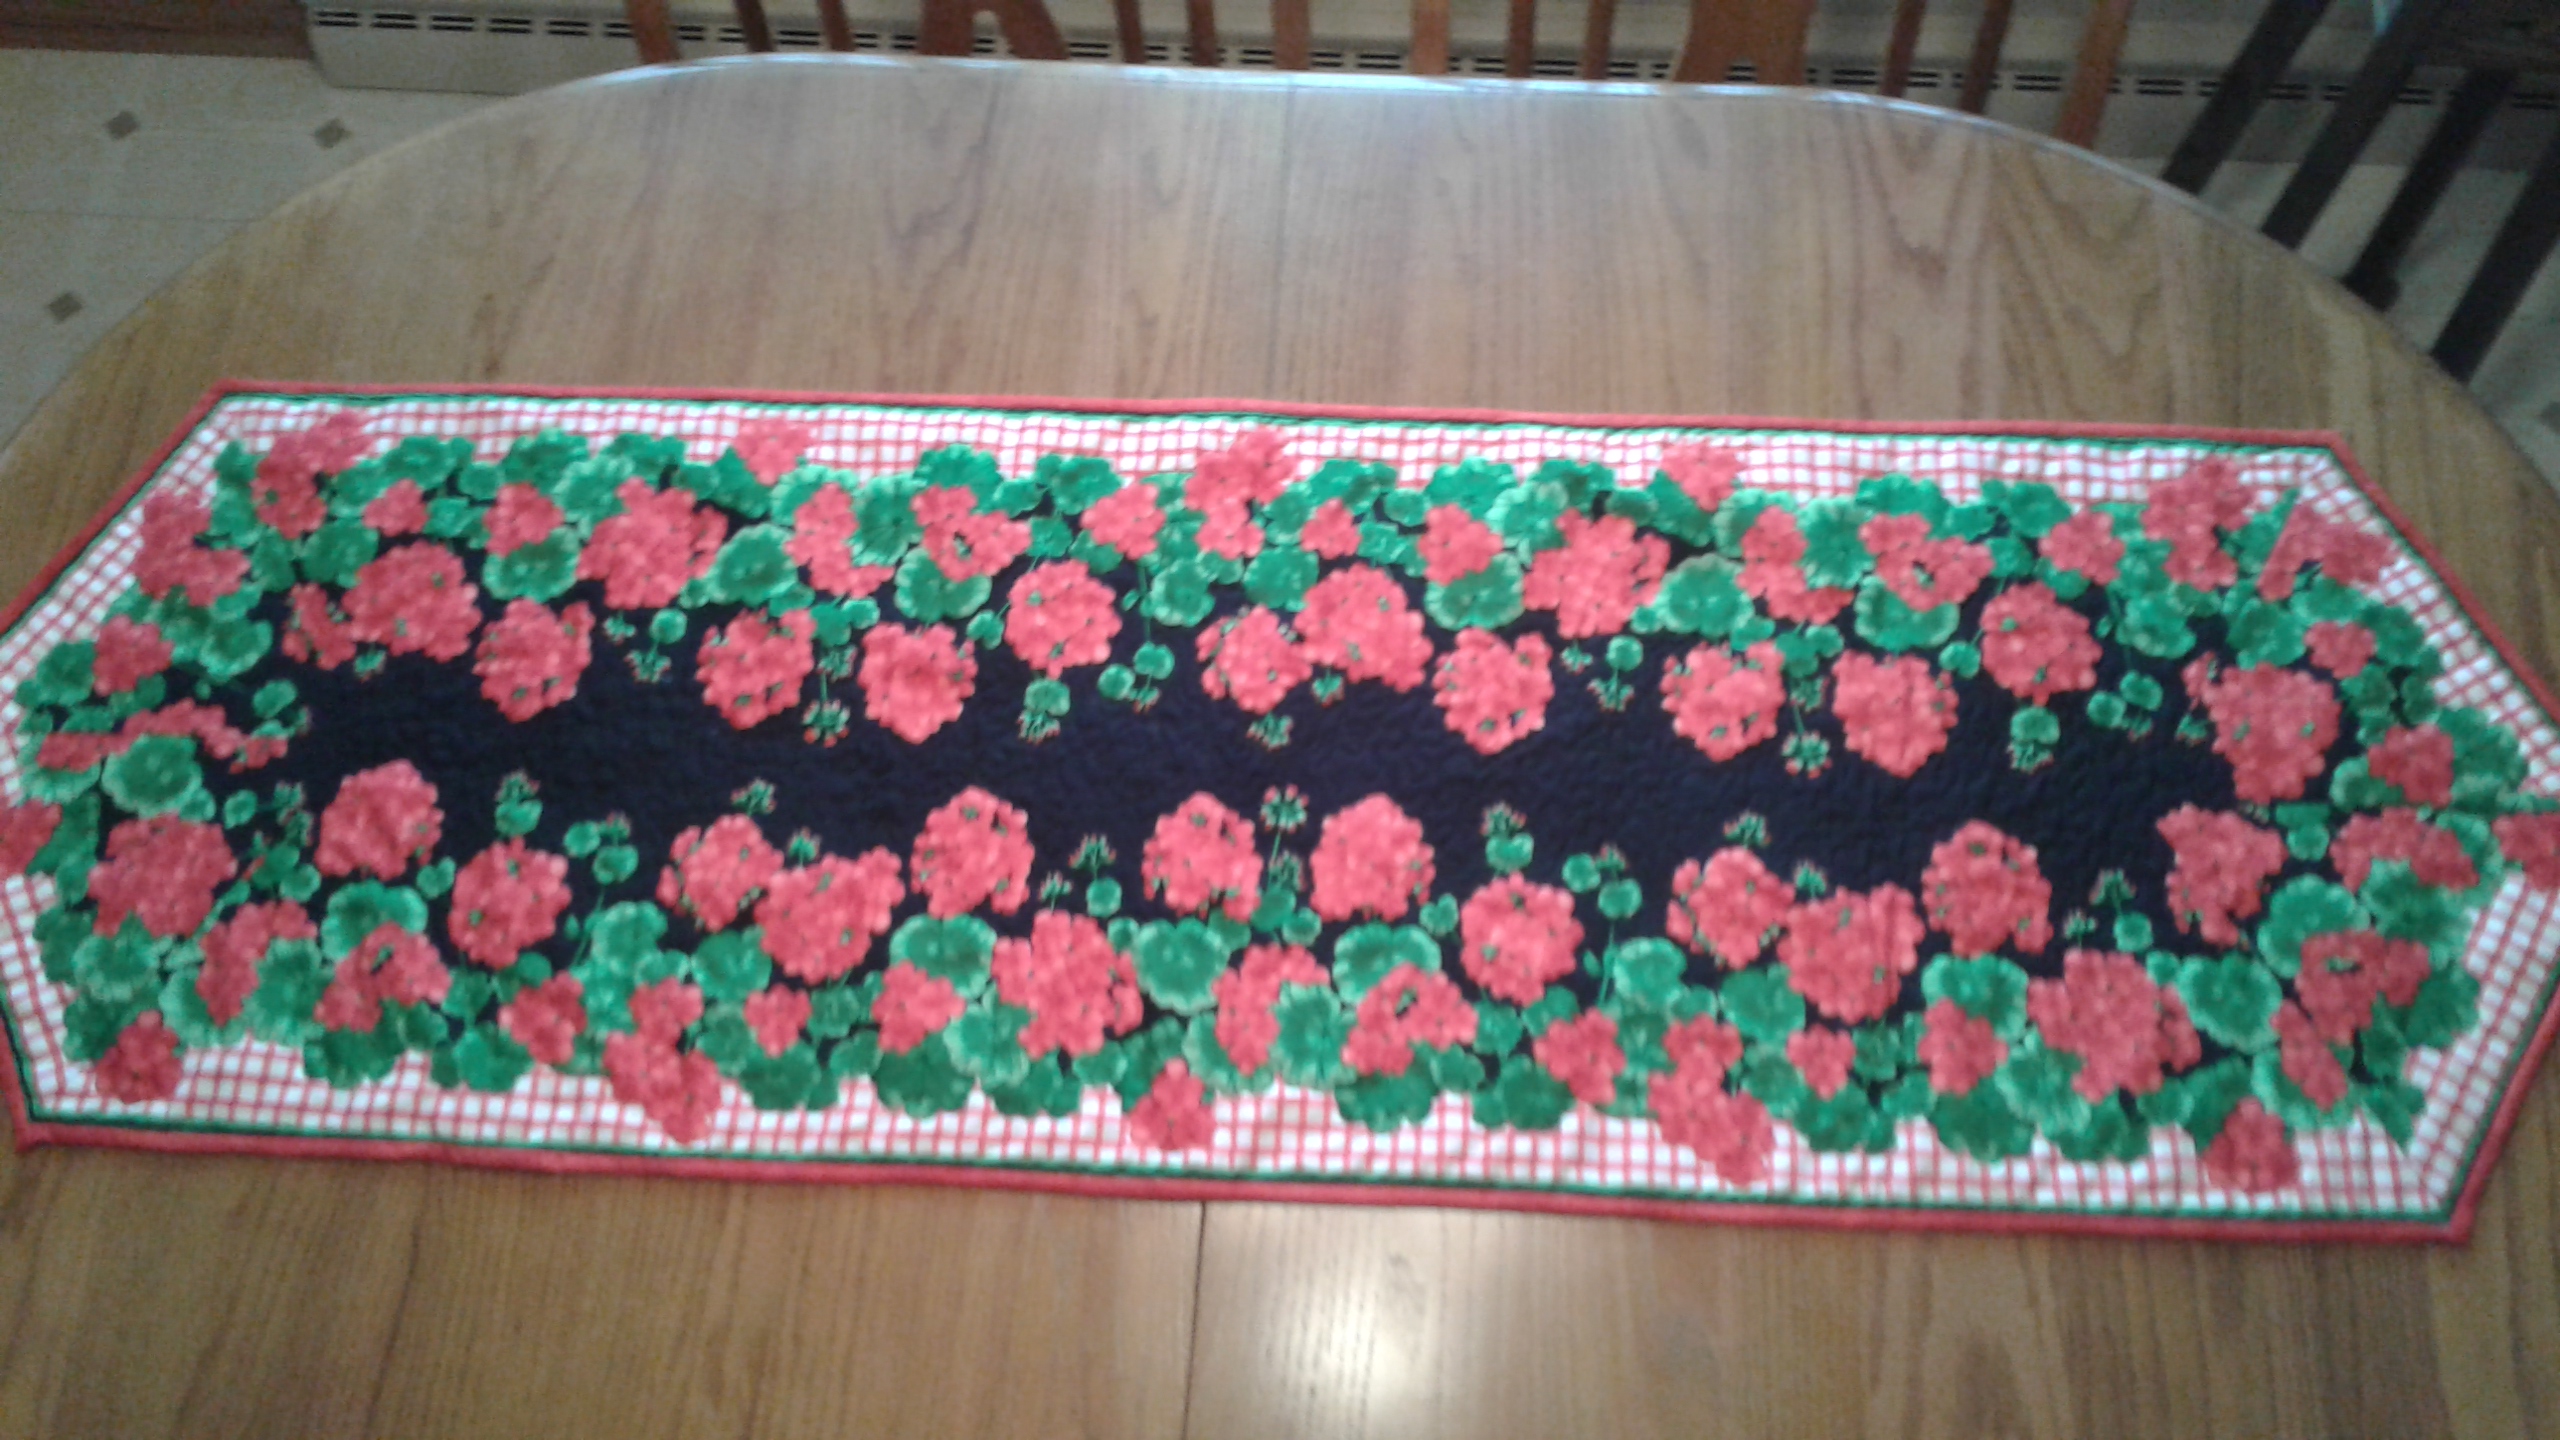
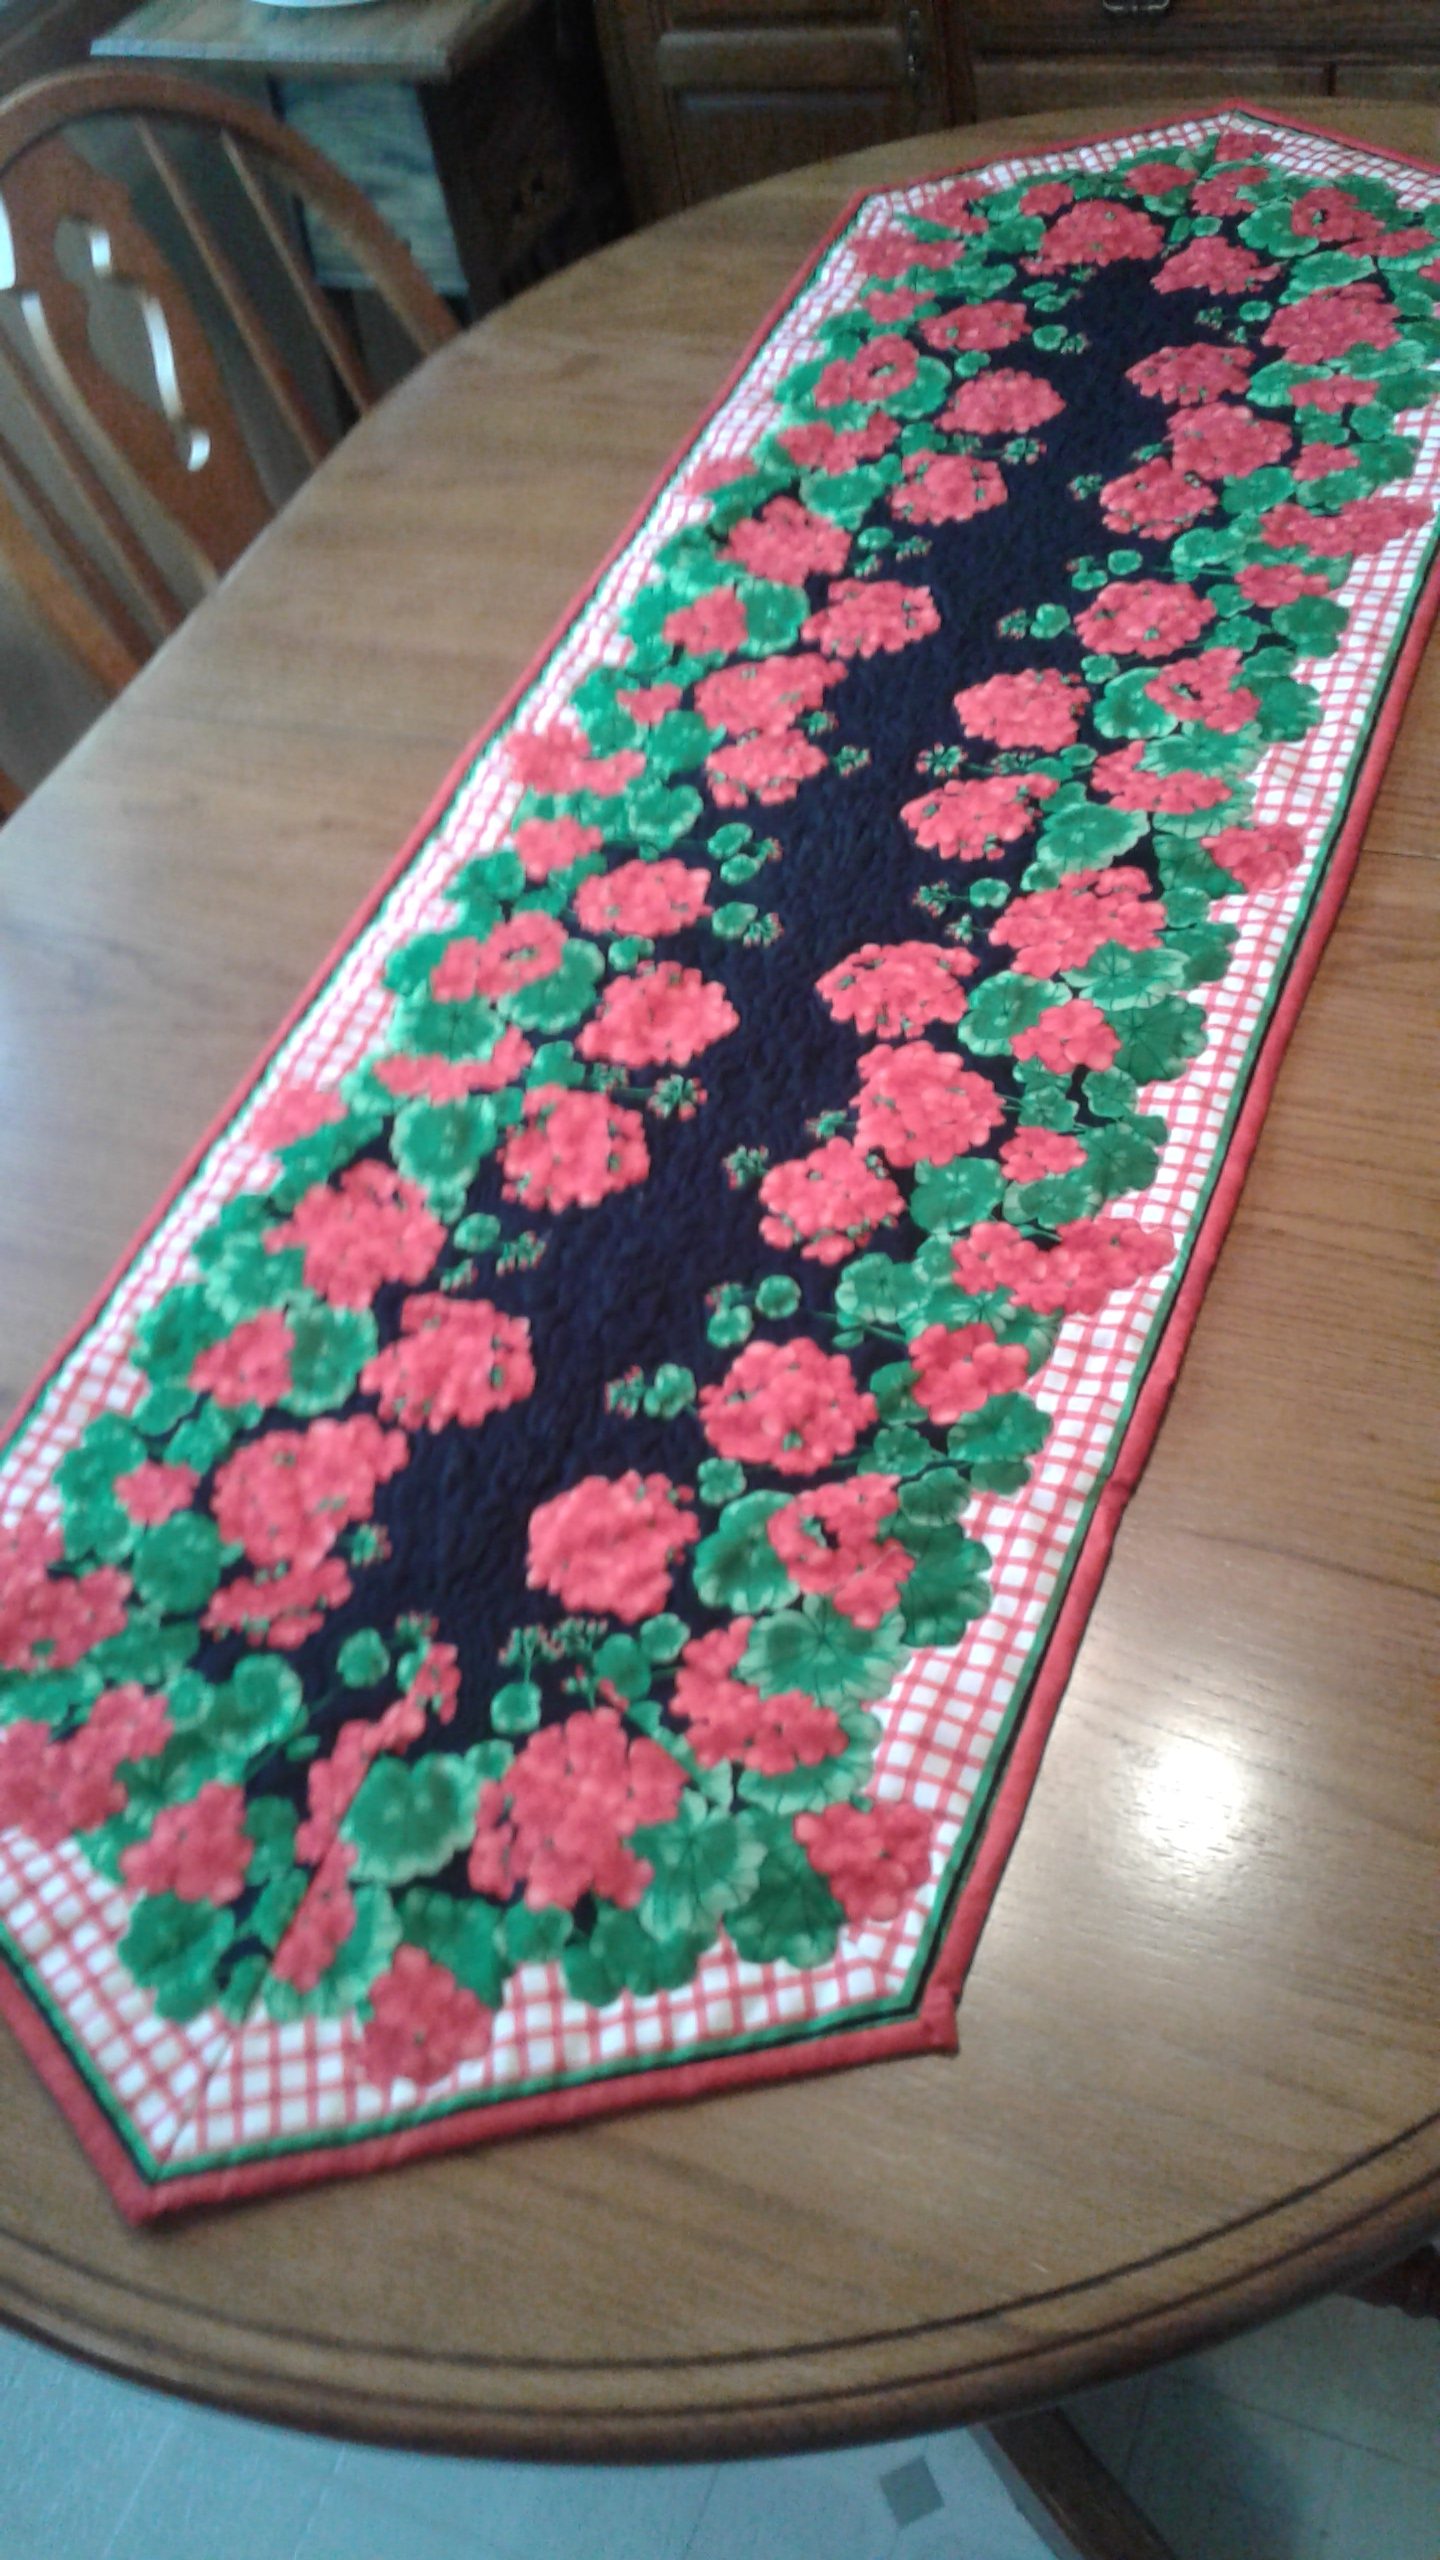
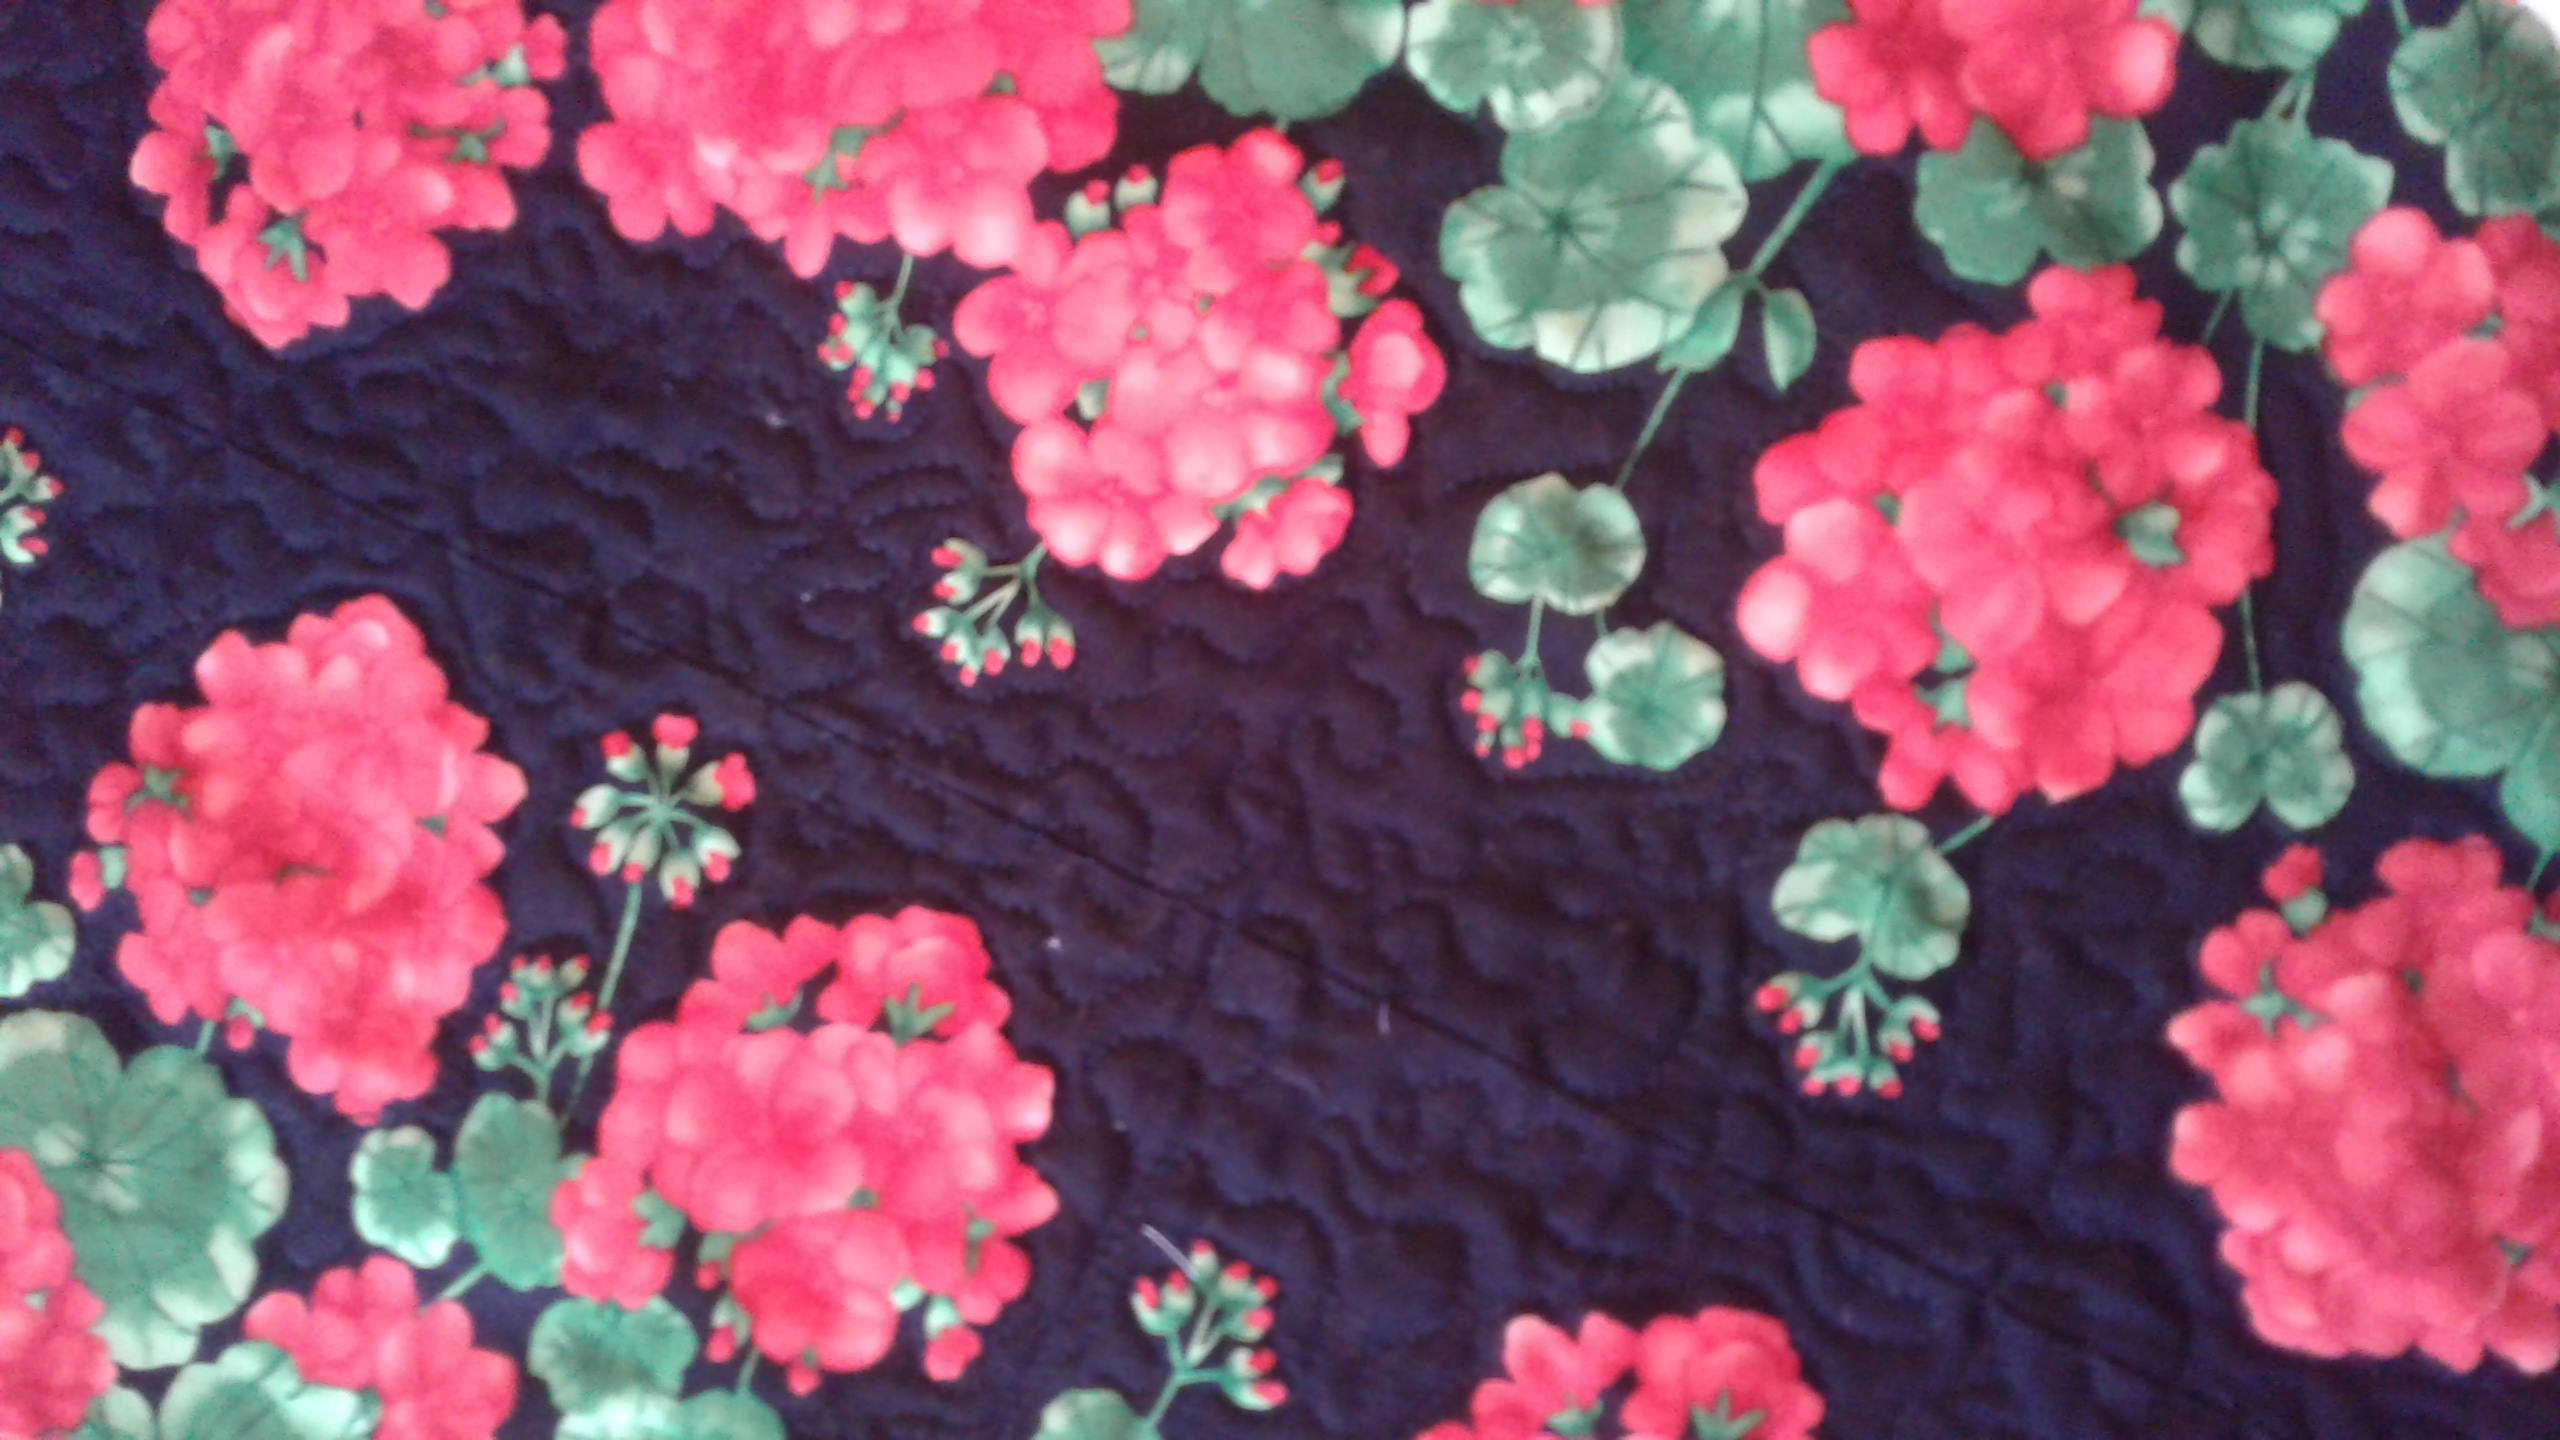
So here it is, the table runner that started my fascination with 60-degree triangle patchwork after I bought a $3 kit with no instructions at a garage sale last summer. I still love this fabric!


As I noted in previous table runner posts, I didn’t want to cut into this gorgeous geranium fabric until I knew what I was doing. So I made the other 60-degree triangle table runners first.

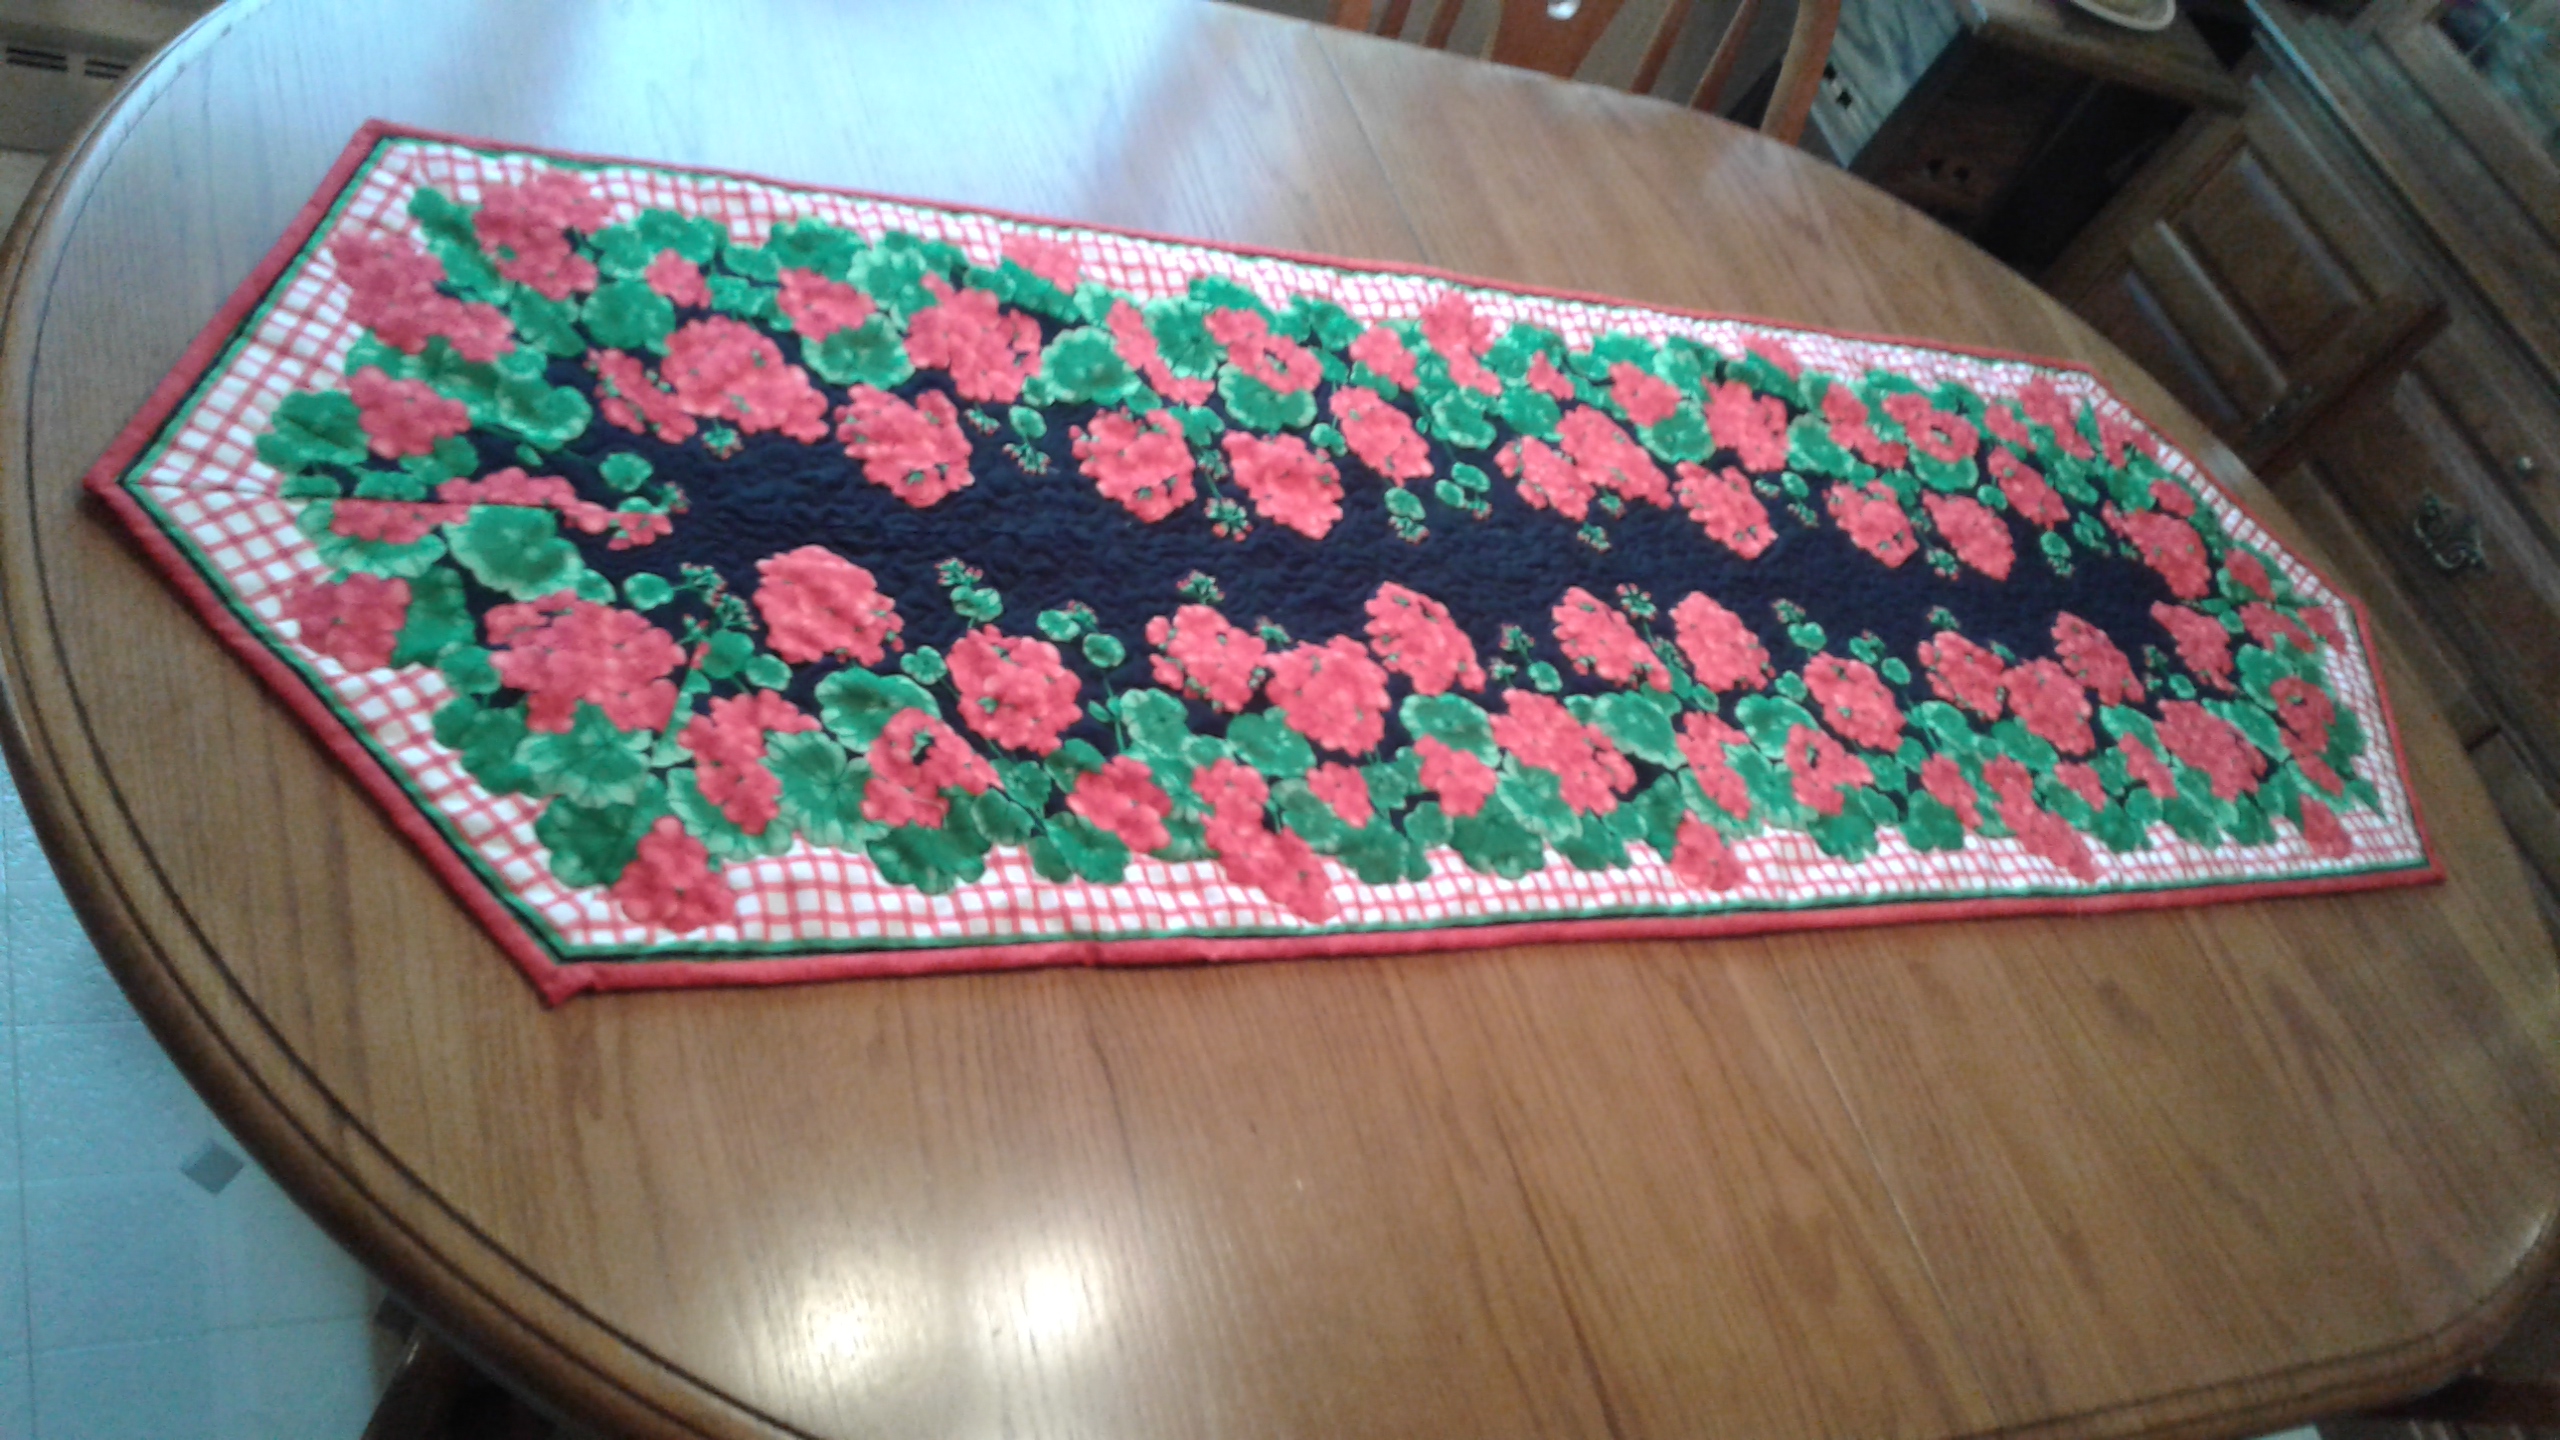
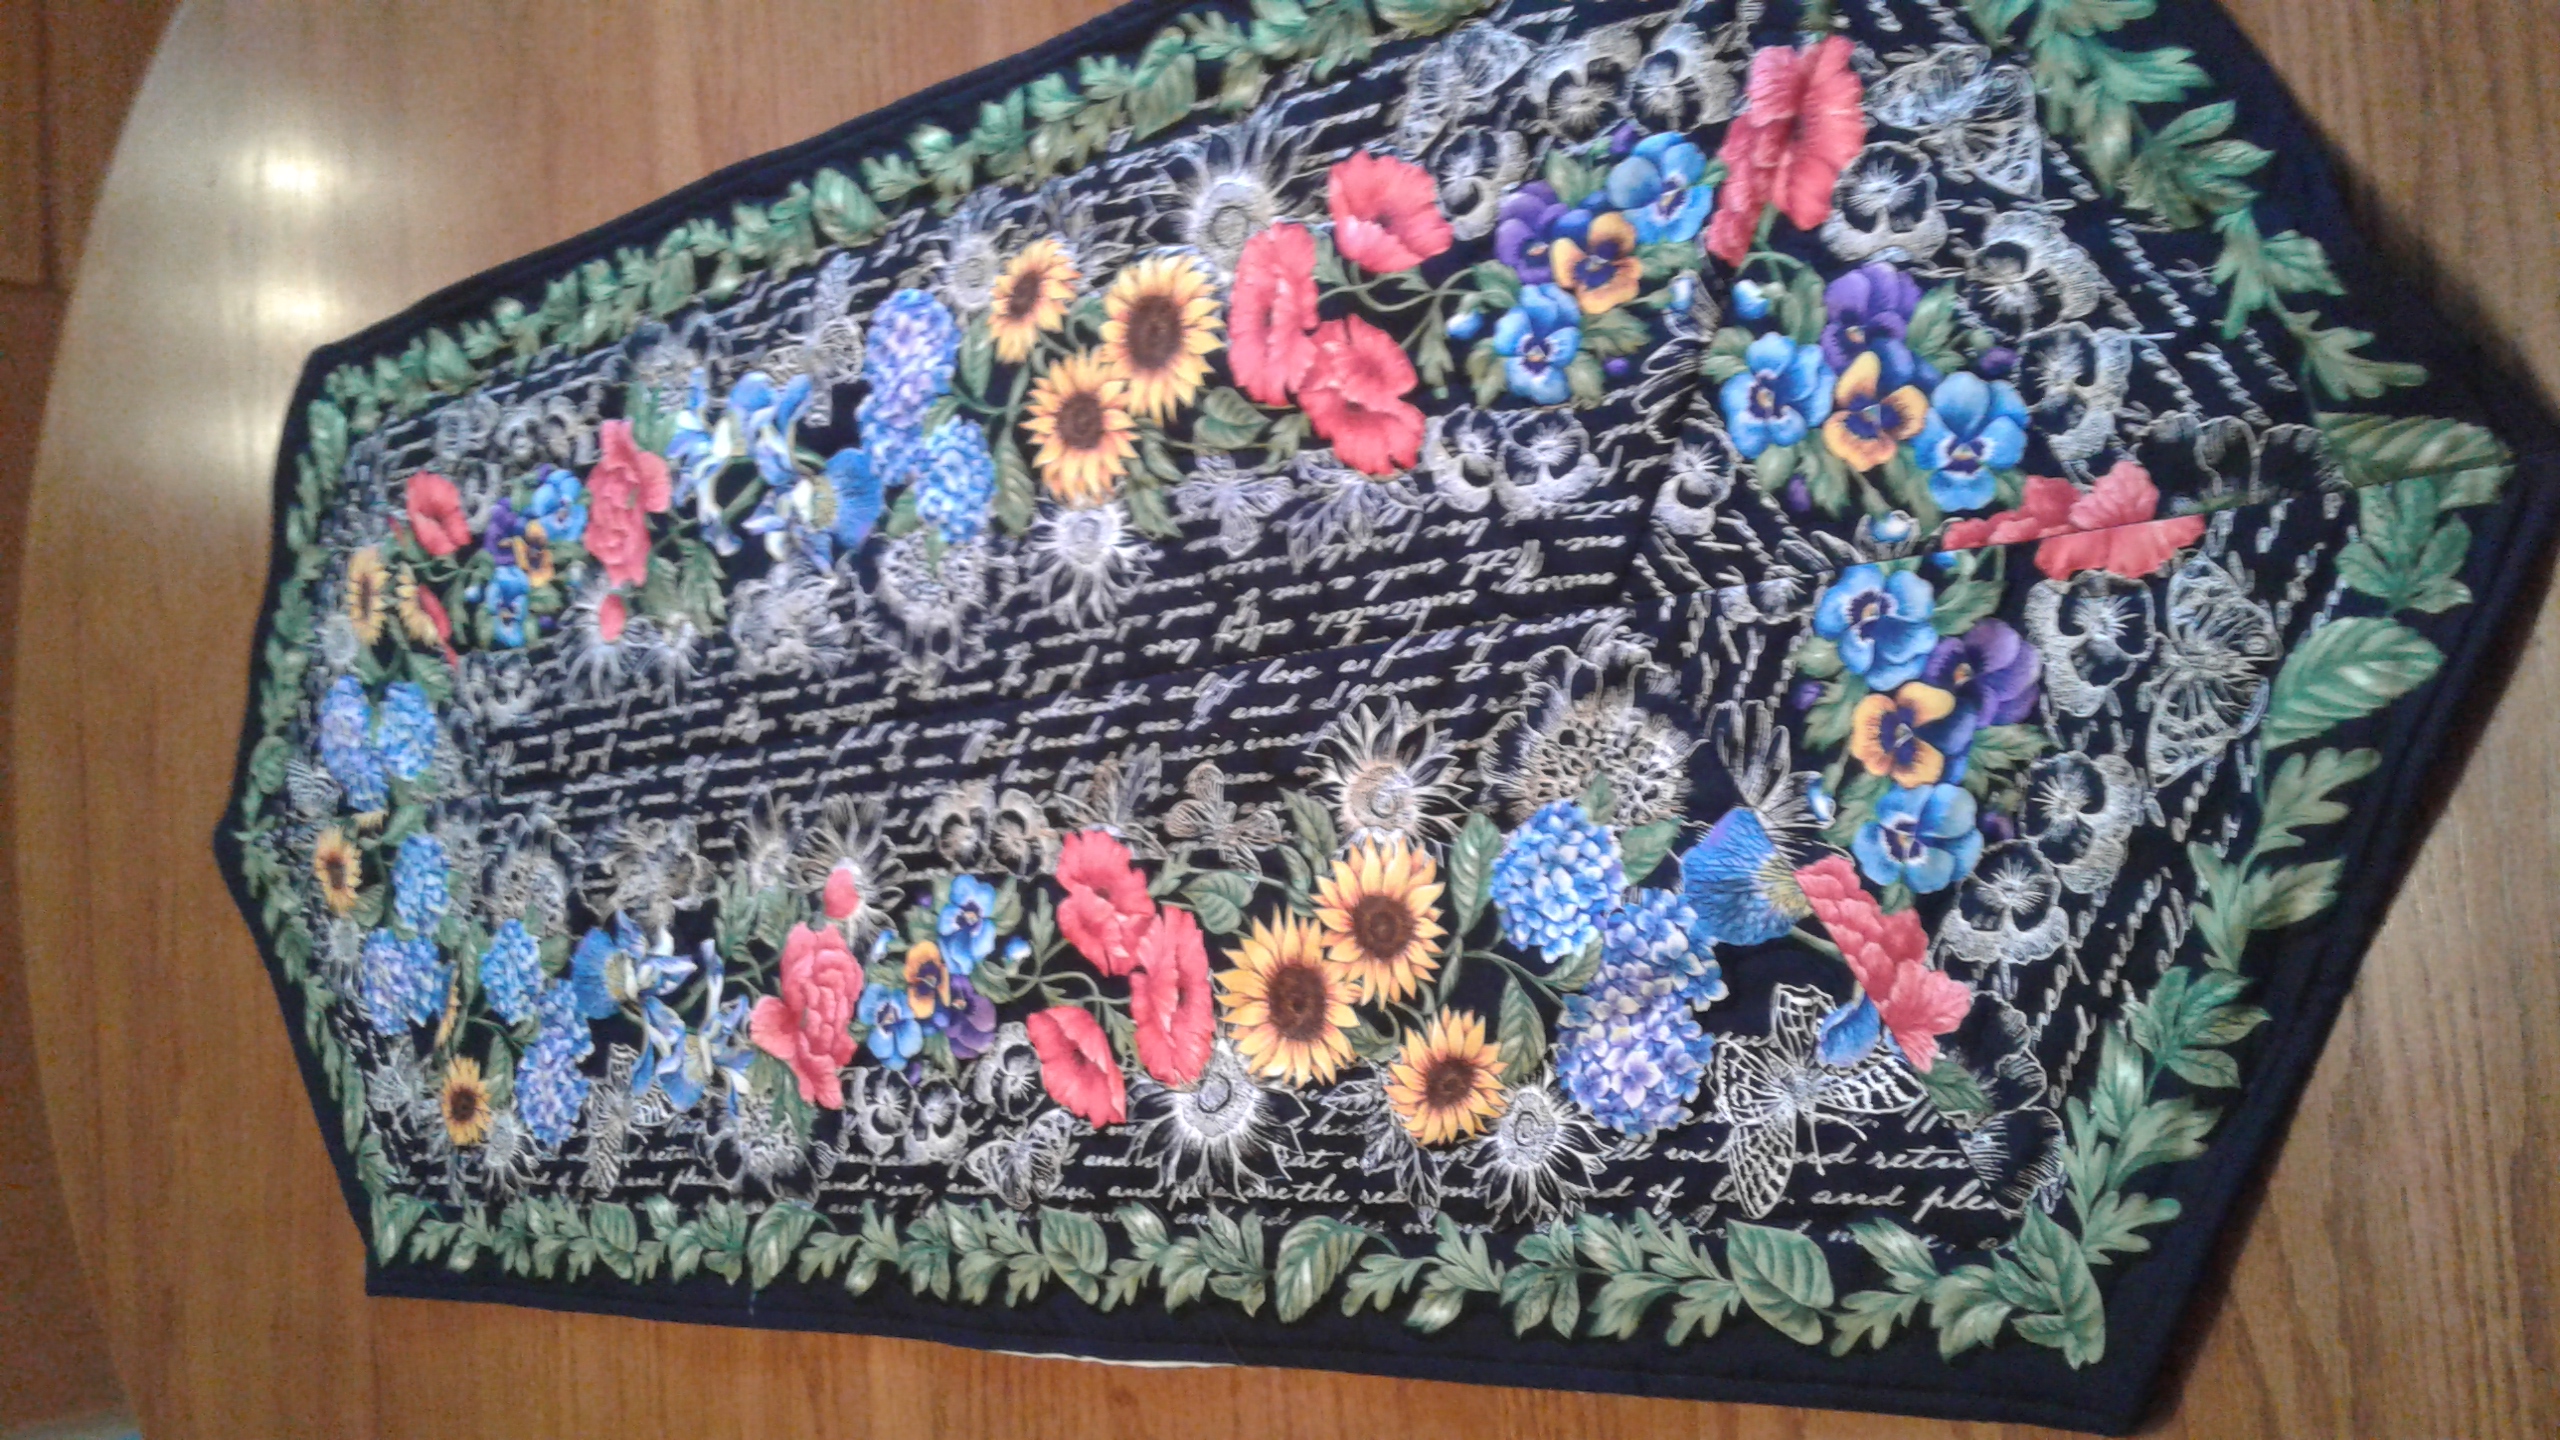
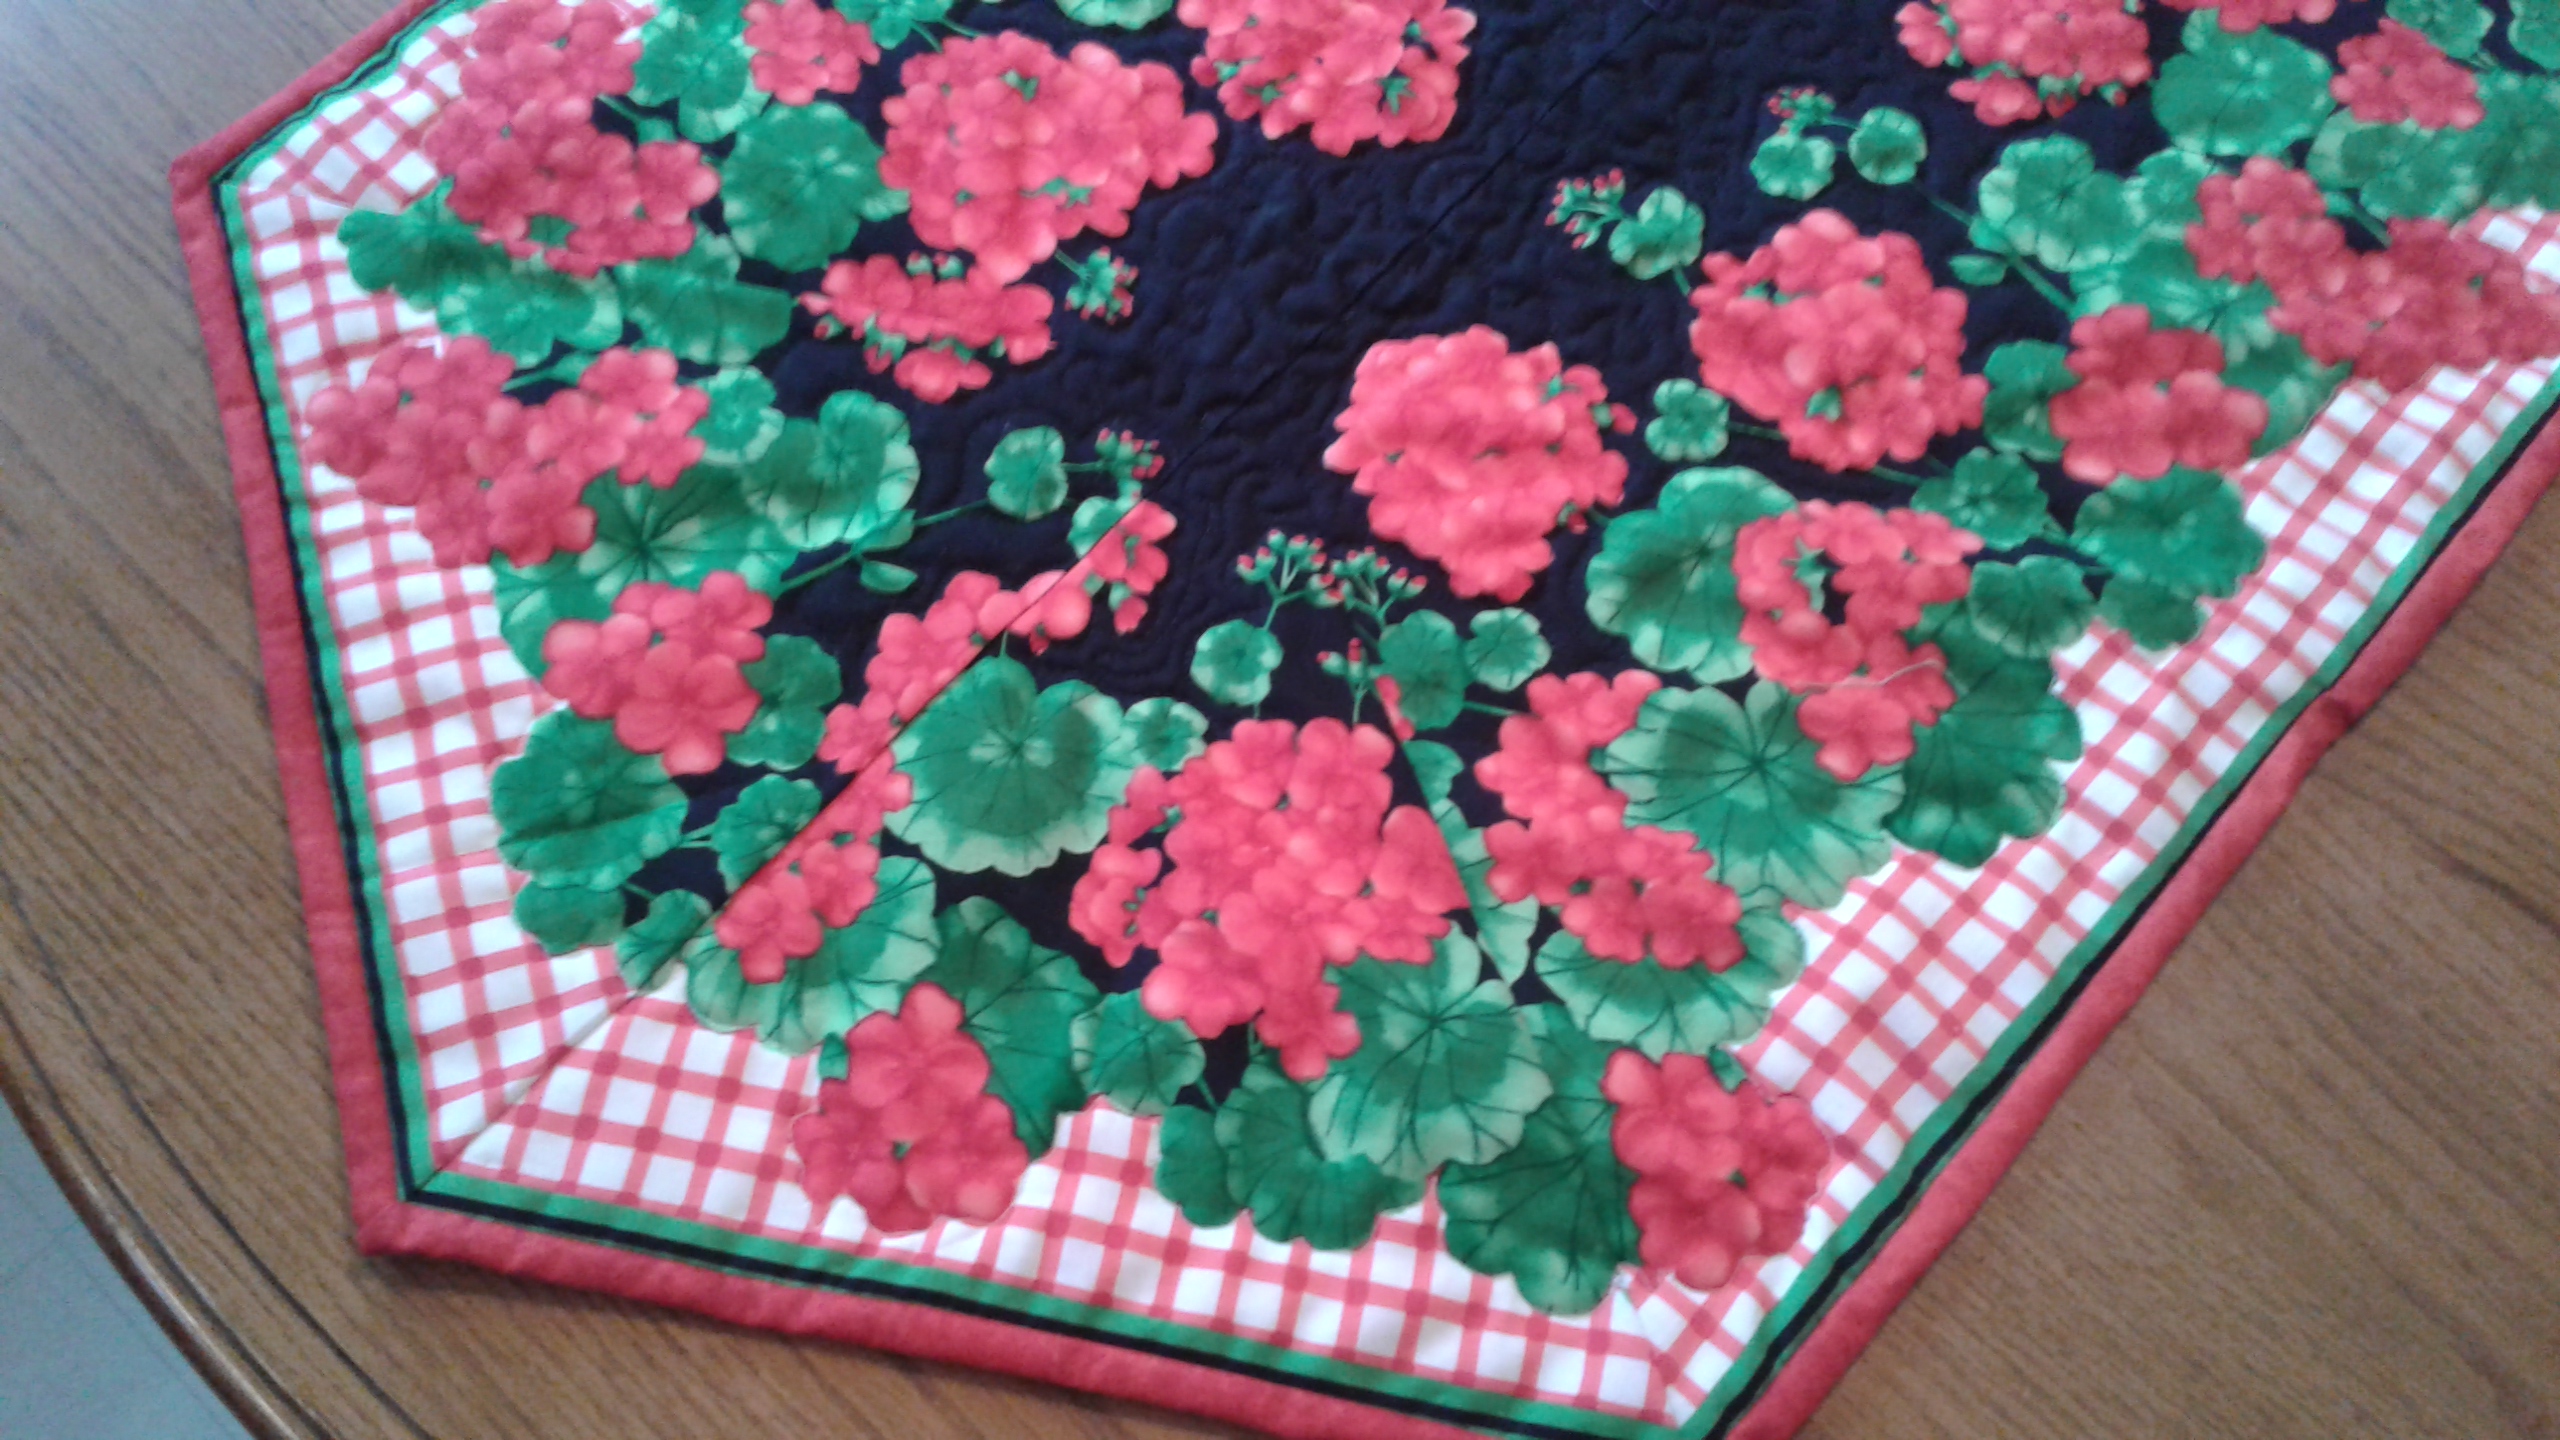
I’m glad I waited. I’m really pleased with how it came out. I used the directions in the video I shared in this post, but instead of quilting it simply, I free-motion quilted it with black thread in the middle and white thread around the perimeter, outlining the flowers as I went along.

Also, unlike the previous table runners, I chose to use binding around the edges of this one.

Of course, I’m about to decorate for Christmas, so this runner will be put away for spring. But just think how lovely it will look on my table in five months or so. Most likely, by then I’ll have forgotten that I made it, so it will be a nice surprise when I find it again. 😉

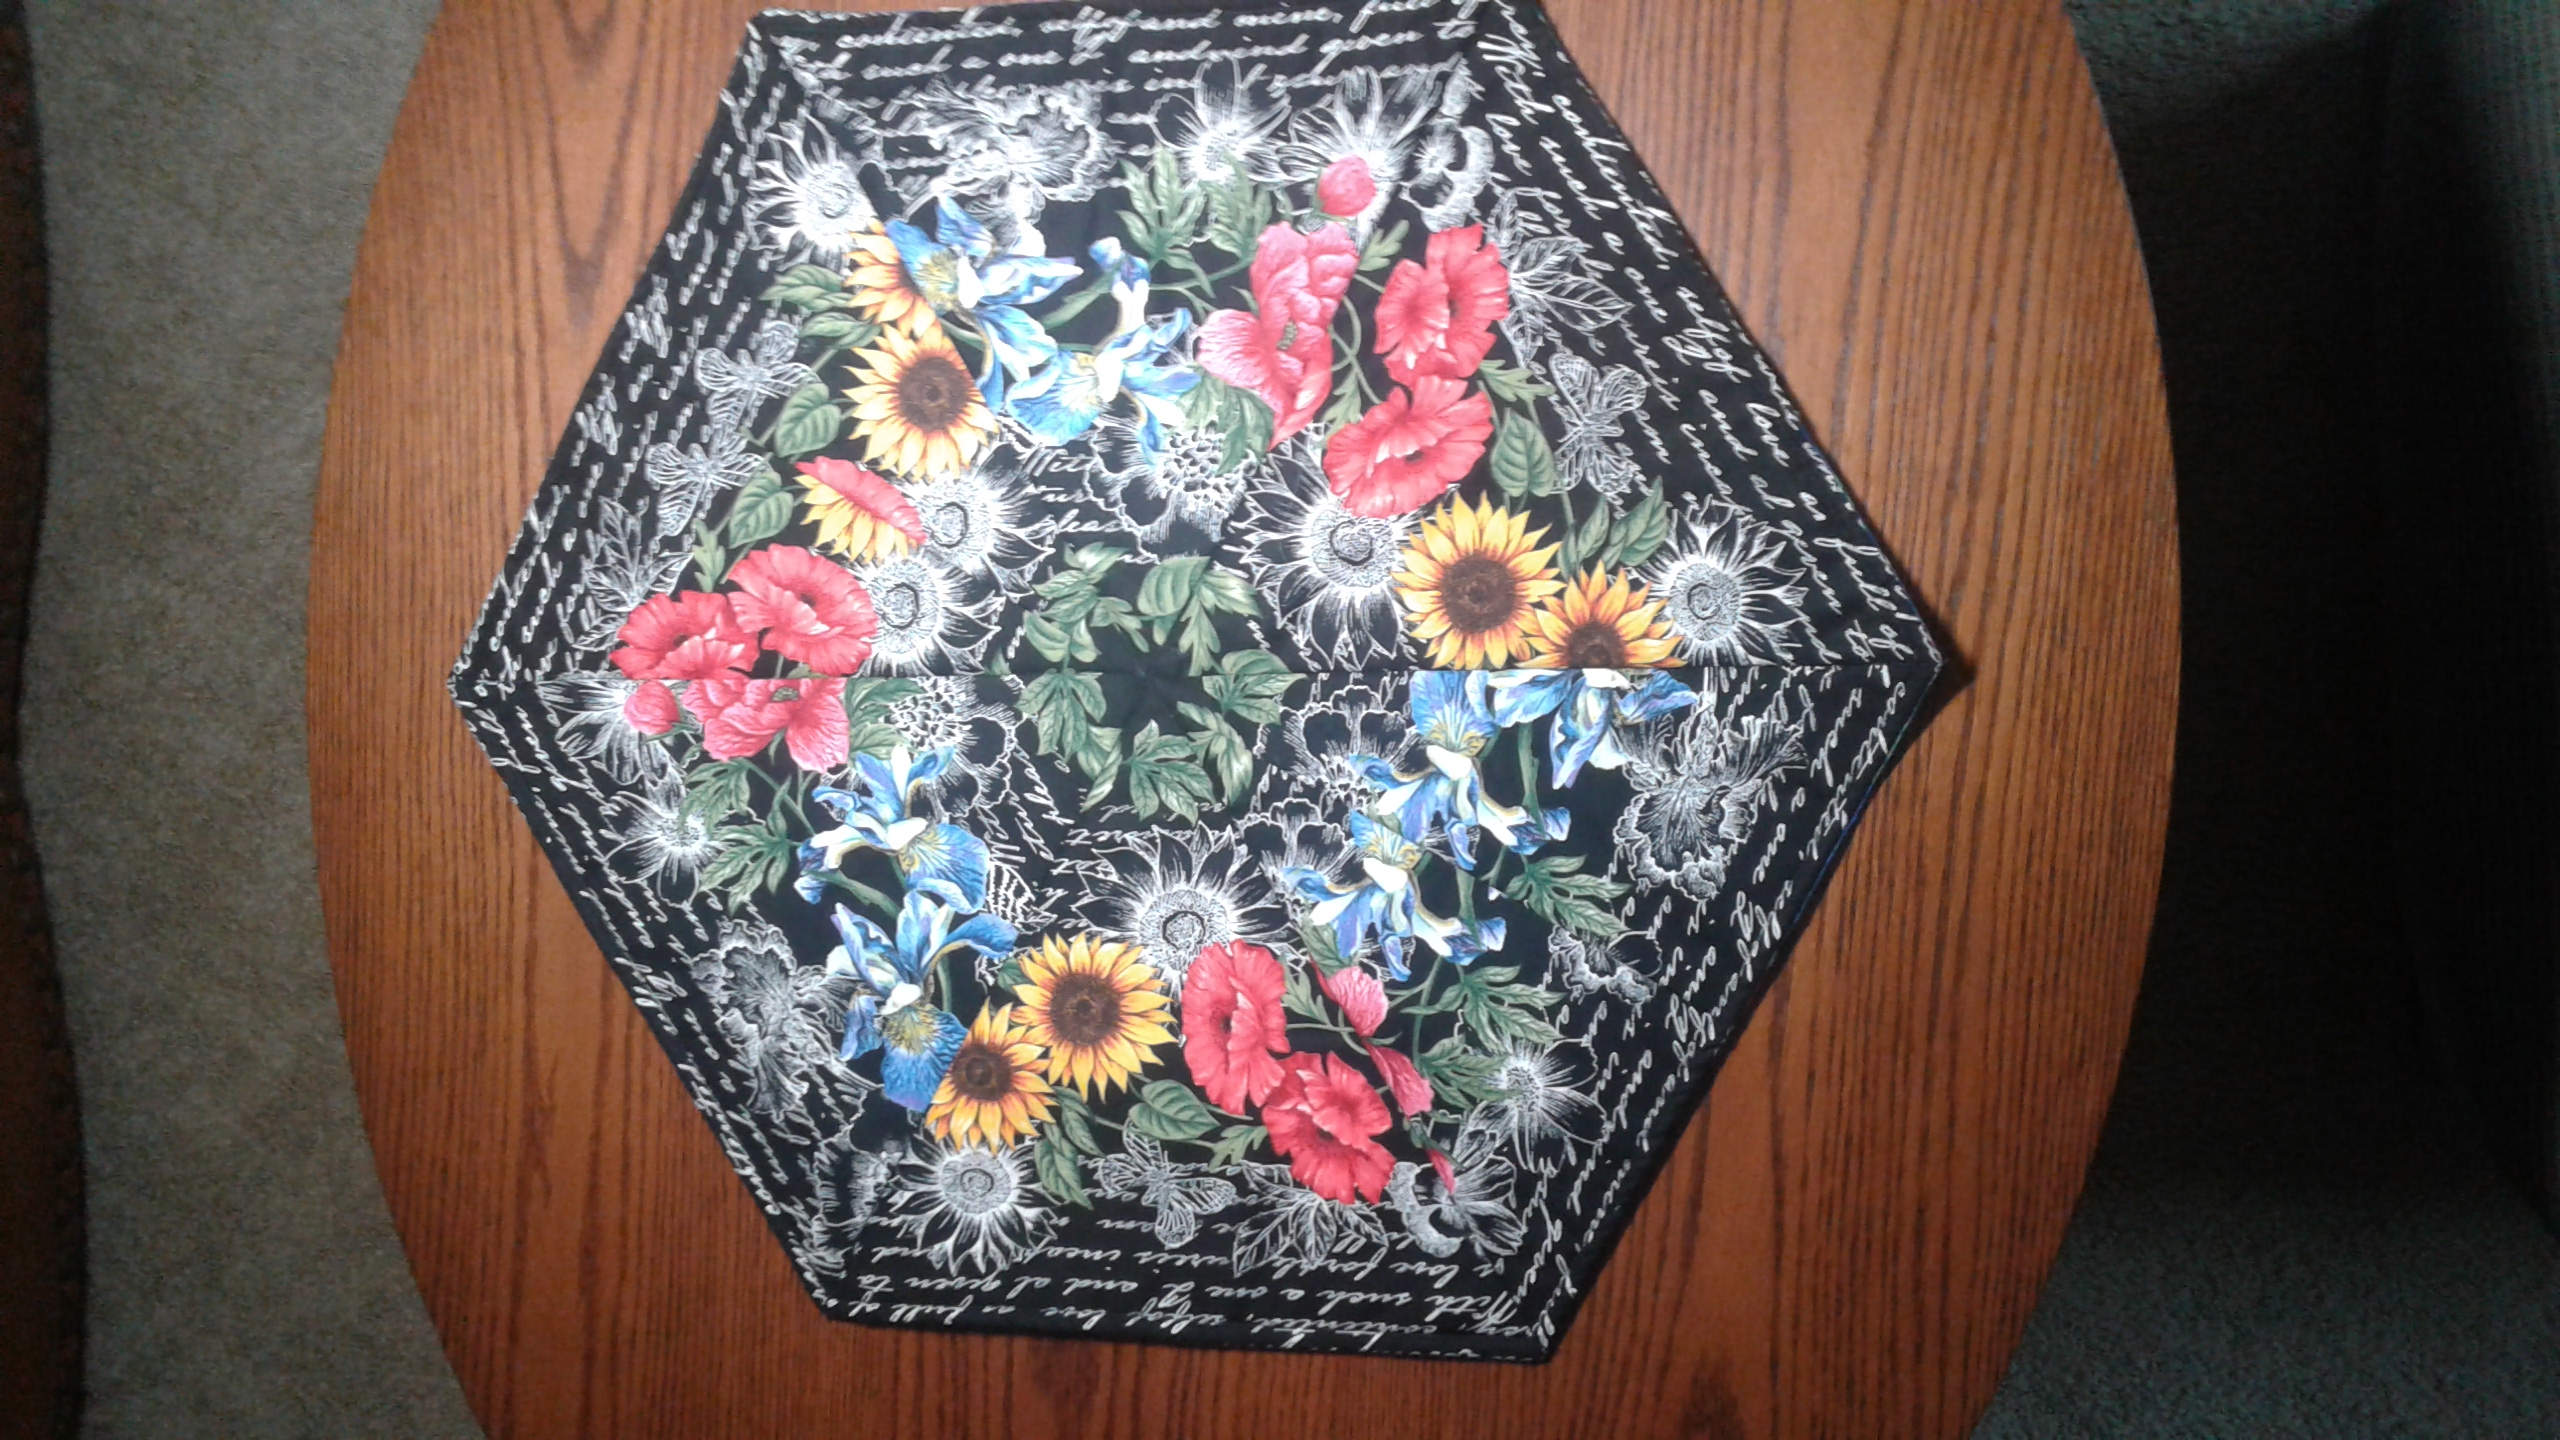
Oops, I almost forgot, there were enough triangles left over to make a hexagon table topper:

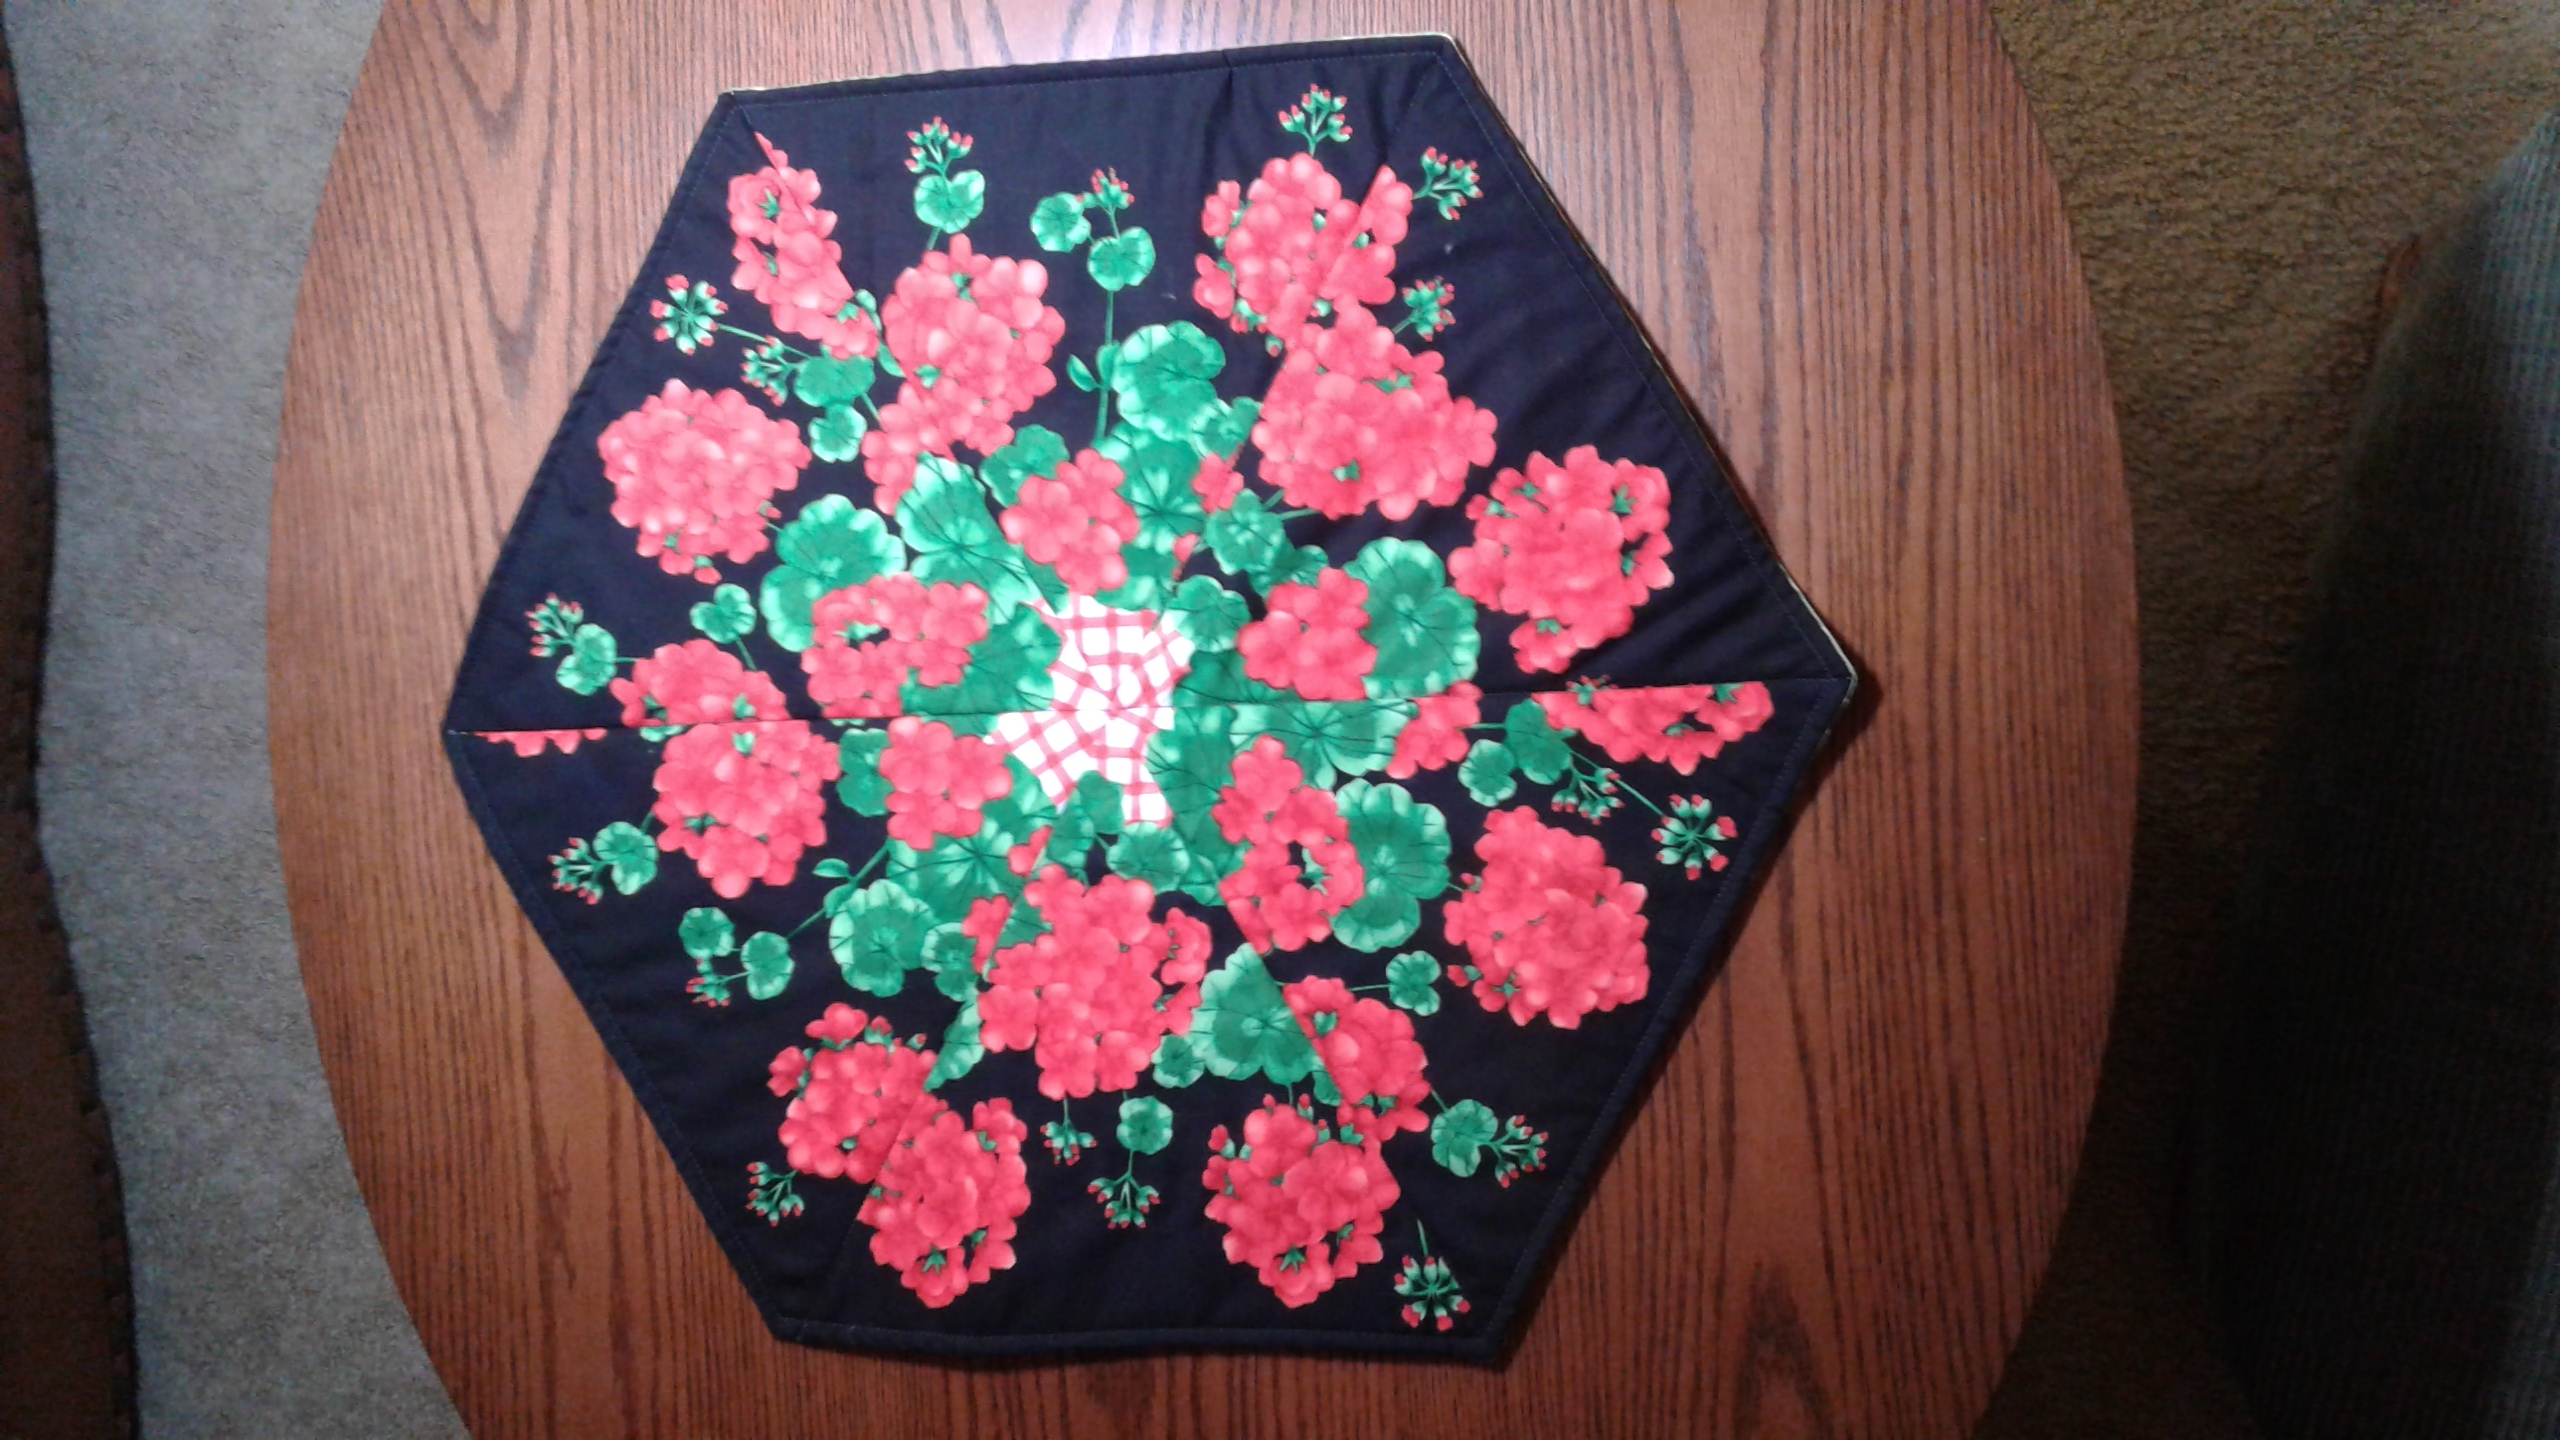
I think I’ve satisfied my urge to sew with 60-degree triangles, at least in terms of table runners. But if I stumble onto an especially lovely border print, I’ll probably make another table runner and table topper, just for the fun of it.

60-Degree Triangle Table Runner #1

It all began with a quilter’s garage sale this past summer. I found a table runner kit for $3. I could see a cheerful red geranium border print folded into a plastic zipper bag along with batting and backing. The title on it said “60 Degrees of Separation.” It looked like a fun project, so I bought it.

When I got home, I discovered that the directions were missing. No wonder the kit was so cheap! I did a little detective work online, and while I couldn’t find that exact pattern title, I did stumble into the world of 60-degree triangle patchwork, and I was hooked.

I decided to practice before cutting into the gorgeous geranium print, so I went on the lookout for border prints, which are needed in this process. I asked three different older female employees at Joann Fabrics and not one had ever heard of a border print. Sigh. Fortunately, a few days later, I was at the Nancy’s Notions booth at the Quilt Expo in Madison and found 1+ yard border print pieces for only $6.50 each. I limited myself to two.

Unfortunately, I was so excited to get started on this new-to-me concept that I neglected to take “before photos” of the fabric pieces. Just in case you don’t know what a border print looks like, here are a couple of examples currently on sale at Hancock’s of Paducah, one of my favorite shopping sites on the Internet:

Usually, a border print has decorative and stripe designs running the length of the fabric, i.e. parallel to the selvages. By cutting the fabric into strips, then cutting the strips into 60-degree triangles, you can make kaleidoscope-like designs and turn them into table runners. Leftover triangles can then be turned into a hexagon-shaped table topper, making good use of almost all of the fabric.

This excellent video by Laura Ann Coia explains the process, and is what I used for my first two table runners. She uses a free pattern you can print out instead of a pricey plastic triangle template:

Here is my first table runner:

And here is the hexagon table topper made from the leftover triangles:

These are such fun to make! Next time, another table runner from different fabric.